There is a very specific kind of joy that hits when you spot it. A weathered pine table with honest nicks. A bentwood chair with the prettiest worn edge. A galvanized bucket that looks like it spent a century in a barn, in the best way. Flea markets are where rustic homes get their soul, but they are also where you can accidentally bring home a wobbly headache if you do not shop with your eyes open.
This is my flea market survival guide for sourcing farmhouse and rustic decor. We will talk strategy, vendor layouts, negotiating without feeling awkward, and the little quality checks I do before I hand over cash.
Before you go: set yourself up to win
The best flea market mornings start the day before. Not with a complicated plan, just a few small decisions that keep you from impulse-buying a random pile of stuff you cannot style.
Go with a short wish list
I like a “top three” list: one larger anchor piece (like a bench, stool, mirror, or small cabinet), one practical workhorse (baskets, hooks, crock, tray), and one pretty detail (candlesticks, frames, small pottery). This keeps you flexible when the market surprises you, which it will.
Measure twice, buy once
- Carry a small tape measure and jot your key measurements in your notes app: console depth, nightstand width, the max mirror size over your dresser, and the inside of your car trunk.
- Bring photos of your room in natural light. If you are choosing between two wood tones, your camera roll will save you.
Pack a tiny “flea kit”
- Cash in small bills (plus a few twenties for negotiating)
- Tape measure
- Hand sanitizer and a couple of wipes
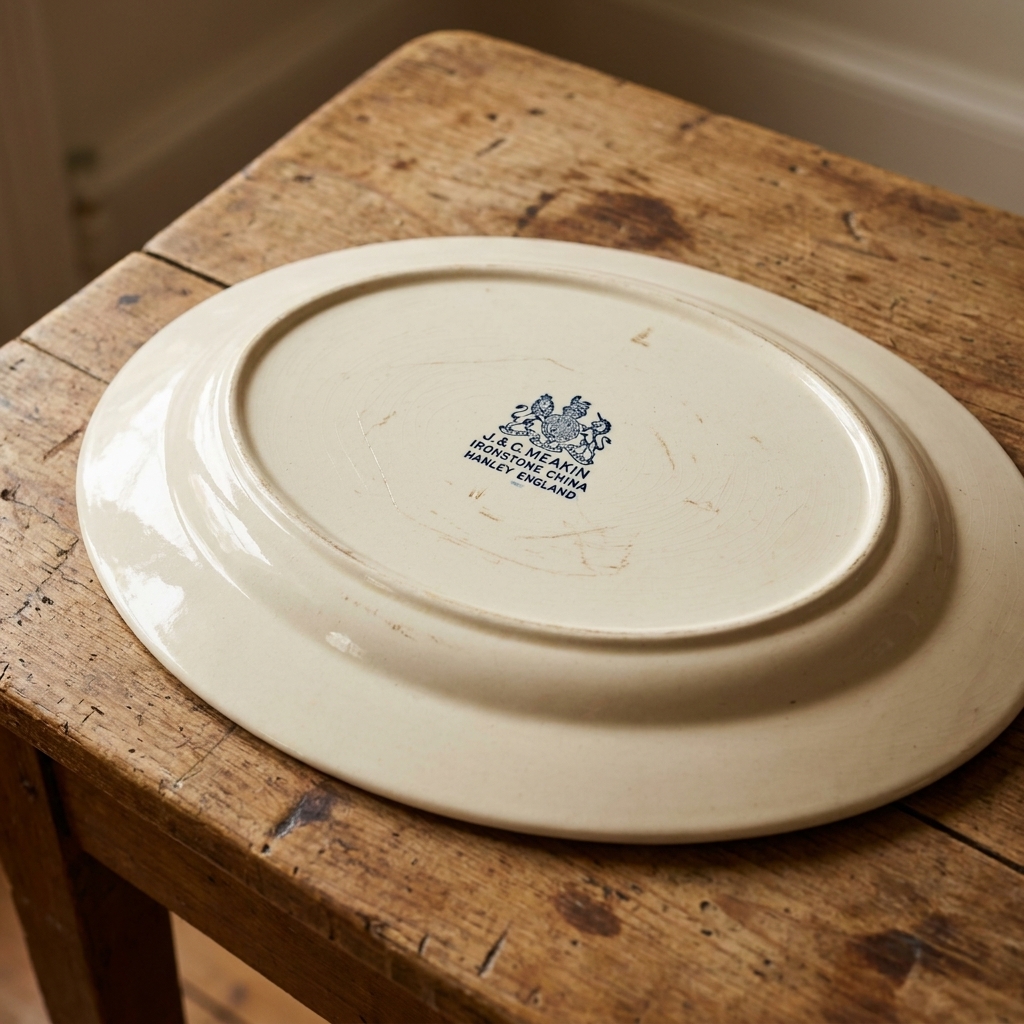
- A roll of paper towels (great for wiping grime off a maker’s mark)
- A tote bag and a few old towels to wrap smaller breakables
- A bungee cord or two if you might haul something awkward
Dress for a little work
Closed-toe shoes, hands-free bag, layers. Flea markets involve gravel, grass, and the occasional “I am just going to lift this end and see if it is solid” moment.
Know the basic logistics
Some markets have an ATM. Some do not. Some vendors take payment apps, and some are cash only. A quick peek at the market’s website or social page can save you a frustrating loop back to the car. Also, ask early about hold tags, loading help, parking, and whether any vendors offer delivery for larger pieces.
How to work the market
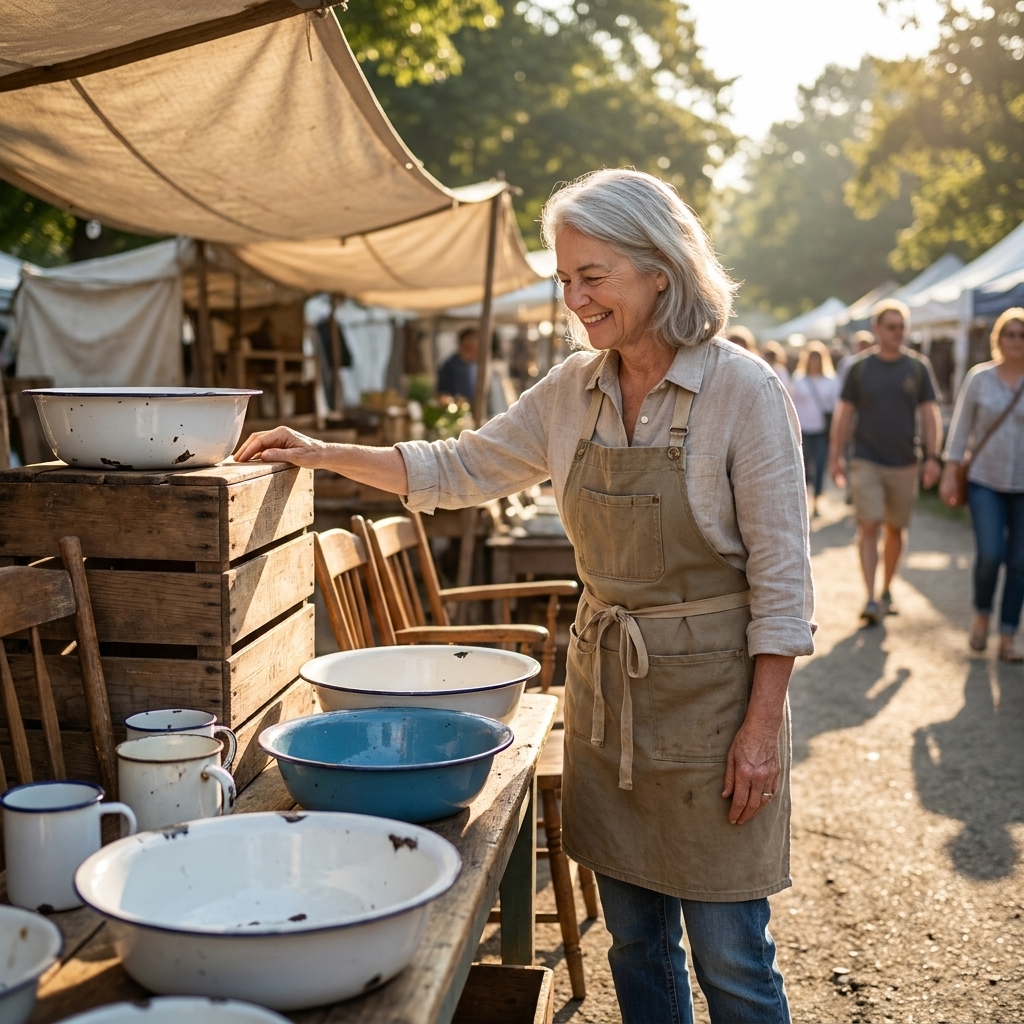
Most flea markets have two kinds of shoppers: the ones who wander and the ones who work the market. You can still have a lovely time wandering, but if you want the best rustic pieces, a little strategy helps.
Take the first lap with your hands in your pockets
I know, it is hard. But on your first lap, you are gathering intel. Prices. Quality. Which vendors lean farmhouse. Who has the “priced to move” energy, and who has the “I know what I have” energy.
- Lap one: scan and take mental notes, no buying unless it is a once-in-a-season piece at a fair price.
- Lap two: revisit the best booths and start making offers.
- Lap three: circle back for the “maybe” items and end-of-day deals.
Start at the edges
The most crowded aisles tend to have the most obvious booths. The edges and back rows are where I often find the underpriced gems: farm tools, old wood, utilitarian pieces, and boxes of “random stuff” that includes the perfect ironstone bowl.
Read the booth like a room
Vendors who group by color, texture, and height usually know how to style and often curate better inventory. Vendors with piles can still have treasures, but you will need to slow down and dig.
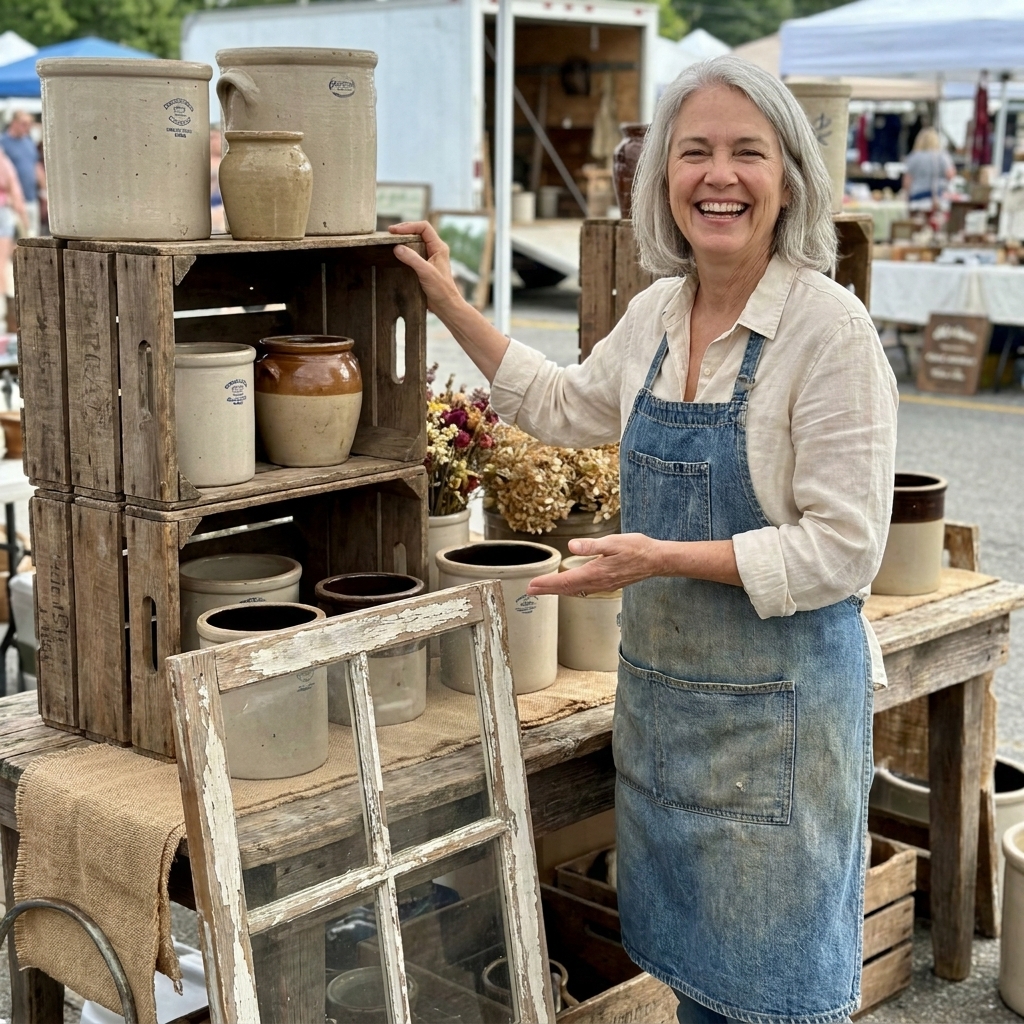
Quality checks: spot the good stuff
Rustic does not mean falling apart. Patina is charming. Structural issues are expensive. Here are my quick checks, organized by category.
Wood furniture: the 30-second inspection
- Wiggle test: gently rock the piece from two corners. If it sways, look at joints and stretchers. Minor looseness can be fixed, but a racked frame can be a project.
- Look underneath: the underside tells the truth. You want solid joinery, not just a few modern staples holding everything together.
- Check for pests: old wormholes happen, especially on true antique pieces. What you do not want is fresh powdery dust or new holes that look “clean.” If you see active frass, pass. For upholstered pieces, take an extra beat to inspect seams, tufts, and under dust covers for signs of bed bugs, and keep upholstery out of the house until you have looked it over in bright light.
- Smell test: a light “old house” mustiness is common. Strong mildew, active damp, cat odor, or heavy smoke is a different conversation and often not worth the effort. If you have asthma or mold sensitivity, trust your body and walk away.
- Veneer awareness: veneer is not bad, but lifting or missing veneer is time-consuming to repair. Run your hand along edges for bubbles.
Rustic metal: patina versus problems
- For decor, surface rust is fine: it can be sealed or left as-is for texture.
- Watch for flaking and deep pitting: if it is crumbling, it is decor only.
- Check seams: on galvanized tubs and old watering cans, inspect the bottom seams for splits or pinholes.
- A quick food-safety note: I treat unknown vintage metal containers as decor by default. Galvanized pieces and heavily rusted items are not a great choice for food prep, acidic foods, or drinking water. If you want something for actual kitchen use, buy modern food-safe versions or use vintage pieces as display only.
Ceramics and stoneware: chips, cracks, and the ring
- Run your fingers around the rim: small flea bites can be charming, but major chunks change how you can use it.
- Look for hairline cracks: hold it toward the light and tilt.
- Do a gentle ring test: lightly tap with a fingernail. A clear ring can be a helpful clue that it is sound, and a dull thud can be a clue there is damage. It is not foolproof because thickness, shape, and even what you are holding it over can change the sound. Be respectful and gentle, always.
Textiles: linen, grain sacks, and quilts
True vintage textiles are gold in a farmhouse home. They soften a space and add that lived-in layer without trying.
- Check for dry rot: if it tears easily when you gently tug, it may not survive laundering.
- Stains are not always a deal breaker: but set your expectations. Some stains never fully lift, and that is okay if you are using it as a casual throw or a table layer.
- Smell matters: if it reeks of damp, pass unless you love a laundry challenge.
Lead and old finishes: a quick reality check
This is the part nobody wants to think about while holding a beautiful old bowl. If you are buying vintage paint, enamelware, or glazed pottery, assume you do not know what is in the finish. I treat unknown vintage pieces as decor unless I can verify they are food-safe. If you want to use an older piece for serving, especially with kids in the house, choose modern food-safe ceramics or have the item tested. When in doubt, display it, do not dine on it.
Negotiating, the kind way
Negotiating does not need to feel like a showdown. Many vendors expect it, but not all. If you see a “firm price” or “no haggling” sign, I take that seriously and decide yes or no at the tag price.
The easiest opener
“Would you take ___ for it?” said with a smile and a calm tone is my go-to. It is direct, respectful, and gives the vendor room to counter.
My simple rules for making an offer
- Offer fair, not insulting. If something is marked $60, offering $20 rarely goes well. Try $45 and see what happens.
- Use cash as your superpower. “I can do $45 cash right now.” Cash in hand is persuasive.
- Bundle whenever you can. Vendors love moving multiple items. “What would you do for the two crocks and the bread board together?”
- Know when to stop. If they counter and it is still above your comfort zone, it is okay to say, “Thank you, I am going to think on it,” and walk away kindly.
End-of-day timing
If a market runs all afternoon, the last hour can be great for deals, especially on larger pieces. The flip side is that the best stuff might be gone. If it is a unicorn piece and priced fairly, do not wait. If it is “nice but not perfect,” waiting can pay off.
My favorite gentle line: “It is so lovely. I’m trying to stay on budget today. Would you consider ___?”
Vintage or vintage-style?
There is nothing wrong with vintage-style decor, but you should pay accordingly. Here are the clues I look for when I am trying to confirm age and quality.
Signs you are looking at the real deal
- Uneven wear in the right places: edges, drawer pulls, table legs, and the spot where hands naturally touch.
- Old fasteners: slotted screws, square nails, or hand-forged looking hardware can hint at age. Just remember hardware gets replaced, pieces get repaired, and reclaimed or replica hardware is common.
- Wood that tells a story: old pine and oak often show deeper grain, dents, and that warm, oxidized tone that is hard to fake.
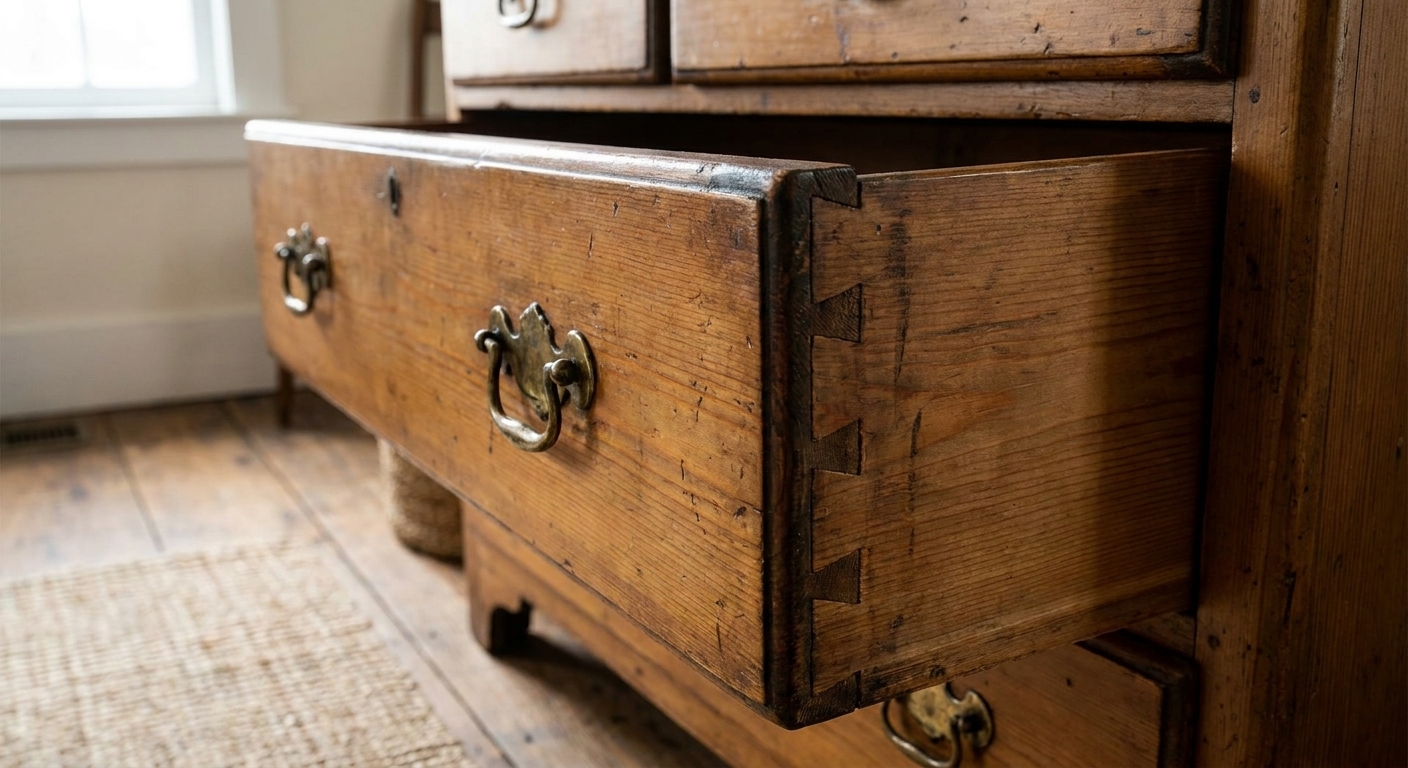
- Drawer construction: dovetails, older joinery methods, and solid wood bottoms are good signs.
Red flags for overpriced repro
- Perfectly uniform “distressing” that looks intentionally placed in a pattern.
- New wood smell on something claimed to be antique.
- Sticker residue from big-box stores or modern brand stamps, especially on “antique” signs.
Finds worth hunting
If you are building a farmhouse look that feels natural and not theme-y, these are the categories I reach for again and again. They style easily, they age well, and they make a home feel layered.
Wooden workhorses
- Bread boards and cutting boards (especially oversized)
- Wooden crates and old tool boxes
- Stools, benches, and small ladders
- Old drawers for shelf storage
Stoneware and ironstone
- Crocks, mixing bowls, pitchers
- Simple plates and platters for open shelving
- Apothecary jars and canisters
Galvanized and iron
- Wash tubs and buckets (planters, blanket storage)
- Old hooks, pulleys, and barn hardware for wall interest
- Metal trays and bread pans for tabletop layers
Architectural salvage
- Old windows (hung as wall decor or used in a hutch)
- Doors, shutters, corbels, and newel posts
- Porch columns and spindles for creative builds
Hauling and cleanup
Bringing a piece home is only step one. The goal is to keep it safe, keep your car clean, and avoid bringing unwanted hitchhikers inside.
How I load furniture
- Bring moving blankets or old quilts. Wrap corners and lay one under the piece to protect your trunk.
- Remove drawers if you can. Lighter to carry, less likely to slide open and crack.
- Keep hardware in a bag. If knobs are loose, remove and label.
My basic “quarantine and clean” routine
- Keep it in the garage or porch first if possible, especially upholstered items.
- Vacuum crevices (a shop vac is ideal).
- Wipe hard surfaces with warm soapy water. For grimy wood, a gentle degreaser can help.
- Seal in the patina: if you love the current finish, consider a clear wax or a matte water-based topcoat after cleaning and drying.
If you are refinishing, take photos before you start. That “before” patina is your roadmap for what you want to keep and what you want to change.
Quick styling wins
Sometimes the best part is how fast a simple old thing can make a room feel finished.
- Stack crocks and bowls in a kitchen corner with a bundle of wooden utensils.
- Lean a salvaged window frame behind a lamp on a console for height and texture.
- Use a galvanized tub for rolled blankets by the hearth.
- Layer textiles like a grain sack runner over a plain tablecloth.
- Group smalls in threes on a tray: candle, pottery, and a little bundle of dried stems.
Flea market FAQ
What time should I get there?
If you want the best furniture and architectural salvage, go early. If you want bargains and do not mind fewer choices, late-day can be wonderful.
How much cash should I bring?
It depends on your goals, but I like enough for my “top three” list plus a little extra for surprise finds. Small bills make bargaining smoother and speed up checkout.
Is it okay to negotiate on everything?
Not always. Some vendors are firm-price, and some markets discourage haggling. If an item is already very fair, I pay the tag price and feel good about it. I negotiate most often on bundled items or pieces that need repairs.
How do I avoid buying junk?
Slow down for the wiggle test, the underside look, and the smell check. If you cannot confidently answer “Can I use this or fix this?” it is usually a pass.
One last pep talk
You do not need a designer budget to create a home that feels rich with history. You need patience, a good eye, and the willingness to see potential under dust and a little rust. Walk the market like you have time. Ask questions. Touch the wood. Listen for that good, solid sound in a well-made crock. And when you find something that makes your heart do that little jump, bring it home and let it tell its story in your space.
If you want, tell me what you are hunting for right now, and I will help you build a flea market wish list that fits your rooms and your style.