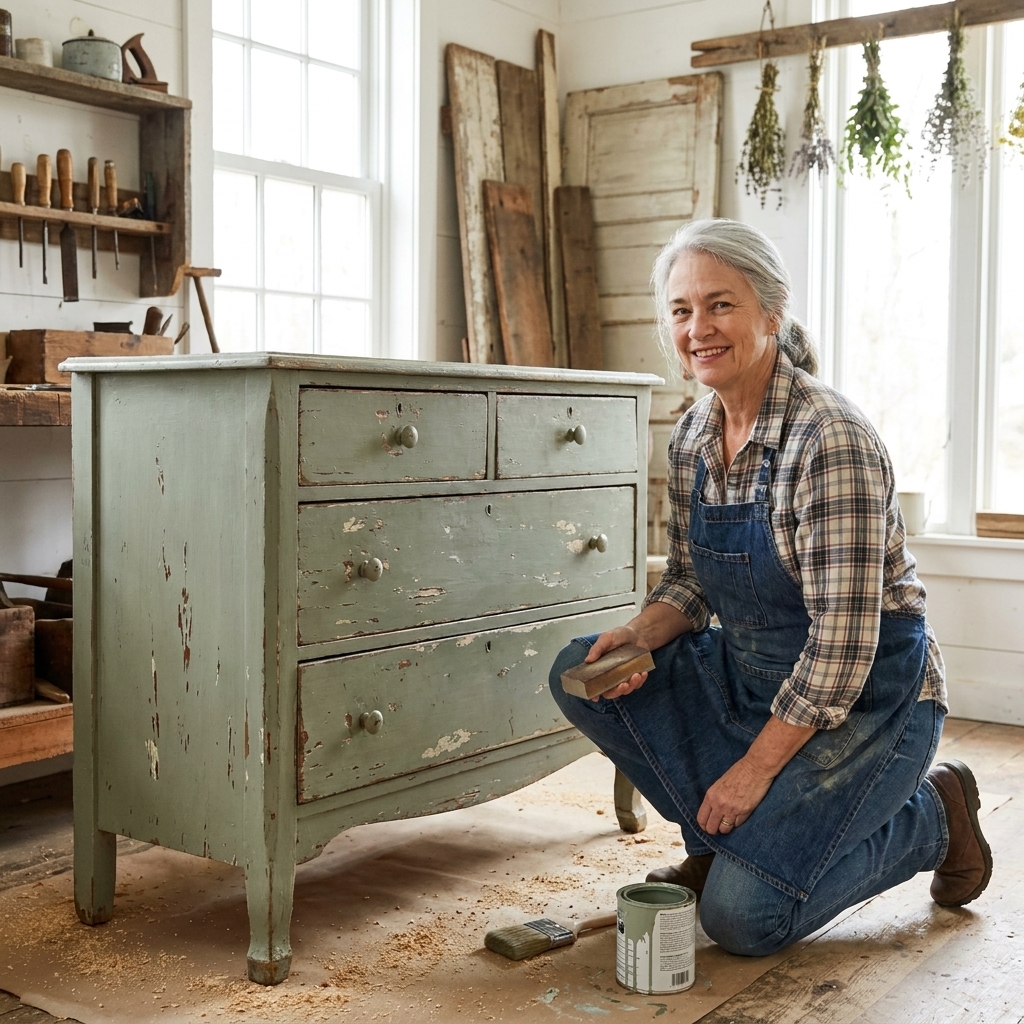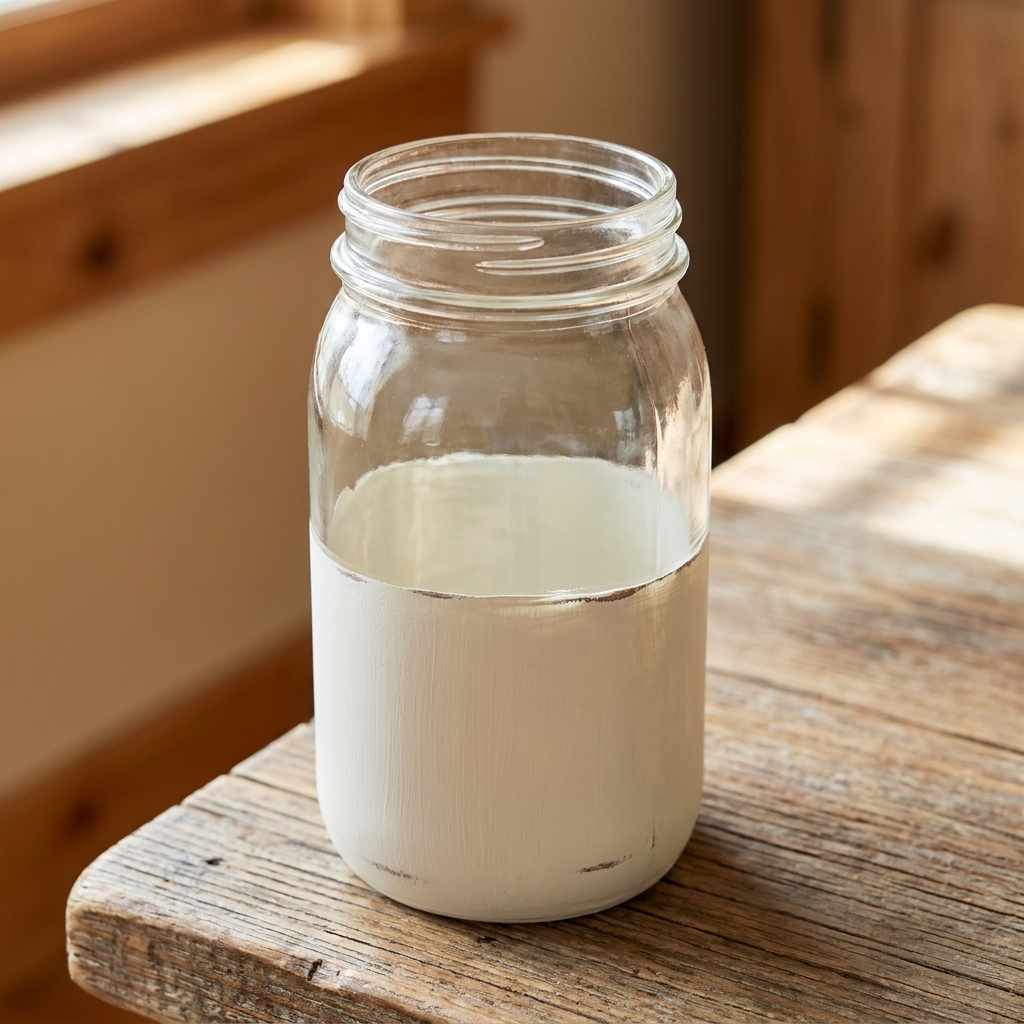
If you have ever brought home a perfectly sturdy, perfectly boring dresser from a thrift shop and wished it had a little soul, this is for you. Chalk paint and dark antiquing wax are one of my favorite beginner-friendly ways to give plain wood furniture that soft, timeworn farmhouse finish. No fussy spray equipment, no complicated stripping, and you get to decide exactly how “old” you want it to look.
Below I will walk you through the whole process, start to finish, with the little lessons I learned the hard way on my own 1920s cottage projects. Grab a cup of coffee and a drop cloth, and let’s make something charming.
What chalk paint is
Chalk-style paint is known for its velvety, matte finish and its ability to stick to many surfaces with minimal prep. It is forgiving, dries quickly, and looks right at home in rustic spaces because it does not feel glossy or “new.”
That said, “no prep” is a little optimistic. The secret to a finish that lasts is simple: clean well, dull any shine, and fix the problems that will bleed through later.
Best pieces to start with
- Solid wood dressers and side tables: forgiving, easy to sand lightly, and worth the effort.
- Wood veneer: totally doable, just be gentle with sanding.
- Previously finished pieces: also doable, but you must clean and scuff well.
I would skip laminate for your very first project. You can paint it, but adhesion is less forgiving and usually needs extra bonding steps.
Supplies you will need
You do not need a studio full of tools, but a few key items make the whole thing smoother.
Must-haves
- Chalk-style paint (often a quart covers a small to medium dresser, but you may need more for large pieces, extra coats, or painting drawers and interiors)
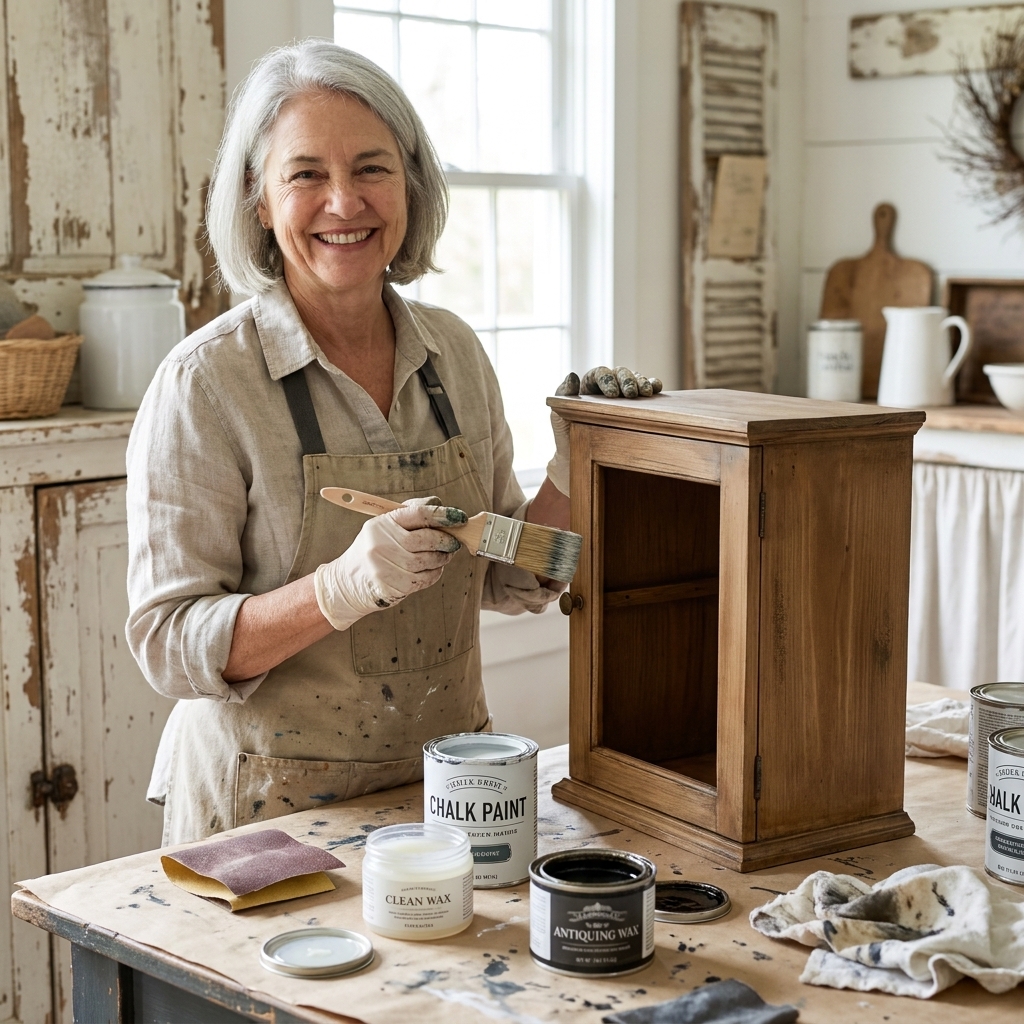
- Dark antiquing wax (sometimes labeled “dark wax” or “antique wax”)
- Clear wax or a water-based topcoat (more on choosing below)
- Quality paintbrush (a 2 inch angled brush is my go-to) and/or a small foam roller for flat tops
- Lint-free rags or old cotton t-shirts for waxing
- Drop cloth, nitrile gloves, and good ventilation
- Cleaner/degreaser (dish soap and warm water can work, but a degreasing cleaner is better)
- Sandpaper: 120, 180, and 220 grit or a sanding sponge
- Tack cloth or a damp microfiber cloth
Nice-to-haves
- Wood filler for dents and deep scratches
- Shellac-based stain blocker primer for knotty pine or mystery stains
- Painter’s pyramids or small blocks to lift drawers/doors off your surface
- Painter’s tape and a marker for labeling drawers and hardware
- New hardware, or rub-n-buff for refreshing old pulls
Quick note on tack cloths: some can leave residue if you press hard or overuse them. A slightly damp microfiber cloth is often my safest, simplest choice, especially right before waxing.
Step 1: Inspect the piece
Before you touch a brush, take five minutes to look your piece over like a detective.
- Smell it. If it has a strong smoke or musty odor, plan to clean thoroughly and often seal it with shellac before painting. Bad odors sometimes take more than one coat of sealer.
- Check for sticky residue. Old furniture polish and kitchen grease are some of the most common reasons paint fisheyes or peels.
- Look for bleed-through risks. Knots, dark water rings, and orange-y pine tannins may need a stain-blocking primer.
- Wiggle test. Tighten joints and hardware now, before a pretty finish distracts you.
Step 2: Clean well
I know, cleaning is not the fun part. But wax will highlight every fingerprint, and paint does not like leftover polish.
My simple cleaning routine
- Remove hardware and drawers. Add a small tape label so everything goes back where it came from.
- Wash with a degreasing cleaner and warm water, especially around handles.
- Rinse with clean water and let everything dry fully.
If your piece is from a kitchen, or if it still feels slick after cleaning, you can do a second wipe-down with a little denatured alcohol on a rag in a ventilated area. Test a hidden spot first, and follow it with a proper degreasing clean so you are not just moving residue around.
Step 3: Scuff sand
Chalk paint can stick well, but it still appreciates a little tooth. You are not trying to sand down to bare wood. You are simply dulling the shine and smoothing bumps.
- Use 180 grit for most surfaces.
- Use 120 grit only on drips, heavy texture, or thick old finish.
- Finish with a quick pass of 220 grit on tops and edges you will touch often.
Vacuum dust, then wipe with a slightly damp microfiber cloth (or a light pass with a tack cloth). Let it dry before painting.
Step 4: Prime if needed
Here is my rule: if you suspect stains, knots, smoke, or that orange pine bleed, prime first. It saves your sanity later.
When to prime
- Knotty pine or any wood with visible knots
- Water rings, ink marks, or mystery stains
- Smoke odor or persistent mustiness
- Mahogany and other tannin-heavy woods
A shellac-based primer is often the most reliable for blocking, but use it with ventilation and follow the label instructions.
Step 5: Paint the base coat
For a classic farmhouse look, I love warm whites, oatmeal, soft putty, and dusty greens. Dark wax will deepen the color slightly, so keep that in mind when choosing your shade.
How to paint smoothly
- Stir, do not shake. Shaking can add bubbles.
- Use thin coats. Chalk paint dries fast. Heavy coats show brush marks and can feel gummy under wax.
- Work in sections. Top, sides, then drawer fronts.
- Let it dry fully between coats. Many brands are ready for a second coat in about 30 minutes to 2 hours, but humidity matters, so check your label and use your fingertips. If it feels cool or tacky, give it more time.
Most pieces need two coats. If you are covering a very dark finish with a light color, plan for three thin coats instead of two thick ones.
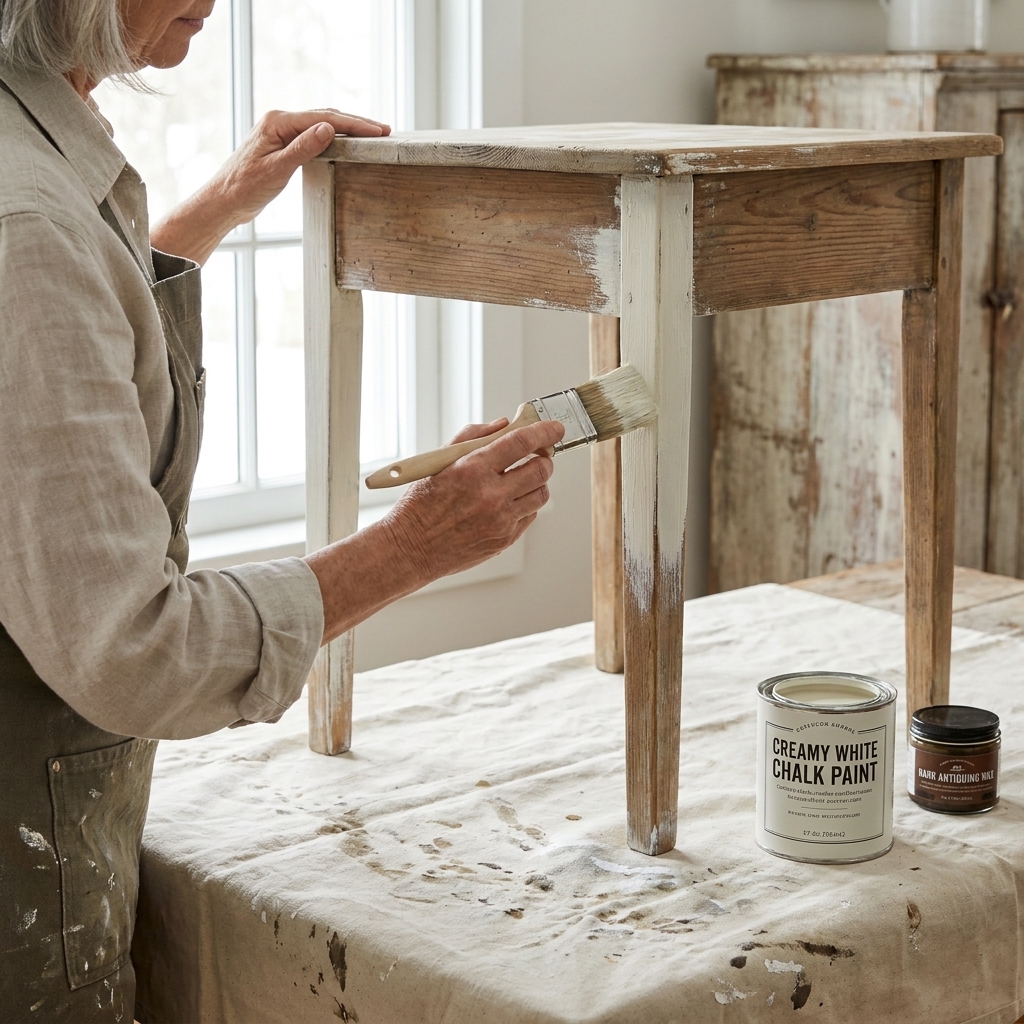
Step 6: Distress lightly
You can absolutely skip distressing. A clean, painted finish with subtle dark wax in the details is beautiful. But if you love that been-around-forever charm, light distressing is the quickest shortcut.
Where to distress
- Edges and corners
- Around drawer pulls
- Bottom apron edges on tables
- High spots on carved details
Use 220 grit and go slowly. Step back often. The goal is “worn,” not “attacked by a raccoon.”
Step 7: Clear wax first
If you are new to dark wax, I strongly recommend doing a layer of clear wax before you antique. Think of clear wax as a slip coat. It gives you more working time and makes it easier to soften or remove dark wax if you go too heavy.
How to apply clear wax
- Use a clean lint-free rag or a wax brush.
- Pick up a small amount and apply a thin, even coat.
- Work it into the paint in small sections.
- Buff lightly with a clean rag after 10 to 20 minutes.
You are not frosting a cake here. More wax is not better. Thin layers cure harder and feel less tacky.
Step 8: Antique with dark wax
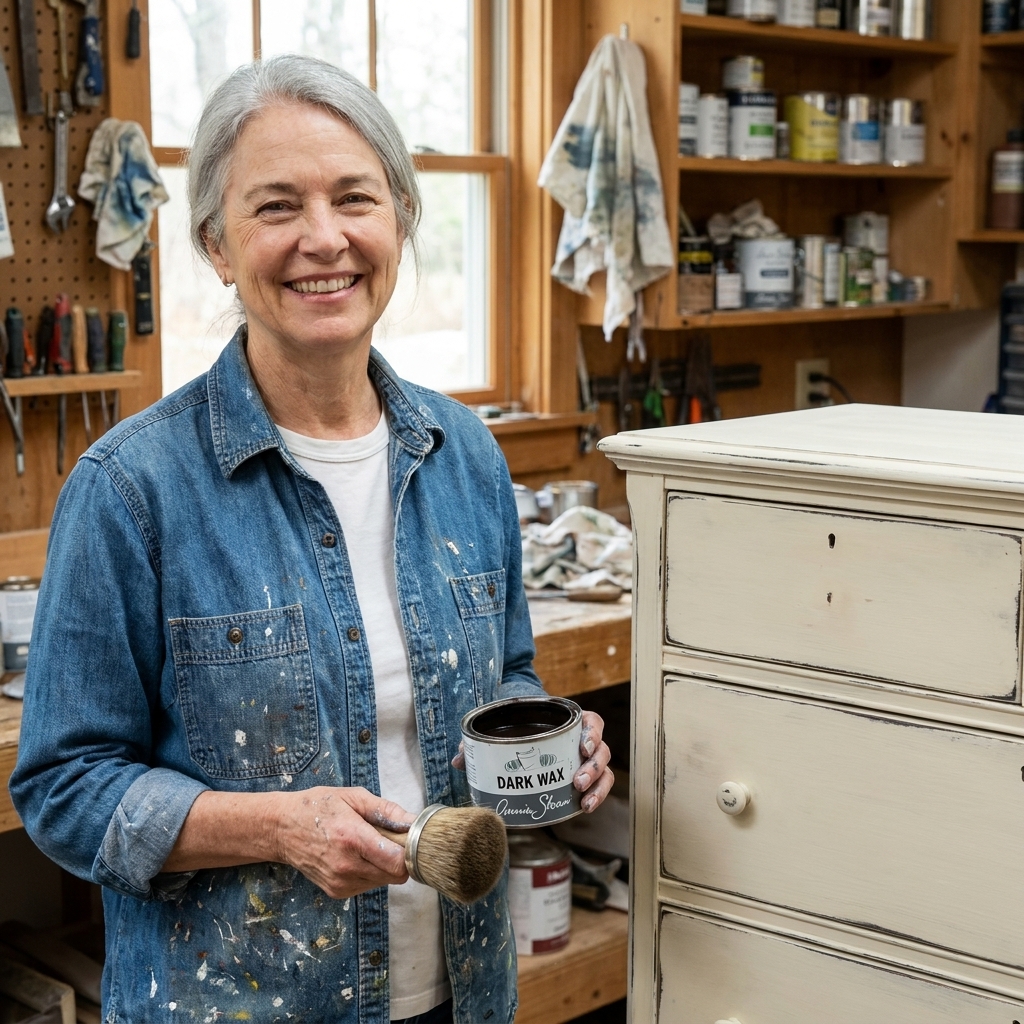
Dark wax is what gives chalk paint that depth you see on truly old pieces. It settles into grooves, highlights texture, and warms up flat paint in the most satisfying way.
One beginner tip: go lighter on large, flat surfaces (like a dresser top or tabletop). Dark wax can look blotchy there. I prefer keeping the heavier aging in seams, corners, and details, then using just a whisper on flats to warm things up.
The simple dark wax method
- Start on the back or inside a drawer front. It is the best place to practice.
- Dab dark wax into details first. Use a rag or small brush to push wax into corners, carvings, and creases.
- Wipe back right away. Use a clean rag to remove wax from the flat areas, leaving it in the low spots.
- Feather your edges. Blend any harsh lines with a lightly waxed rag. Work in small sections so you do not get lap marks.
If you want a heavier, grungier look, let the dark wax sit for a minute or two before wiping back. If you want whisper-soft aging, wipe almost immediately and keep your rag moving.
Where dark wax looks best
- Along edges and corners
- In drawer seams and around inset panels
- In carved trim and beadboard details
- On table legs and turned feet
Ventilation note: many dark waxes are solvent-based. Use airflow and follow your brand’s label for application and cleanup.
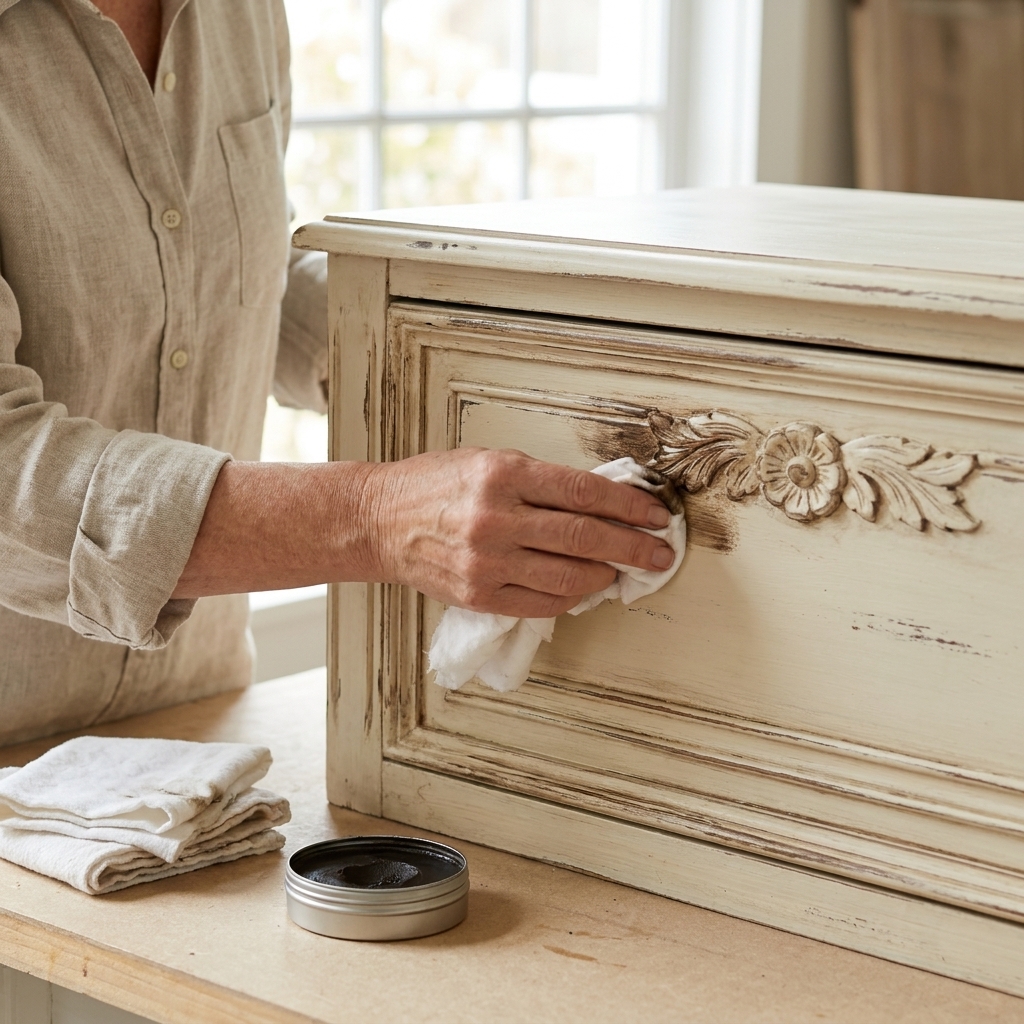
Step 9: Buff and cure
Wax feels soft at first. It needs time to cure.
- Buff with a clean rag after 20 to 30 minutes for a soft sheen.
- Be gentle for the first 24 to 48 hours. Avoid setting heavy items on tabletops.
- Full cure is commonly 1 to 3 weeks, depending on climate and how much wax you used. Your product label is the best guide here.
If a piece still feels tacky after a day, it usually means too much wax. Buff more with a clean rag, and if needed, lightly apply a tiny bit of clear wax to help move excess dark wax around and lift it off.
Wax or topcoat
This is the question I get the most, especially for dining tables and coffee tables.
Choose wax if
- You want a soft, hand-rubbed finish with an authentically vintage feel
- The piece is lower wear, like a dresser, nightstand, or console table
- You do not mind occasional maintenance over the years
Choose a water-based topcoat if
- The piece will see water, heat, or constant wiping, like a kitchen table
- You have little kids and need maximum durability
- You prefer less maintenance
Sheen expectations: wax is naturally low-sheen. Buffing gives you a soft glow, not a shiny poly look. If you want a true satin finish, a topcoat will get you there more easily.
If you use dark wax for antiquing but want extra protection, you can wax for the look, let it cure, then test a small hidden area before applying a compatible topcoat. Not all topcoats play nicely over wax, so always check manufacturer guidance and do a spot test.
Colors that work
If you are staring at paint swatches and feeling stuck, here are a few foolproof pairings that read “farmhouse” without feeling overly trendy.
- Warm white + dark wax: classic, cozy, looks especially good with brass or black hardware
- Soft greige + dark wax: subtle and sophisticated, great for modern farmhouse rooms
- Muted sage + dark wax: earthy and vintage, perfect for sideboards and accent tables
- Dusty blue + dark wax: cottagey and sweet, beautiful for nightstands
I always remind myself: dark wax is like eyeliner. A little defines, a lot makes a statement. Either can be right, depending on the mood.
Troubleshooting
My paint looks streaky
- Use thinner coats and a higher quality brush.
- Lightly sand between coats with 220 grit, then wipe clean.
- Try a small foam roller on flat surfaces like table tops.
The paint scratches off
- Most often the piece was not cleaned well enough. Remove loose paint, degrease, scuff sand, and repaint.
- Very slick finishes sometimes need a bonding primer.
- Make sure wax has time to cure before heavy use.
Dark wax went on too heavy
- If you used a clear wax base, apply a small amount of clear wax and wipe back to lift excess dark wax.
- Use a clean rag and keep turning to a fresh spot.
- Work in small sections so you can control the blend.
Stains are coming through
- This is bleed-through. Stop and seal the area with a stain-blocking primer (often shellac-based), then repaint.
- Knotty pine and old water stains are classic culprits.
My wax feels tacky
- Too much wax. Buff with a clean rag.
- Move the piece to a warmer, drier area if possible.
- If it still feels sticky after a couple days, you may need to remove some wax with mineral spirits or a brand-recommended remover per label instructions, then re-wax thinly.
Beginner dresser plan
If you want a straightforward plan to follow the first time, this is the one I suggest.
- Clean the dresser thoroughly and let it dry.
- Label drawers and hardware so nothing gets mixed up.
- Scuff sand all surfaces with 180 grit and wipe away dust.
- Prime knots or stains only if needed.
- Paint two thin coats of chalk paint, letting each coat dry (check your label for recoat time).
- Lightly distress edges with 220 grit (optional).
- Apply a thin layer of clear wax and buff.
- Antique with dark wax in corners, around trim, and along edges. Wipe back.
- Buff again and let cure.
- Add hardware, or clean the original pulls for a true vintage look.

Safety and cleanup
A quick but important word: some waxes and solvents can be flammable. Always read the label on your specific products, work with airflow, and store rags safely. If your wax product includes instructions for rag disposal, follow them exactly.
For brushes used with wax, many people dedicate one brush to clear wax and one to dark wax. It saves a lot of cleanup frustration.
FAQ
Do I have to sand first?
You usually do not need heavy sanding, but a quick scuff sand helps the paint grip and helps your finish last. I almost always do it, especially on glossy or previously finished furniture.
Can I use dark wax without clear wax?
You can, but it grabs fast and can stain the paint more than you expect. For a first project, clear wax underneath makes dark wax much more forgiving.
How do I avoid a muddy look?
Apply dark wax in small amounts, focus it in details, then wipe back the flat areas. Step back often and stop sooner than you think. You can always add more.
Is wax enough for a dining table?
In my experience, wax is usually not enough for a hard-working table that gets water rings, hot mugs, and daily wiping. For those, I prefer a durable topcoat and use dark wax more sparingly or only in carved areas, depending on the look I want.
One last pep talk
Your first chalk paint project does not have to be flawless to be beautiful. The whole point of a farmhouse finish is that it feels lived-in and loved. Work in thin layers, keep your rags clean, and trust your eye. If you go a little too heavy with the dark wax, you can soften it. If you miss a drip, you can sand it. This is the kind of DIY that rewards patience, not perfection.
And when you slide that first drawer back in and see all that cozy dimension in the corners, you will understand why I keep bringing home “perfectly boring” furniture in the first place.