If you have a box of mason jars tucked in a pantry (or a cart full from the thrift store), you are sitting on one of my favorite little farmhouse “cheats.” With a bit of chalk paint and some sandpaper, plain glass turns into that soft, timeworn look that feels like it’s been on a kitchen table for decades.
I’ll walk you through the exact process I use at home, including the small details that make the finish look authentically aged instead of freshly “crafty.”
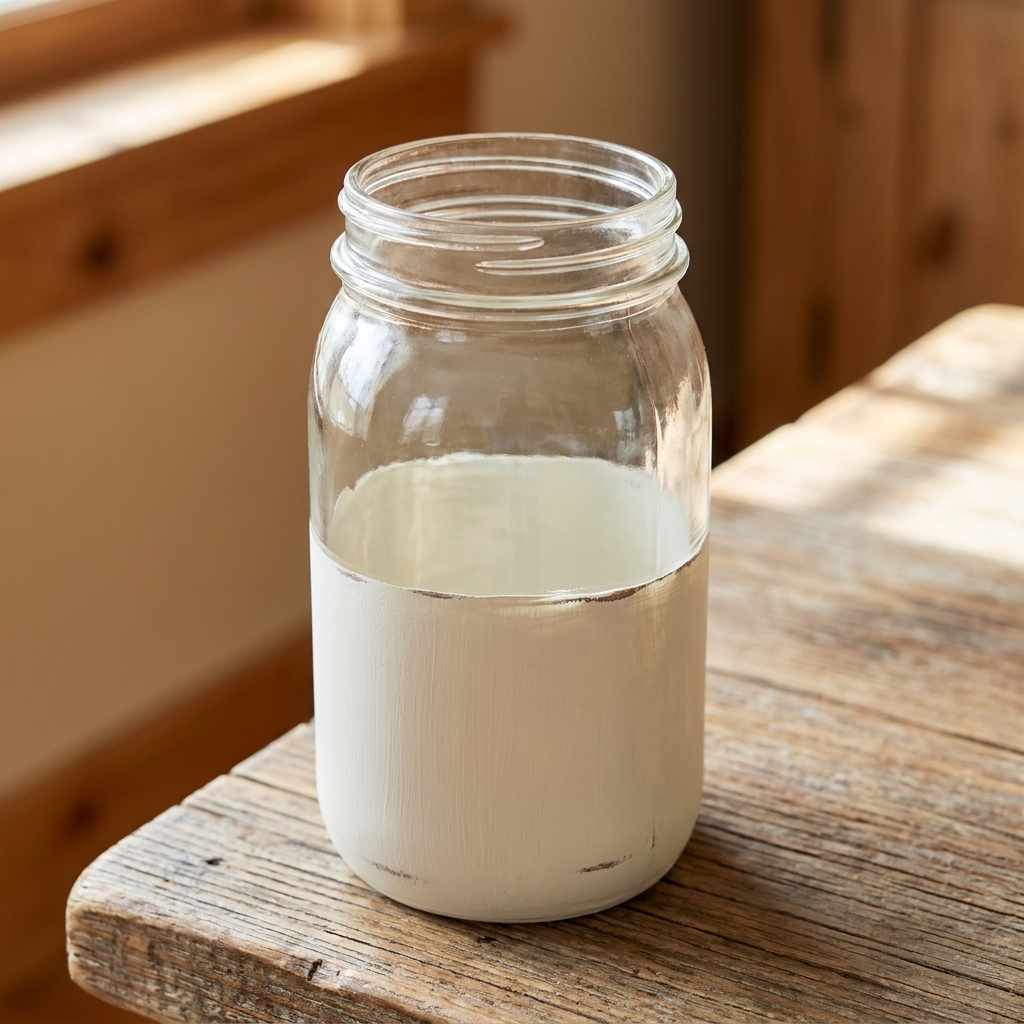
What makes a jar look vintage
Real wear happens in predictable places. When I’m distressing jars, I always think about how hands would naturally grab them and how they would bump around in a cupboard.
- High points wear first: raised lettering, threads near the rim, and any embossed logos.
- Edges and bases scuff: the bottom ring, the shoulder of the jar, and corners of squared jars.
- Uneven opacity looks older: a slightly mottled coat reads like years of cleaning and handling.
Supplies (simple, thrift-friendly)
- Clean mason jars (regular, wide-mouth, or any glass jar with a pretty shape)
- Chalk paint (white, cream, putty, soft gray, sage, or dusty blue all feel right at home)
- Paintbrush (a small chip brush or round chalk-paint brush)
- Fine grit sandpaper (220) and medium grit (120 to 150)
- Rubbing alcohol (preferred) or white vinegar (in a pinch)
- Lint-free cloth or paper towels
- Optional: painter’s tape (for stripes or “dipped” looks)
- Optional: clear wax, water-based polycrylic, or matte spray sealer
- Optional: jute twine, vintage lace, metal tags, or old keys for dressing them up
My favorite jar sizes for centerpieces: pint jars for clusters, quart jars for flowers, and short wide-mouth jars for tea lights.
Step 1: Prep the glass
This step is the difference between a finish that holds up and one that scratches off the first time you rinse the jar.
Wash first
Remove labels and adhesive, then wash with warm soapy water and dry fully. If the glue is stubborn, soak in warm water and use a little oil or Goo Gone, then wash again.
Degrease
Wipe the outside of the jar with rubbing alcohol and let it air dry. Alcohol is my go-to for oils and fingerprints. White vinegar can help with light residue or mineral film, but it is not as reliable for oils.
Optional: Help slick glass
If your jar feels extra glossy or paint tends to slide on it, lightly scuff-sand the outside with 220 grit first, then wipe clean again. You can also use a bonding primer made for slick surfaces for maximum durability.
Quick tip: If you want the inside usable for water (fresh flowers), keep paint on the outside only and stop about 1 inch below the rim.
One more important note: These are decorative finishes. Avoid painting surfaces that will touch food or drink.
Step 2: Paint the jar
Chalk paint is forgiving and gives that soft, powdery finish that looks lovely on open shelving or a rustic table. Dry times vary by brand, coat thickness, and humidity, so use the label as your North Star and treat my timing as a general guide.
Look A: Soft “milk glass”
- First coat: Apply a thin coat with vertical strokes. It will look streaky. That is fine.
- Dry: Let it dry until it is dry to the touch and no longer cool or tacky, often 20 to 60 minutes depending on your room.
- Second coat: Apply another thin coat, this time with a mix of vertical and diagonal strokes to soften brush lines.
- Optional third coat: Only if you want very solid coverage.
Maggie’s note from too many rushed projects: Thin coats beat one thick coat every single time. Thick paint is more likely to peel when you distress.
Look B: Airy “old paint”
If you like a more rustic, layered look, do one thin coat and intentionally leave a little translucence around the shoulder and base. It looks like paint that’s been wiped down over the years.
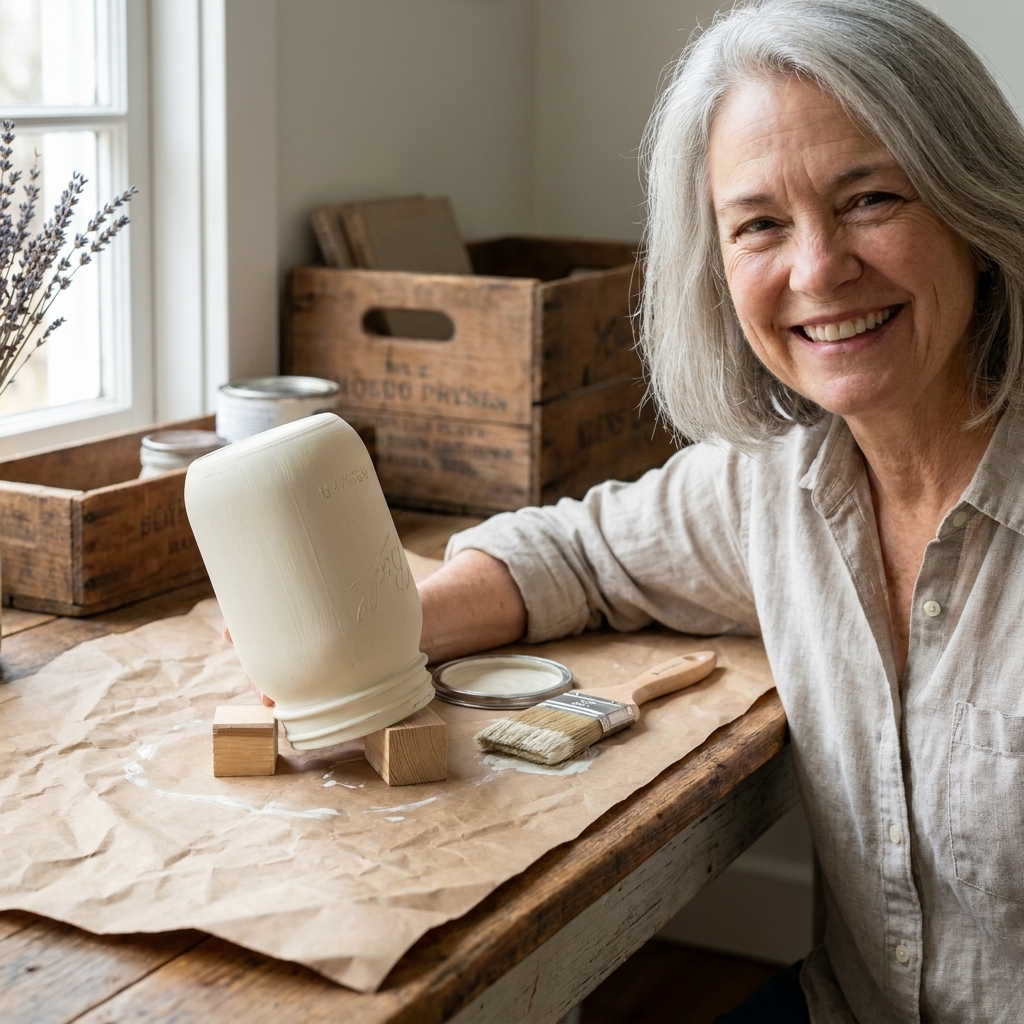
Drying tip: I like to let jars dry upright. If you flip one upside down, set it on a small riser (like a jar ring or a couple of craft sticks) so the rim threads do not stick to your surface or get a flat spot where paint pools.
Step 3: Distress with sandpaper
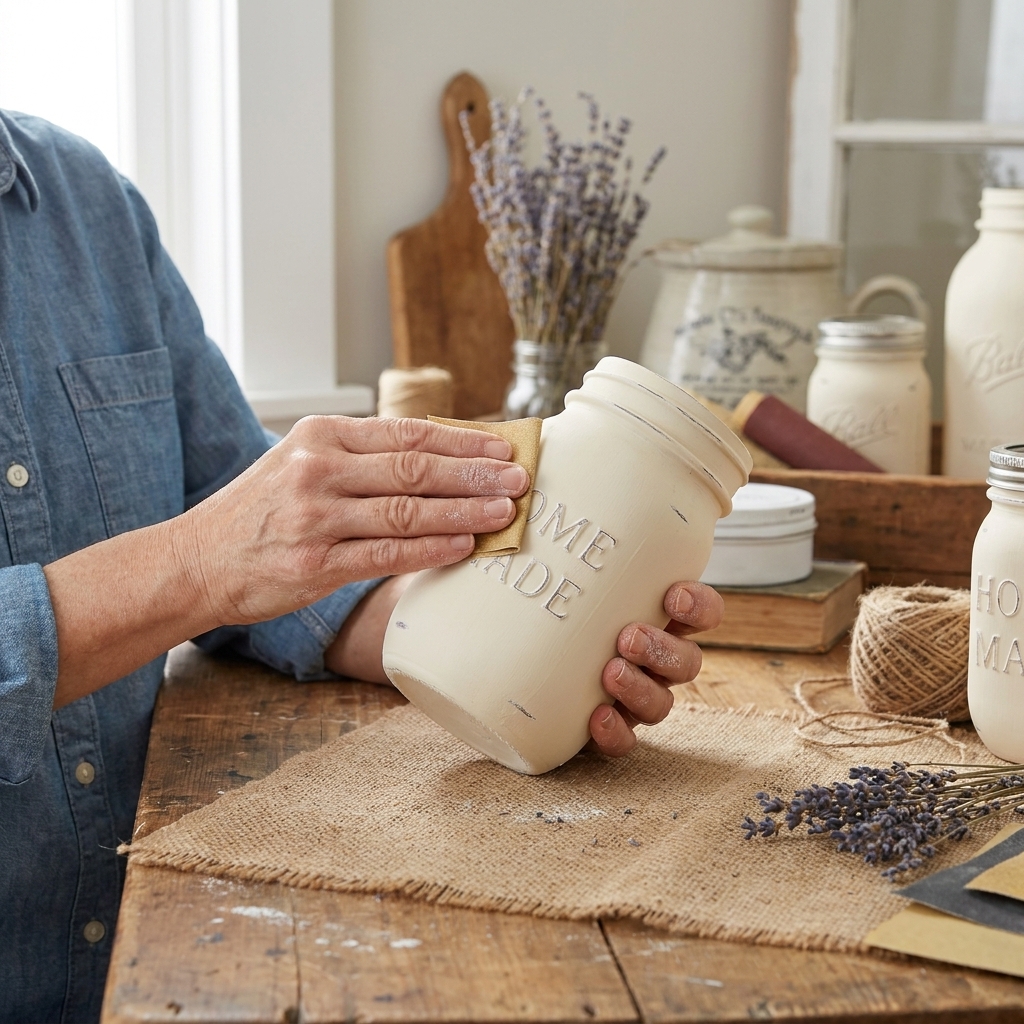
This is where the magic happens, and also where it’s easy to overdo it. My rule is to distress, step back, then distress a tiny bit more if needed.
When to sand
Wait until the paint is dry to the touch and no longer cool or tacky. In many homes that is roughly 45 to 90 minutes after the final coat, but humidity and thick coats can stretch that. If you sand too soon, paint can roll up into gummy bits.
Where to distress
- Raised lettering and logos: Use light pressure so the embossing pops.
- Rim threads: This spot always looks convincing because lids scrape here in real life.
- Bottom ring and base: A few scuffs here instantly reads “old pantry jar.”
- Shoulders and sides: Add a couple of worn patches where hands would grab.
How to distress (pressure matters)
- Start with 220 grit for a gentle, controlled worn look.
- Use 120 to 150 grit only if you want bolder distressing or quicker results.
- Sand in small arcs rather than straight lines. It looks more natural.
- Keep it uneven so it feels accidental, not planned.
Wipe away dust as you go so you can see what you’re doing. If you are sensitive to dust, a simple mask and good ventilation help. Before sealing, I like to do one last wipe with a slightly damp cloth, then let the jar dry fully.
Optional: Add age with glaze
If you want your jars to look like they have lived through a few generations of kitchen shelves, a touch of antique tint helps.
Easy coffee wash
For a soft, decorative tint, mix strong brewed coffee (cooled) with a tiny dab of brown craft paint. Brush it on lightly, then wipe most of it off right away with a rag. Let it settle around raised details and at the base. If the jar will be handled a lot, plan to seal afterward so the effect stays put.
Brown wax (my favorite)
Apply a very small amount of brown wax, then buff it back. Focus on the rim threads, embossed lettering, and the bottom ring. A little goes a long way, and you can always add more.
Step 4: Seal it (or don’t)
Whether you seal depends on how you plan to use the jars and how much handling they will get.
Skip sealer if
- They are purely decorative (dried stems, faux florals, styling on a shelf)
- You like the ultra-matte chalky finish
Seal if
- You will be wiping them often (kitchen, parties, fingerprints)
- You plan to use them outdoors where humidity and dew happen
Best sealers for jars
- Clear wax: Keeps the look soft and vintage. Buff gently after it sets.
- Water-based polycrylic (matte): More durable, slightly less powdery looking.
- Matte spray sealer: Quick and easy, best applied in light coats.
Important: If the jar will hold water for fresh flowers, keep sealer and paint on the outside only.
Centerpiece ideas
1) The “collected” jar cluster
Group 3 to 5 jars in mixed heights on a wood tray. Fill one with flowers, one with greenery, and leave one empty with just a twine bow. The empty one gives your arrangement breathing room.
2) Candlelit and cozy
Use short wide-mouth jars with battery tea lights. Add a pinch of Epsom salt or fine sand in the bottom if you want a soft glow and a little weight.
3) Everyday kitchen table
One quart jar with eucalyptus (fresh or faux), set on a small folded linen napkin. Simple, calm, and very “real life.”

Troubleshooting
My paint is peeling off in sheets
That usually means the glass had residue or oils. Strip the loose paint, clean with rubbing alcohol, and repaint in thinner coats. If the jar is very slick, do a quick 220 grit scuff-sand or use a bonding primer before repainting.
My brush strokes look heavy
Thin your chalk paint with a few drops of water and do one lighter smoothing coat. A soft sanding pass with 220 grit can also calm down ridges.
I distressed too much and it looks harsh
Dry brush a little paint back over the area, let it dry, then sand again very lightly. This layering is what makes pieces look genuinely aged.
The finish feels dusty
That is the nature of chalk paint. Wax or a matte sealer will “lock” the surface and make it feel less powdery.
I want to redo them later
If you change your mind, you can usually scrape off loose paint with a plastic scraper and soak the jar in hot, soapy water. Rubbing alcohol can help lift leftover paint or residue. Then wash and degrease again before repainting.
Finishing touches
- Twine and a tag: Wrap jute around the neck and tie on a small metal tag.
- Vintage lace: A strip of lace under twine is sweet and cottagey.
- Old keys: One key on a simple bow makes the whole jar feel like a story.
- Rusty lid rings: If you have them, keep the rings and let a little rust show. Just know rust can shed and transfer onto linens or wood, so I either keep jars on a tray or hit the ring with a light clear coat to lock it in.
If you take one thing from me, let it be this: distressing looks best when you stop just before it feels “done.” Vintage is always a little quieter than we think.
Quick FAQ
Can I distress mason jars without chalk paint?
You can, but chalk paint is the easiest path to a convincing vintage finish. Acrylic craft paint can work, but it tends to look shinier and can scratch off glass more easily unless it’s sealed well.
Do I need to prime glass before chalk painting?
Not usually for decorative jars. Good cleaning and thin coats do the heavy lifting. If you want maximum durability, use a bonding primer made for slick surfaces, then chalk paint on top.
How long should I let chalk paint cure?
It will feel dry fast, but it cures slower. I treat jars gently for 24 to 48 hours, especially before sealing or heavy handling.
Can these go in the dishwasher?
For chalk-painted jars, I treat the answer as no. Even sealed, they do best with a gentle hand wipe on the outside. (Dishwasher-safe glass paints exist, but they are a different product and process than chalk paint.)