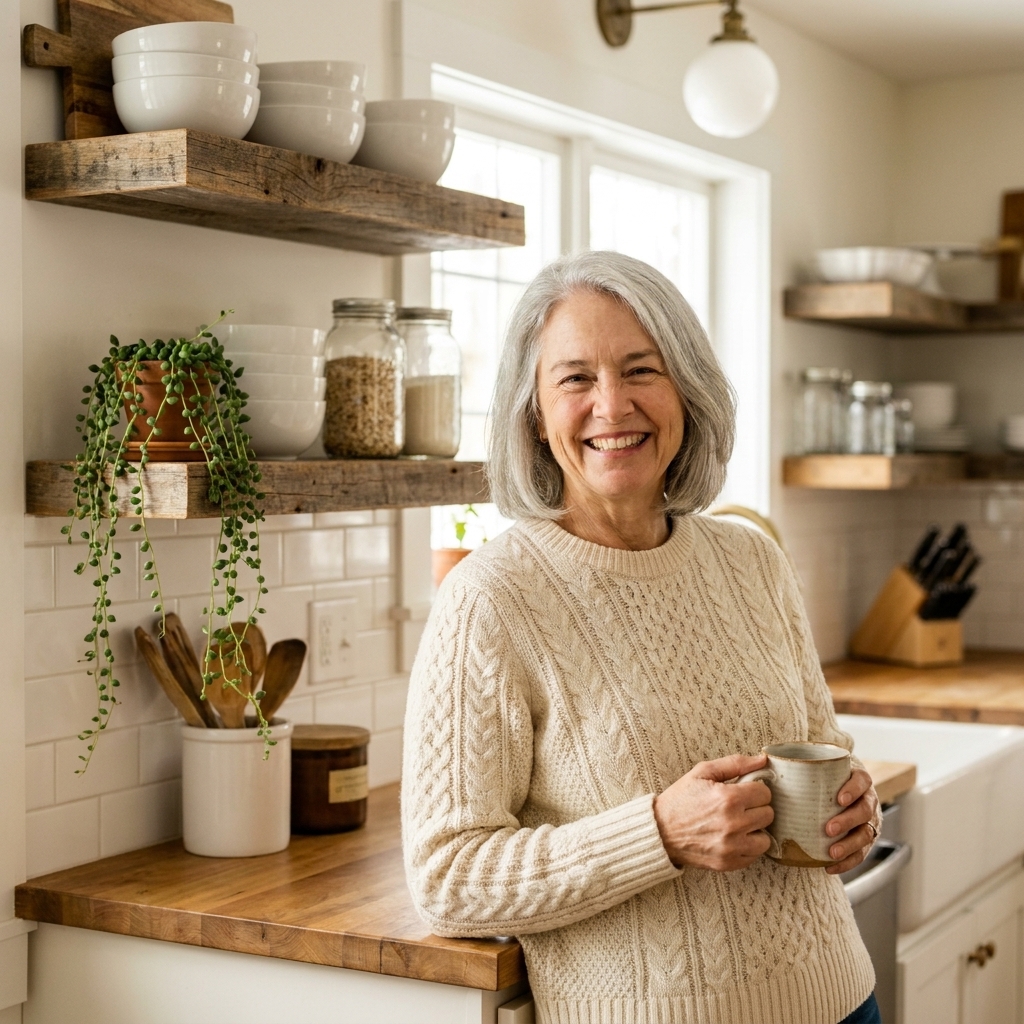
Open shelving can feel a little intimidating at first. You want it to be pretty, sure, but it also has to earn its keep at breakfast time when you are reaching for a mug with one hand and flipping pancakes with the other. The good news is rustic open shelves are forgiving by nature. Reclaimed wood, handmade pottery, and a few vintage pieces actually look better when they are lived with.
I have styled more shelves than I can count in my own little cottage kitchen, and the secret is always the same: start functional, then layer in soul. Let’s walk through it step by step.
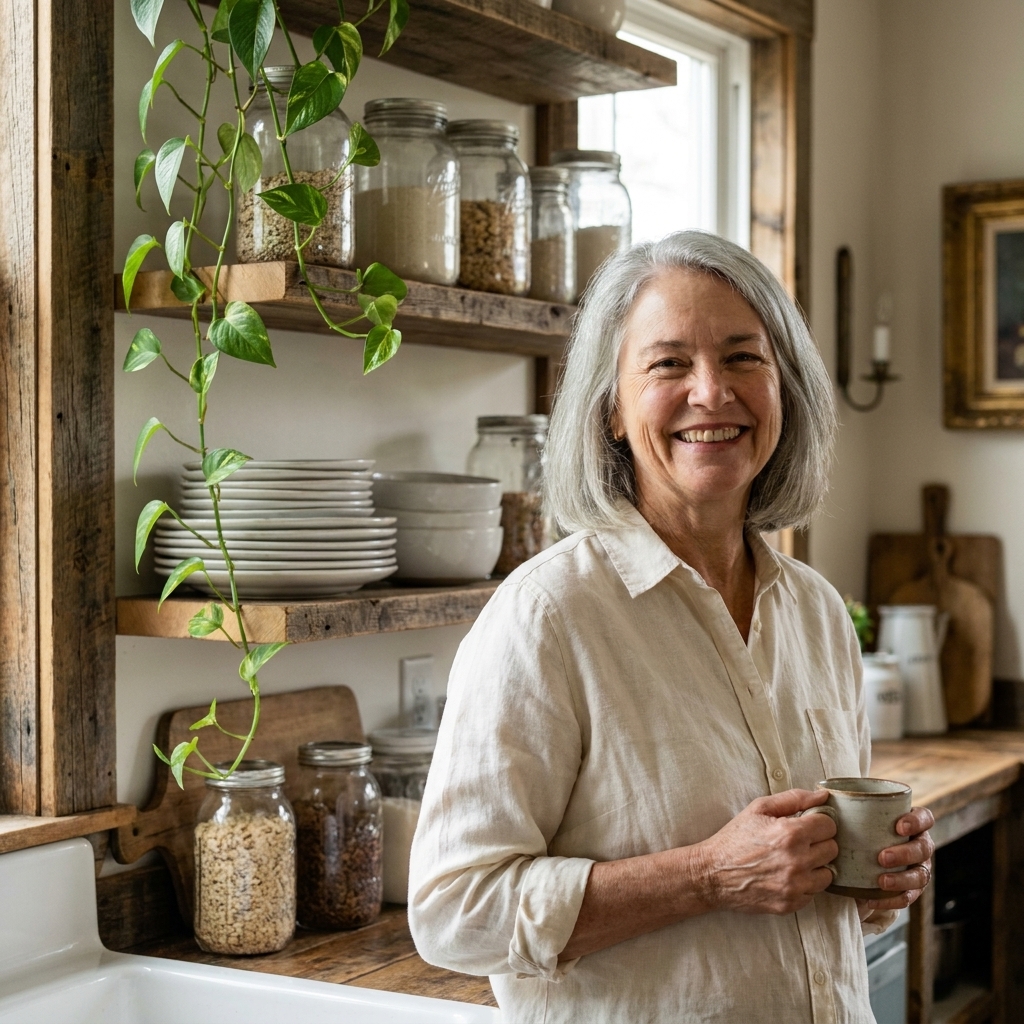
Start With the Shelf
Rustic shelves do a lot of the decorating for you, which is why I love reclaimed wood. It brings instant texture and history, even if the rest of your kitchen is simple.
Quick shelf check
- Depth: 9 to 11 inches often works well for dinner plates without swallowing your wall. If your plates are oversized, or you love big serving platters, measure first.
- Spacing: 12 to 15 inches between shelves is a common comfort zone for pitchers, canisters, and stacked bowls, but adjust for what you actually use most.
- Support: Use sturdy brackets rated for real weight. Dishes add up fast. Follow manufacturer guidance and any local building requirements.
- Install: Anchor into studs when possible or use the right wall anchors for your wall type. If you are unsure, it is worth asking a pro because a shelf full of stoneware is not forgiving.
- Finish: A matte oil or hardwax oil can be practical, especially once it is fully cured. Water resistance varies by product, so read the label and keep up with maintenance.
If your shelves are already up but feel a little too orange or shiny, a light scuff sand can help. For topcoats, test in an inconspicuous spot first because mystery finishes can be unpredictable. If the surface will get frequent wiping, choose a fully cured, kitchen-appropriate finish you feel good about.
Pick a Simple Palette
The easiest way to make open shelves look styled instead of stored is to keep your palette calm. In a rustic farmhouse kitchen, I lean on:
- Warm whites and creams for plates and bowls
- Soft black accents (a pepper mill, a small crock, an ironstone transfer piece)
- Clear glass for pantry staples
- Wood and woven textures to echo the shelves
This does not mean you cannot have color. It just means your color shows up intentionally, like a small stack of faded blue bowls or a single vintage green bottle.
Style Step by Step
Step 1: Clear it off
Yes, everything. It is hard to edit when you are working around stuff. Wipe the shelves down, then bring your items over in categories: plates, bowls, glasses, mugs, serving pieces, decor.
Step 2: Add daily essentials first
These are the things you use daily. When your shelves are functional, they stay tidy longer because you are not constantly moving decor around to get to the cereal bowls.
- Stack dinner plates in one or two piles.
- Add bowls beside or slightly in front of the plates.
- Keep mugs together so mornings are easy.
- Put everyday glasses on the lowest shelf you can comfortably reach.
My rule of thumb: about 70 percent functional, 30 percent pretty. If you cook a lot, go 80/20. No shame in that.
One more real-life note: keep heavy stacks lower when you can. Your shoulders will thank you, and it is simply safer.
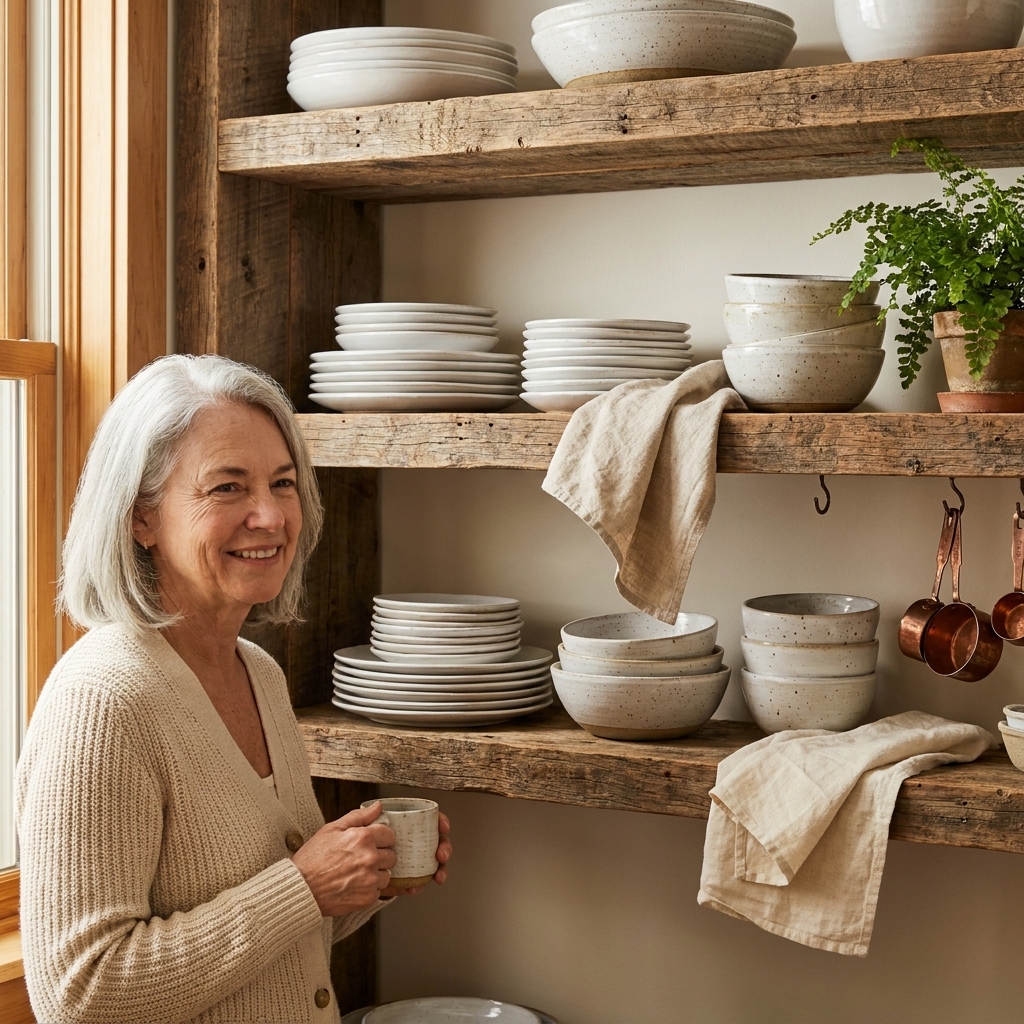
Step 3: Add tall anchors
Open shelving needs rhythm. If everything is the same height, it reads flat and a little busy all at once.
Add two to four taller pieces across the whole shelving area:
- A stoneware pitcher
- A vintage cutting board stood upright
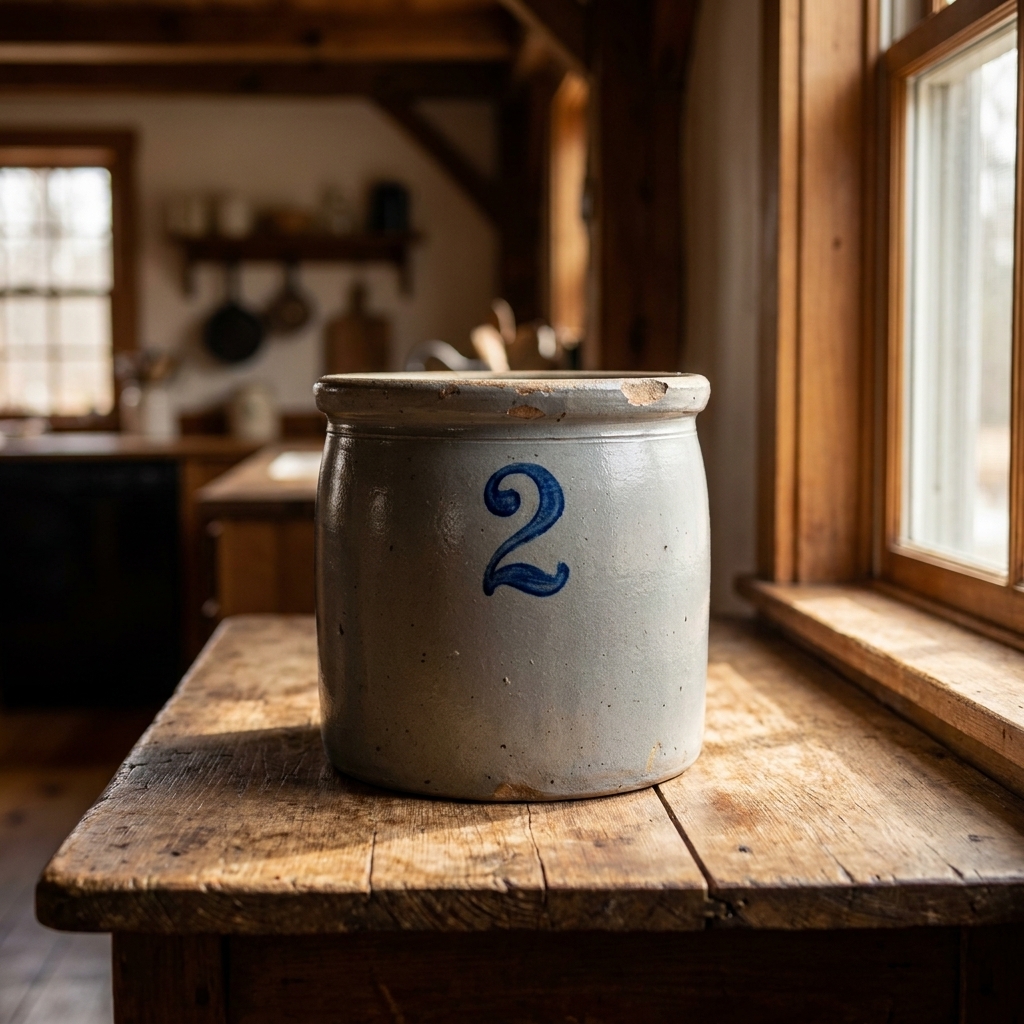
- A crock with wooden spoons
- A clear canister of pasta
- A small stack of cookbooks with warm covers
Spread these out so you are not making one heavy tower on one side.
Step 4: Add vintage accents
This is where the charm comes in. Think of vintage as the jewelry, not the outfit.
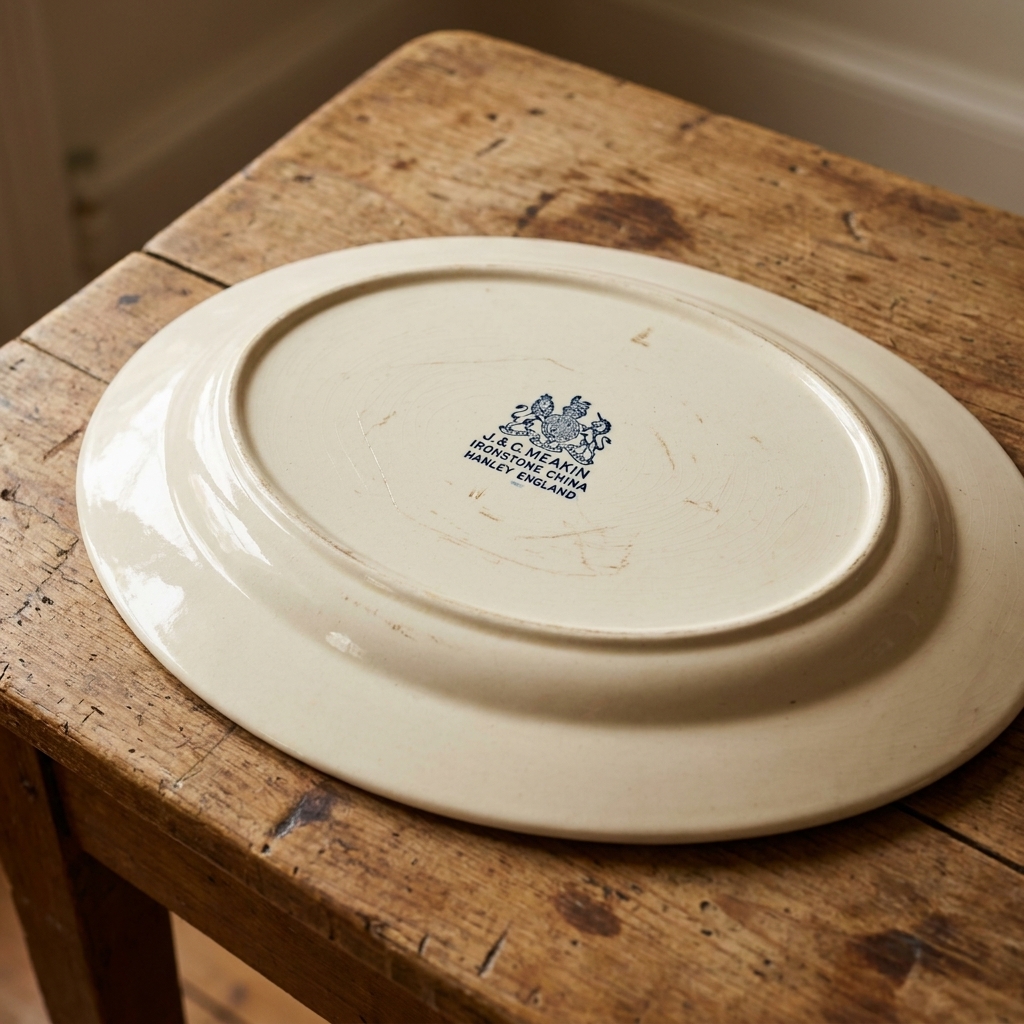
- Ironstone: a gravy boat, a little handled bowl, a platter leaned at the back
- Antique bottles: one or two in amber or olive green
- Copper or brass: a small measuring cup set, a tiny pot, a thrifted tray
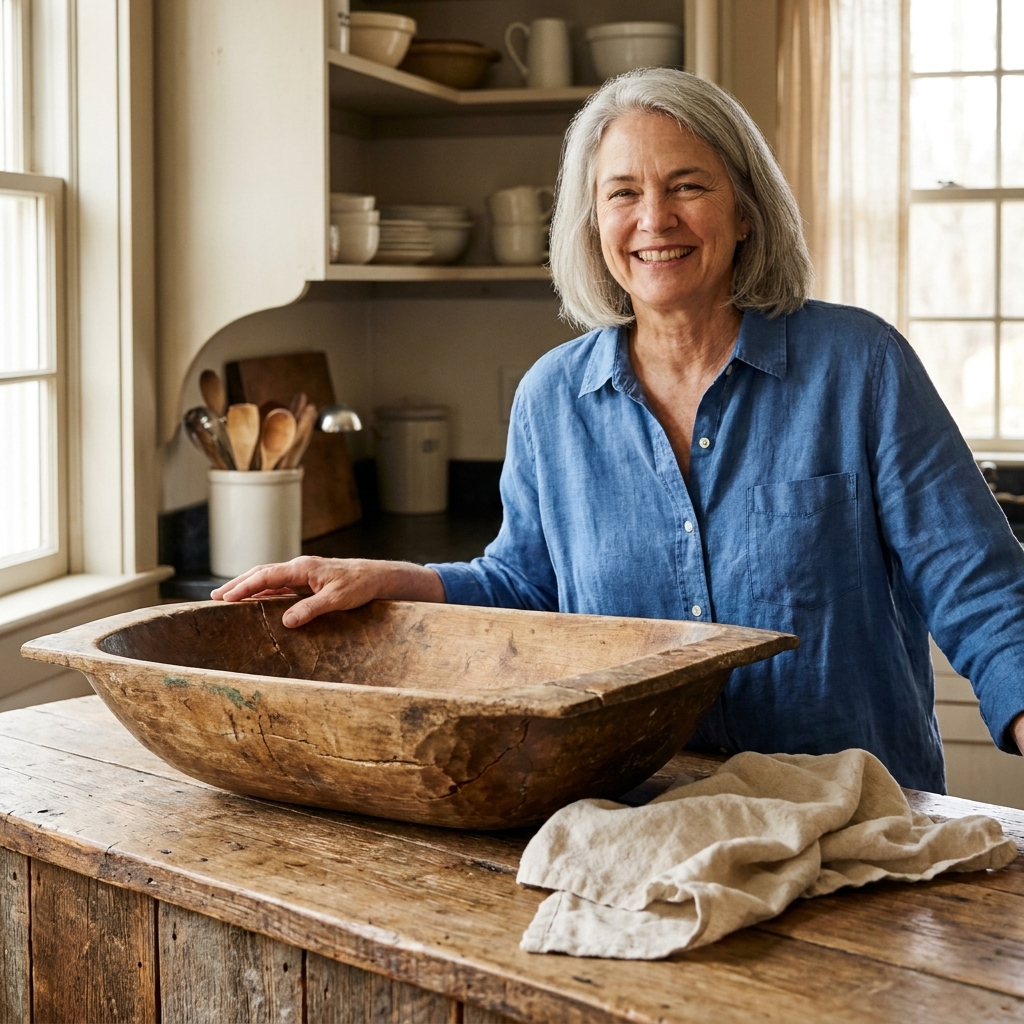
- Wood: a bread board, rolling pin, or dough bowl
If you have something with a pattern, like transferware, give it breathing room. One patterned piece can do the work of five.
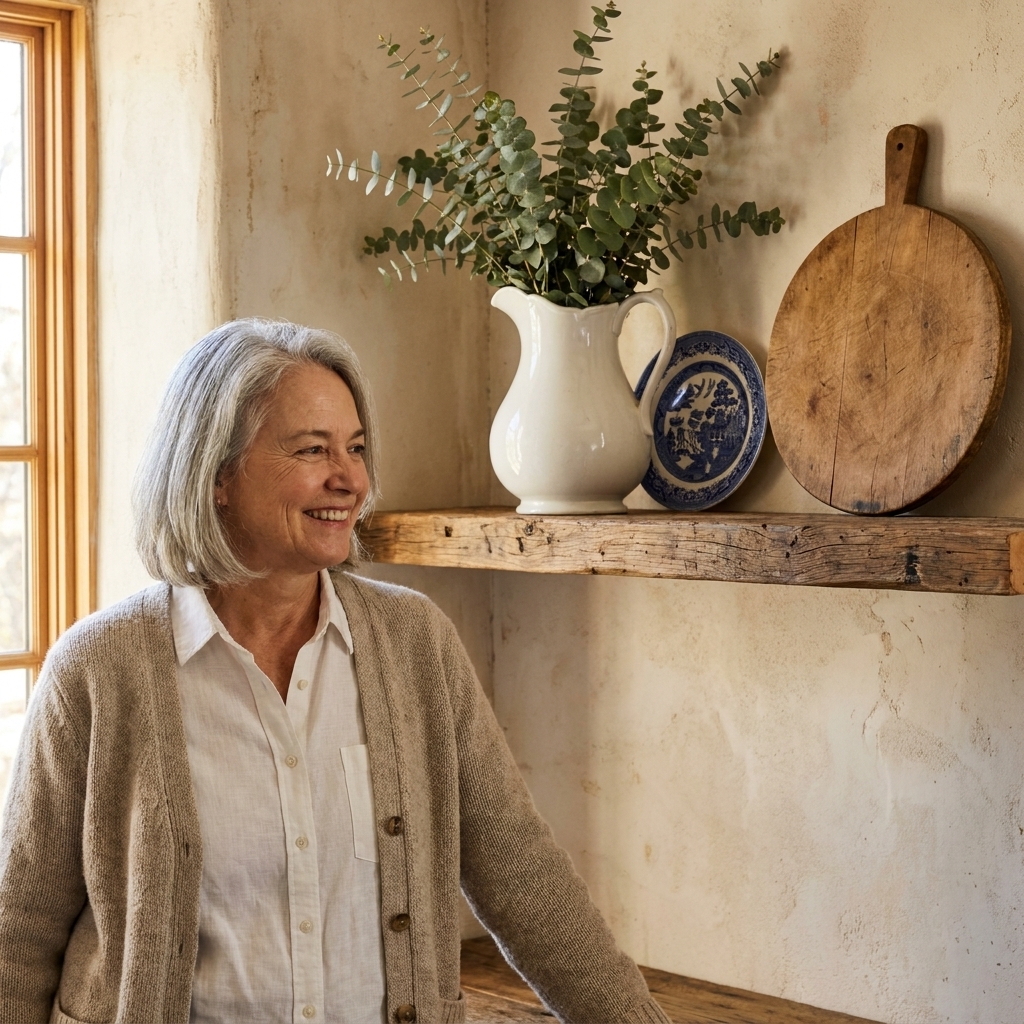
Step 5: Add greenery
Greenery is the quickest way to make shelves feel alive. I prefer simple, unfussy plants that tolerate real kitchens.
- Pothos: trailing, forgiving, and pretty on an upper shelf
- Herbs in small pots: rosemary, thyme, or basil near a window
- Eucalyptus stems: in a bottle or small vase for an easy look (fresh stems will dry over time, so swap them when they start shedding)
A tip from my own experience: if your kitchen does not get great light, choose one good-quality faux plant and commit to it. Dust it once in a while, and only you will know.
Step 6: Make small groupings
When shelves look professionally styled, it is usually because items are grouped intentionally. An easy formula is:
- One tall item (pitcher, bottle, utensil crock)
- One medium item (stacked bowls, canister)
- One small item (salt cellar, tiny framed art, small plant)
Repeat that idea across the shelves, then step back and adjust spacing.
Step 7: Edit for calm
This part matters more than the perfect objects. If it feels cluttered, remove one item from each shelf and see how it looks. You are aiming for a little negative space so your favorite pieces can breathe.
What to Show and Hide
Best everyday items
- Plates and bowls you use constantly
- Glasses and mugs
- Neutral canisters (flour, sugar, coffee)
- Pretty serving boards and platters
- Linen tea towels in a small stack
What looks messy fast
- Bright, mismatched packaging
- Plastic kid cups in neon colors (unless that is your whole vibe, then you do you)
- Appliance parts and cords
- Too many small items with no grouping
- Anything you hate dusting
I keep the not cute but necessary category behind closed doors, and it makes the open shelves feel like a choice, not a storage crisis.
Easy Shelf Formulas
The classic stack
- Stack of white plates
- Nested neutral bowls in front
- Wooden board leaned behind
- Small crock or salt cellar to the side
The coffee spot
- Mugs grouped together
- Small canister for coffee or tea
- Mini tray with sugar bowl and spoon
- Tiny plant or a simple vase with stems
The pantry shelf
- Two to three glass jars (oats, pasta, beans)
- One taller jar (flour or rice)
- Wood scoop or vintage spoon resting in one jar
- One amber bottle for warmth
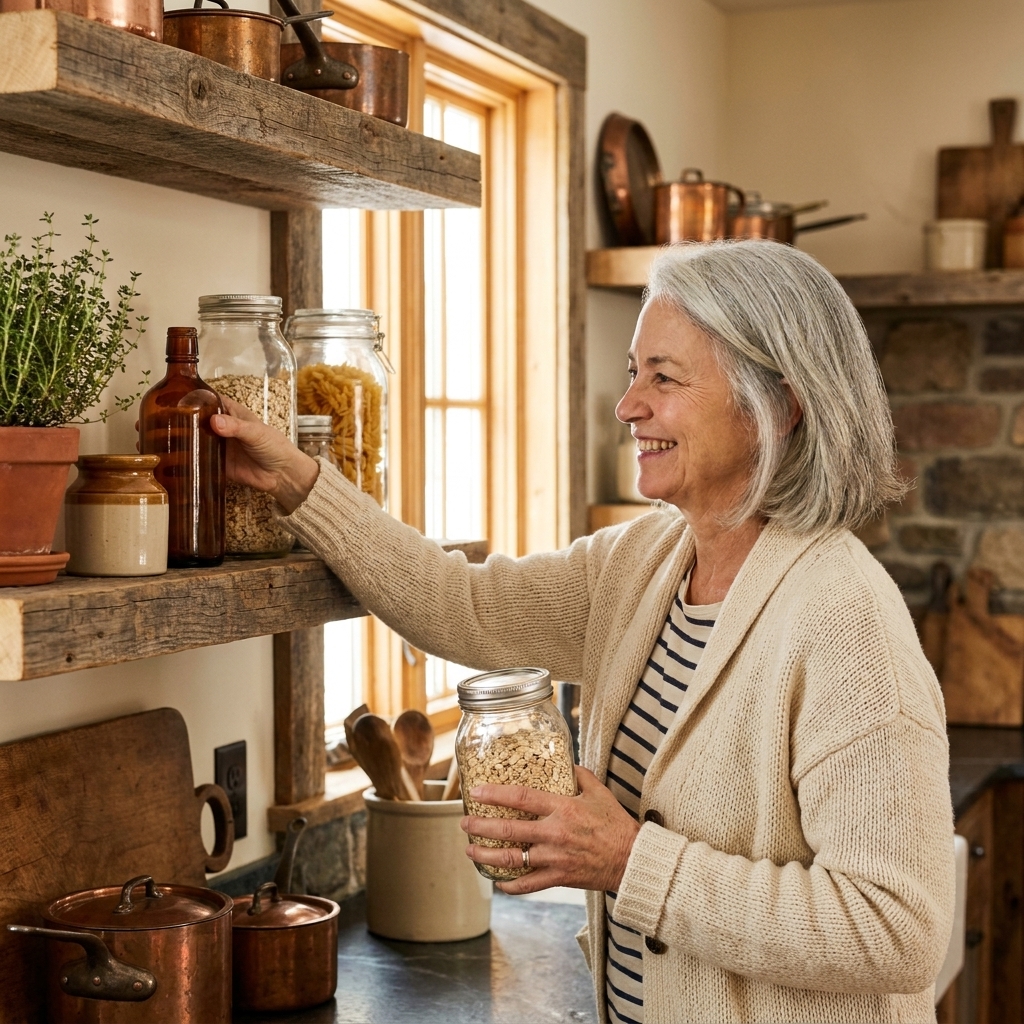
Keep It Real-Life Ready
Let’s be honest, the reason open shelves go sideways is not styling. It is upkeep. A few small habits make a huge difference.
- Do a one-minute reset nightly: straighten stacks, put stray cups in the dishwasher, wipe a sticky jar.
- Limit duplicates: if you own 18 mugs, the shelves will look crowded. Keep favorites out, store the rest.
- Dust smarter: a dry microfiber cloth once a week beats a deep clean once a month.
- Rotate seasonally: swap a summer pitcher for a stoneware crock in fall, or add a little evergreen clipping in winter.
And a practical kitchen note that matters: shelves closest to the stove collect grease and dust faster. If yours are near the cooktop, reserve that spot for items that wash easily, or keep it simpler and let your vent hood do its job.
My cottage rule: If you have to move three things to put one thing away, the shelf is over-styled.
Common Mistakes
Everything is the same size
Fix: Add one taller piece per shelf section, like a pitcher or a cutting board.
It looks cluttered but organized
Fix: Reduce the number of visible categories. For example, keep bowls and plates on the shelves, but move water bottles and travel cups into a cabinet.
Too many tiny pieces
Fix: Trade five small objects for one larger, meaningful vintage piece.
It feels cold
Fix: Add warmth with wood, woven baskets, linen, and a touch of green.
FAQ
How do you style open shelves so they do not look messy?
Keep a simple color palette, group items by type, vary heights, and leave a little empty space. Messy shelves usually have too many small items scattered evenly across every inch.
How many decor pieces should I put on kitchen shelves?
A few is plenty. I like one to two decorative accents per shelf section, then let your everyday dishware be the main event.
What dishes look best on rustic open shelves?
White or creamy stoneware, handmade pottery in soft neutrals, and clear glass look timeless against reclaimed wood. If you love pattern, sprinkle it in with one or two special pieces.
Are open shelves hard to keep clean?
They can be, but a quick weekly dust and a nightly one-minute reset keeps them looking pulled together. If dust is a dealbreaker for you, consider doing one open shelf and keeping the rest closed.
Final Encouragement
Rustic open shelves are not supposed to look like a showroom. The magic is in the mix: a stack of everyday plates, a thrifted ironstone pitcher, a cutting board that shows its knife marks, and a little bit of green reaching toward the light. Start with what you use, add a few pieces that make your heart happy, and give yourself permission to tweak as you live with it. That is where the pro look really comes from.