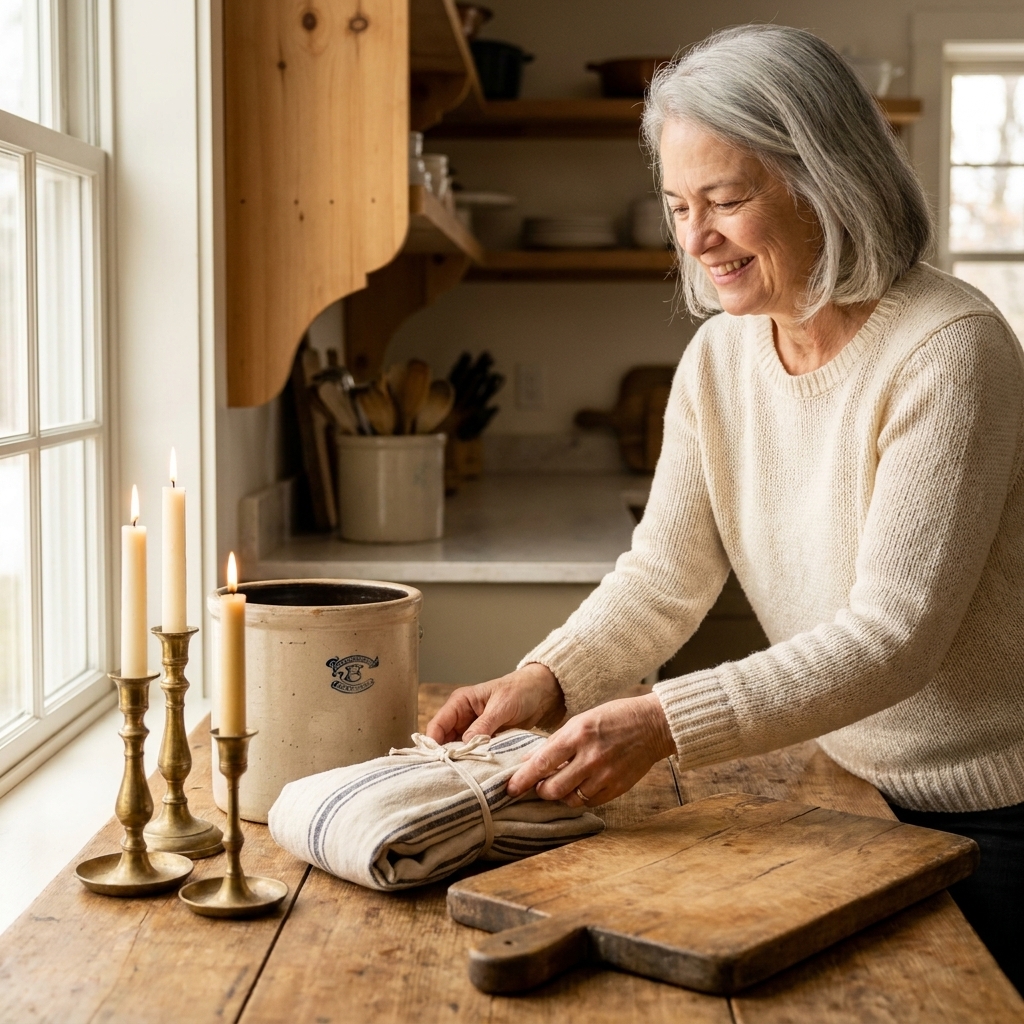
There is just something about an old wooden dough bowl that makes a kitchen feel instantly warmer. The softened edges, the little knife marks, the way the grain glows when it is finally fed again. But if you want to use a vintage bowl for food, even occasionally, it needs a little more than a quick wipe and a pretty spot on the island.
Below is the exact gentle process I use to restore and condition antique wooden dough bowls and trenchers so they are cleaner, calmer, and more food-friendly, without sanding away the history that made you fall in love with them in the first place.
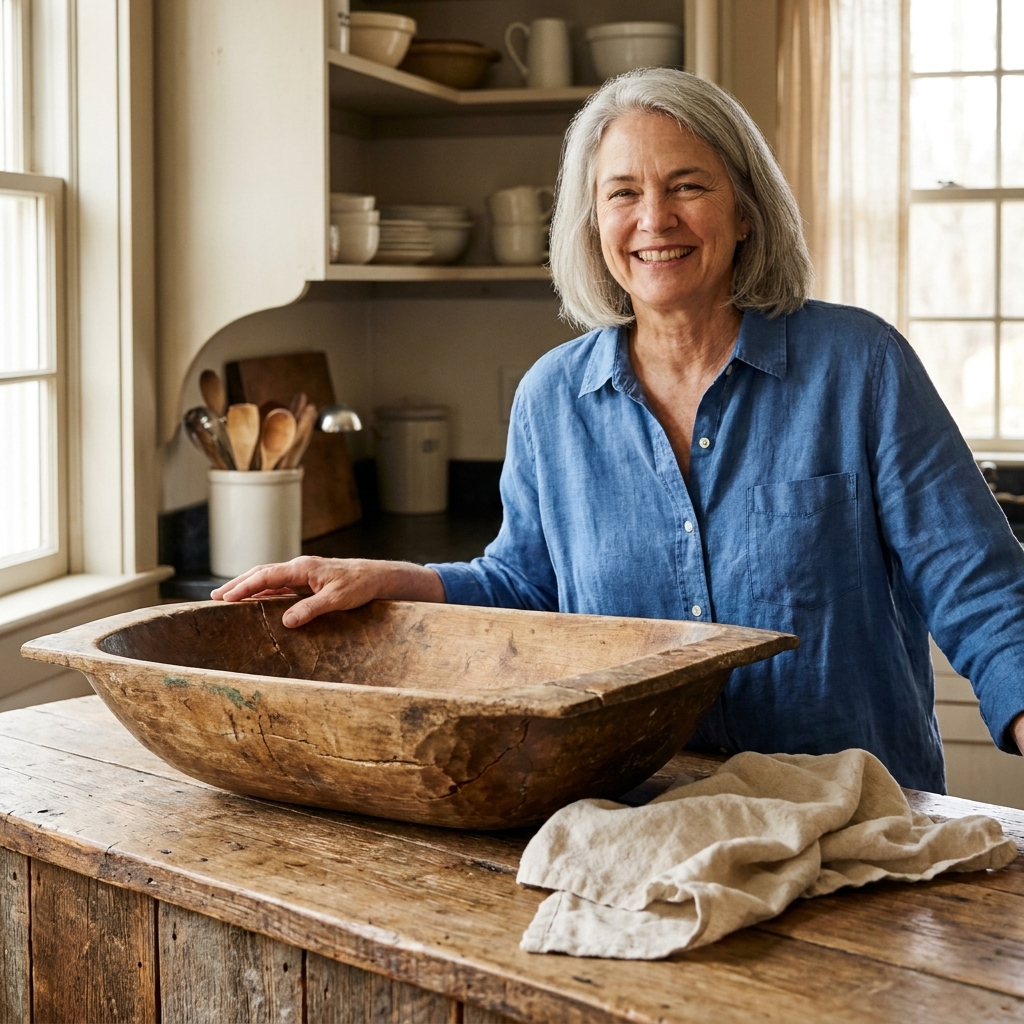
First: A quick reality check
Antique wooden bowls can be safe to use, but they are porous, full of tiny cracks, and sometimes have a past we cannot fully verify. Also, no at-home method can guarantee sterilization of old, porous wood. I treat mine like this:
- Best for dry foods: bread, rolls, fruit with peels, crackers, whole onions or garlic, in-shell nuts.
- Use caution with wet foods: salad, cut fruit, anything that sits for more than a few minutes.
- Avoid raw meat, raw fish, and poultry: I save modern cutting boards for that job.
- If a bowl smells musty, feels tacky, or has visible mold: I do not use it for food. It can still be a decor piece.
If you are restoring a bowl for daily food prep (like mixing dough), consider reserving your prettiest antique for styling and buying a new, unfinished hardwood dough bowl made for kitchen use. You can still condition it the same way.
What you will need
- Mild dish soap
- Soft sponge or cotton cloths
- A nylon scrub brush or an old toothbrush (for grooves and corners)
- White distilled vinegar (optional, for odor reduction)
- Hydrogen peroxide 3% (optional, for spot-treating odor and stains)
- Clean towels
- Sandpaper: 220 grit and 320 grit (and 150 grit only if truly rough)
- A vacuum with a brush attachment, or a clean, dry lint-free rag
- Food-safe oil: mineral oil (classic choice) or a blend labeled food-safe (like a cutting board oil)
- Optional top coat: a food-safe board balm (mineral oil + beeswax blend)
- Nitrile gloves (optional, but nice if your hands are sensitive)
A note on oils: I avoid cooking oils like olive, vegetable, canola, grapeseed, and avocado for conditioning wood. They often oxidize over time and can turn sticky or develop an off smell. Mineral oil is stable, easy, and affordable.
Step 1: Inspect the bowl
Before you wash anything, take a slow look in bright light. This is where you decide: food use, decor use, or call in help.
Look for these red flags
- Active mold: fuzzy growth, spreading dark spots, or anything that looks “alive.”
- Soft, punky wood: if you press with a fingernail and it sinks in easily, the wood may be compromised.
- Insect damage: fresh-looking holes, powdery dust, or crumbling channels.
- Old repairs: glue lines, nails, staples, or filler. Many old repairs are perfectly fine for decor, but not ideal for food contact.
- Deep cracks that open through the wall: those can trap moisture and crumbs.
- Signs of contamination: rodent droppings, a strong chemical smell, or anything that makes you wonder where it has been.
If the bowl is structurally sound and just dry, dusty, and thirsty, you are in great shape.
Step 1b: Check for old finishes
Many vintage bowls have been waxed, varnished, painted, or treated with something unknown over the years. Before you assume it is bare wood, check:
- Glossy sheen or streaky shine: may be varnish or a film finish.
- Water beads instantly: could be wax or a sealant already on the surface.
- Sticky feel even after cleaning: can be old wax, oil buildup, or residue.
If you suspect a film finish or an unknown treatment, I treat that bowl as decor-only or I ask a professional before using it for food. Conditioning oils and balms are meant for bare, unfinished wood.
Step 2: Clean gently
The biggest mistake I see is letting a vintage bowl soak in the sink. Antique wood is already stressed, and soaking can swell it, then shrink it again as it dries, which invites new cracks.
How to wash
- Dust first: wipe out crumbs and dust with a dry cloth.
- Quick wash: use a soft sponge with warm water and a drop of mild dish soap. Work in sections.
- Detail the corners: use a toothbrush for tool marks and seams.
- Rinse fast: wipe with a clean cloth dampened with plain water.
- Dry right away: towel-dry thoroughly.
Drying time: I like to give a bowl 24 to 48 hours to fully dry before oiling, especially if it is thick or the house is humid. Set it on its edge or on a rack so air can move around it, and keep it out of direct sun or blasting heat to reduce warping and checking.
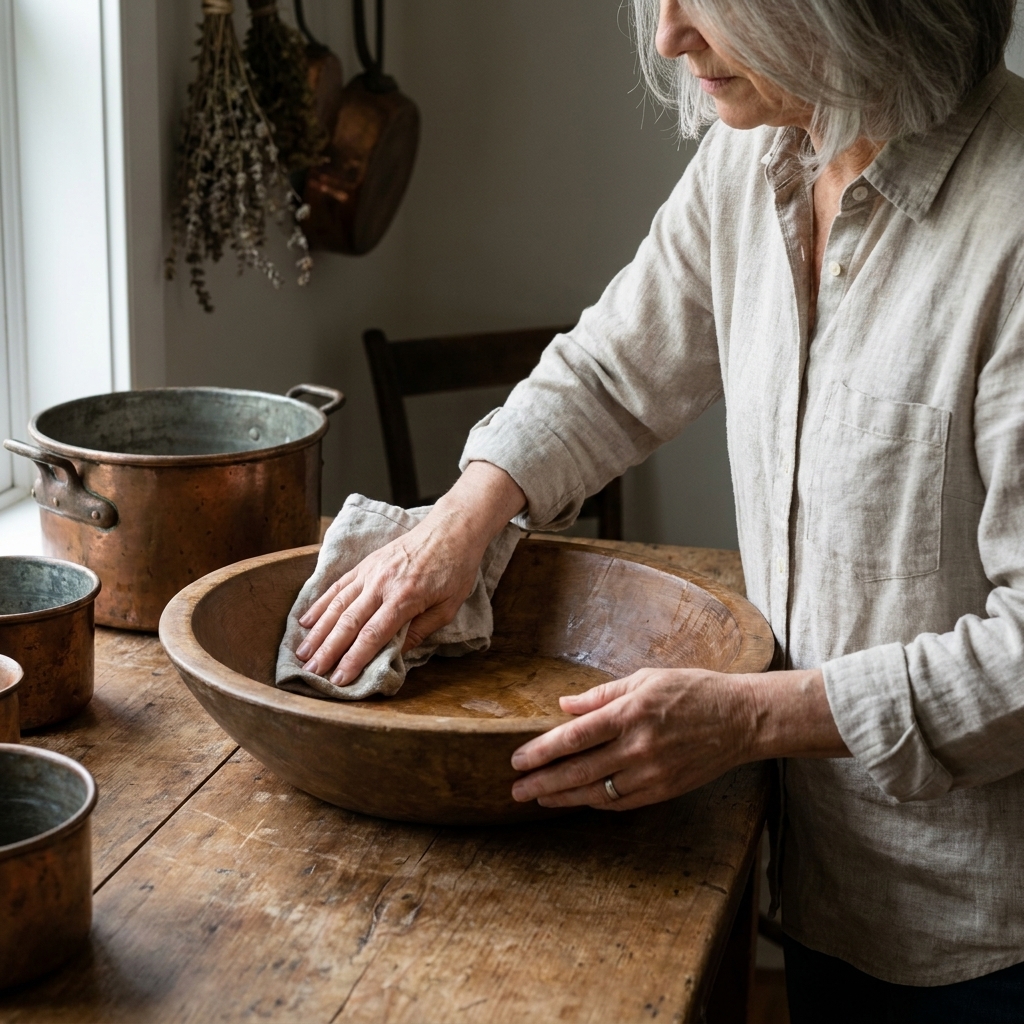
Optional: Reduce odors and stains
If your bowl smells like an old barn (which, honestly, is sometimes part of the charm) you can freshen it. These steps can help reduce odor and lighten some stains, but they are not a promise of disinfection on porous antique wood.
Vinegar wipe
Mix 1 part white vinegar to 4 parts water. Lightly dampen a cloth and wipe the interior. Do not soak. Let it air-dry completely.
Hydrogen peroxide spot treatment
For stubborn odors or darker organic-looking stains, you can dab 3% hydrogen peroxide on a cloth and work only the affected area. Wipe with a clean damp cloth after a few minutes, then dry.
Important: peroxide can lighten wood unevenly and may raise the grain. Always spot-test first, keep it targeted, and plan on a light buff with fine sandpaper afterward if the area feels fuzzy.
If the smell returns quickly after drying, that is usually a sign the odor is deep in the wood. At that point, I retire it from food use and enjoy it as decor.
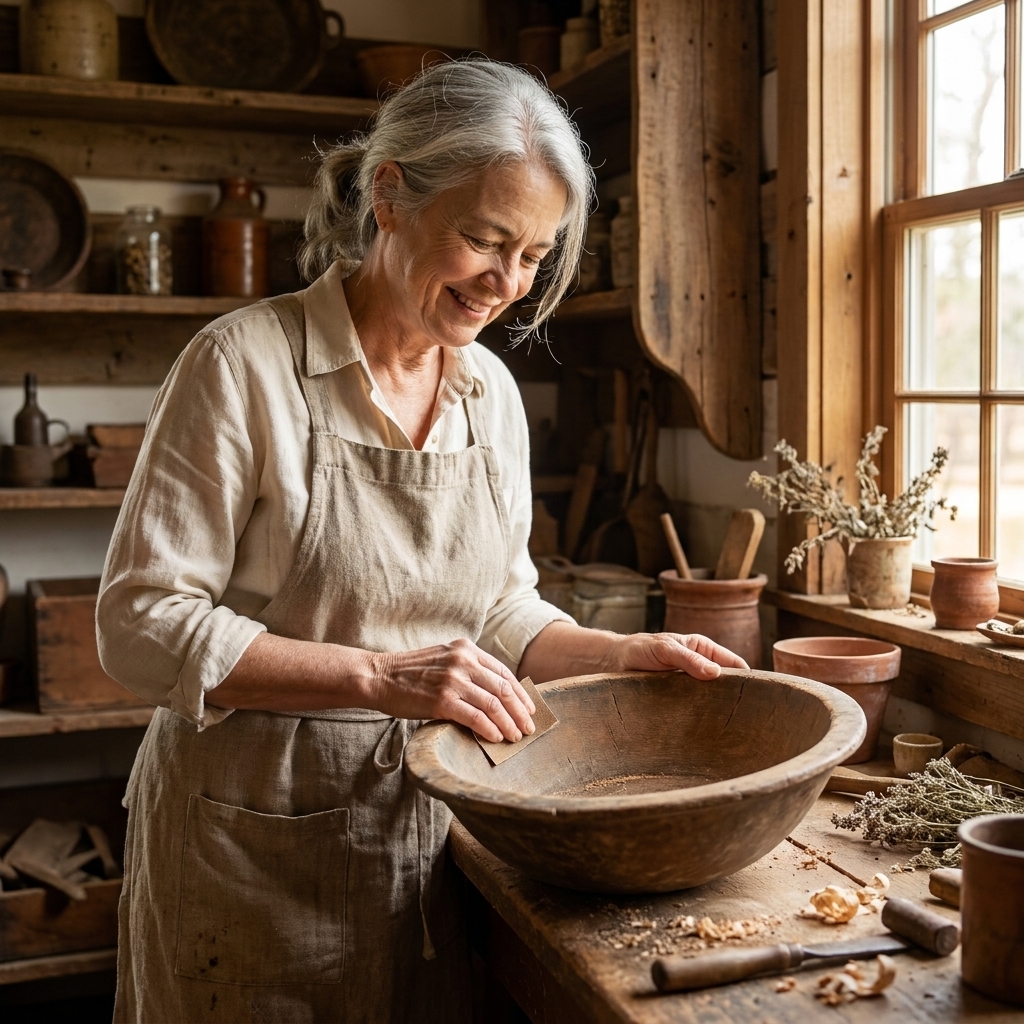
Step 3: Light sanding
Sanding is not mandatory. Some bowls just need cleaning and oil. I sand when there is:
- Raised grain that feels fuzzy
- Sticky residue that soap will not remove
- Splinters or rough patches that would snag a towel
- Shallow surface staining I want to soften
My sanding approach
- Start higher than you think: I begin with 220 grit in most cases.
- Sand with the grain: long, gentle strokes. Think “polishing,” not “refinishing.”
- Be careful around tool marks: those old adze and plane marks are the soul of the bowl. I sand around them lightly.
- Finish with 320 grit: especially for areas that will touch food.
If you truly need 150 grit: use it only on rough, splintery spots, then step up to 220 and 320 so the final surface is smooth.
Once you are done, remove dust with a vacuum and a clean dry cloth. (Some tack cloths are treated with resins, and I skip them for food-contact surfaces.) Dust left behind can make the first oil coat feel gritty.
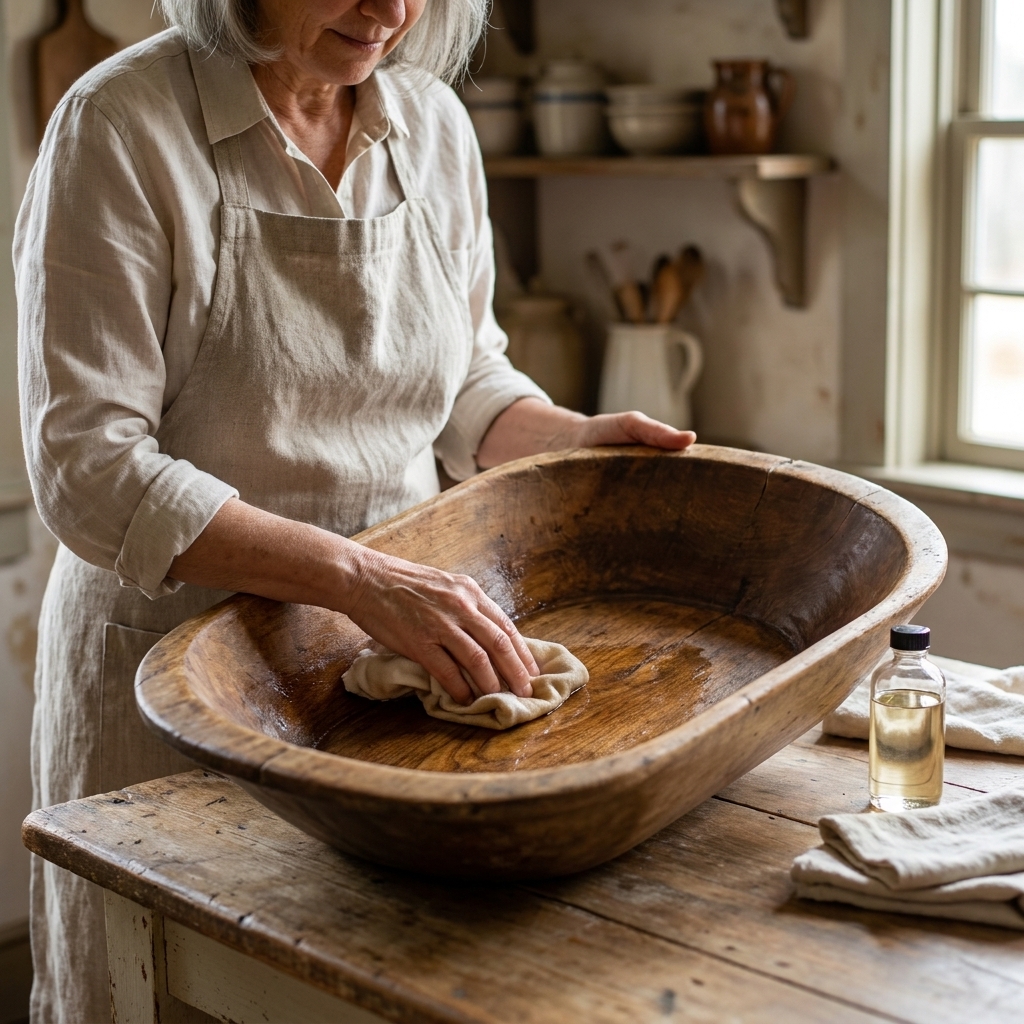
Step 4: Condition with oil
This is the transformation step. Dry antique wood will drink oil like a sponge the first few rounds. The goal is a bowl that feels nourished and more moisture-resistant, not greasy.
How to oil the bowl
- Warm the oil slightly (optional): set the bottle in a mug of warm water for a few minutes. Warm oil spreads more easily.
- Apply generously: pour a small puddle of mineral oil into the bowl and rub it in with a cloth, covering inside, rim, and the underside.
- Let it soak: rest the bowl for 4 to 12 hours (overnight is perfect) on a towel.
- Wipe off excess: buff with a clean cloth until it feels satiny, not slick.
- Repeat: do a second coat the next day. For very dry bowls, I often do 3 to 5 coats over several days.
Helpful cue: if the wood looks dry again within an hour or two, it wants another coat. When the sheen lasts and the color stays even, you are close.
Optional: Add board balm
If you plan to actually use the bowl for serving bread or holding dry snacks, a beeswax-based board balm can add a little extra moisture resistance.
How to apply balm
- After your last oil coat has soaked in and been buffed, apply a thin layer of board balm with a cloth.
- Let it sit for 1 to 2 hours.
- Buff well. Any excess can feel tacky and attract dust.
For decor-only bowls, I usually stop at oil. For food-adjacent use, I love a balm finish.
Keep it food-friendly
Cleaning after use
- Wipe crumbs out promptly.
- Wash quickly with mild soap and warm water, then dry right away.
- Do not put it in the dishwasher.
- Do not soak it, and do not leave it with water sitting in the bottom.
Re-oiling schedule
This depends on climate and how often you wash it.
- Light use or styling: oil every 2 to 4 months, or whenever it looks pale and thirsty.
- Regular use: oil monthly at first, then as needed once it stabilizes.
A bowl that lives near a woodstove or a sunny window usually needs oil more often. Heat dries wood out fast.
Common questions
Can I use bleach to disinfect an antique dough bowl?
I do not recommend it. Bleach is harsh on old wood fibers and can leave lingering odor. For everyday cleaning, mild soap and quick drying are best. For odor reduction, try a vinegar-water wipe or targeted hydrogen peroxide, then let it dry thoroughly.
What about staining, painting, or polyurethane?
If your goal is food contact, skip stain and polyurethane. Many film finishes can chip, and once they do, moisture can creep underneath. If the bowl is strictly decor, you can seal it, but you will change the feel and look that makes it antique in the first place.
My bowl has cracks. Is it ruined?
Not necessarily. Hairline cracks are common. If the crack opens all the way through, catches crumbs, or seems to be spreading, I treat it as decor-only. Conditioning helps slow drying, but it will not “heal” structural damage.
Why does my bowl feel sticky after oiling?
Usually it is too much oil left on the surface, or a non-stable oil was used. Wipe thoroughly with a clean cloth and let it sit a day. If it is still sticky, wash quickly with mild soap, dry completely, then reapply a very thin coat of mineral oil and buff.
How do I know if my bowl is truly clean?
It should smell like clean wood, not sour or musty. Run a damp white cloth around the inside. If it comes back very dirty after washing, repeat the gentle clean and let it dry longer before oiling.
Simple styling ideas
Once your bowl is clean and conditioned, it will look richer and feel smoother, but still perfectly imperfect. My favorite low-effort, always-cozy uses:
- A pile of citrus or apples on the island
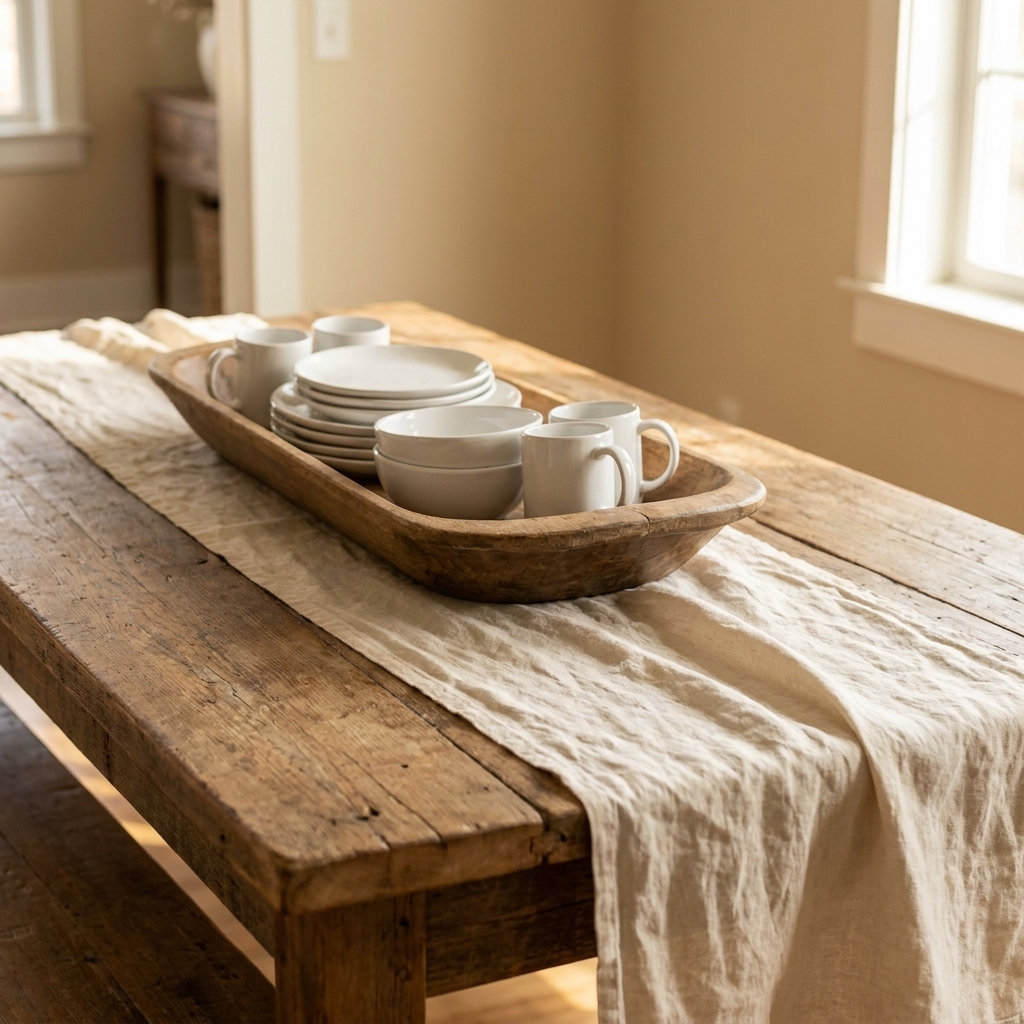
- Folded linen napkins for everyday dining
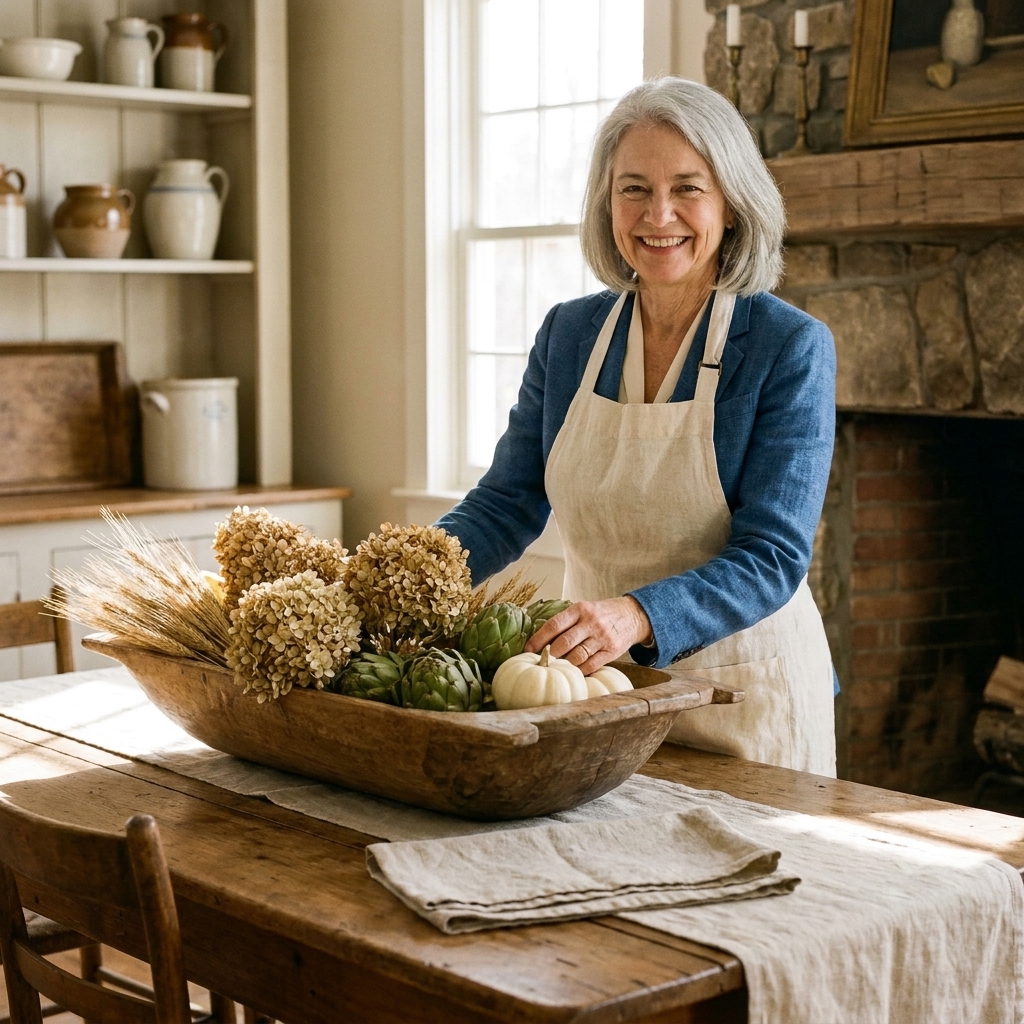
- Mini pumpkins and dried leaves in the fall
- Or my go-to: a loaf of bread on parchment for a casual supper
That is the magic of these old pieces. They can work hard, look beautiful, and carry a little history right into the everyday.