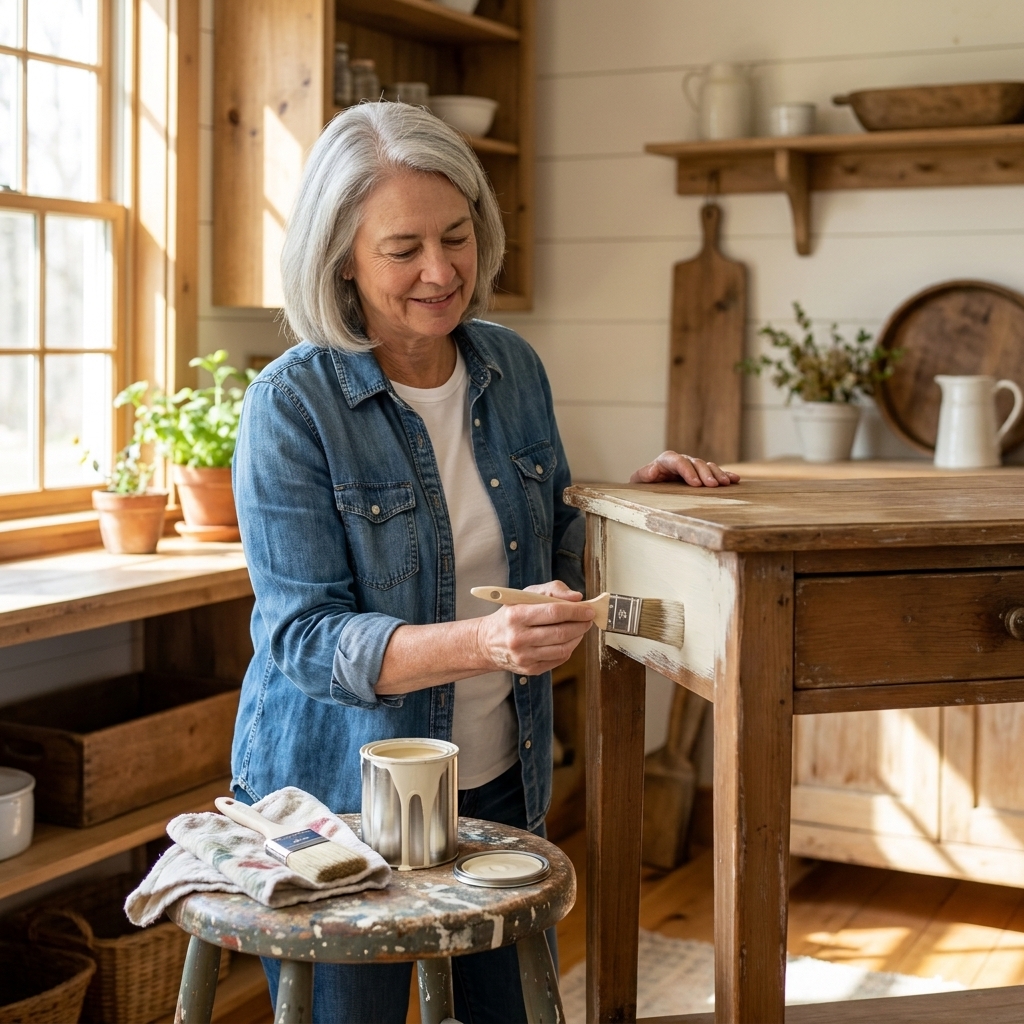
There is a certain kind of magic that happens when an old dresser, a wobbly chair, or a scuffed-up side table gets a second life. You can almost feel the years soften into something beautiful. And if you love that timeworn farmhouse patina as much as I do, your paint choice matters more than people realize.
Milk paint and chalk paint both live in the rustic furniture flip universe, but they behave very differently. One is famous for authentic, moody chipping. The other is famous for a velvety, forgiving finish that makes beginners feel brave.
One quick clarity before we dive in: when I say milk paint here, I mean true milk paint (casein and minerals, usually sold as a powder you mix with water). Some products labeled “milk paint” are actually premixed acrylic milk paint finishes. Those can be great paints, but they tend to behave more like a durable furniture paint and usually will not give you the same natural flaking and chipping.
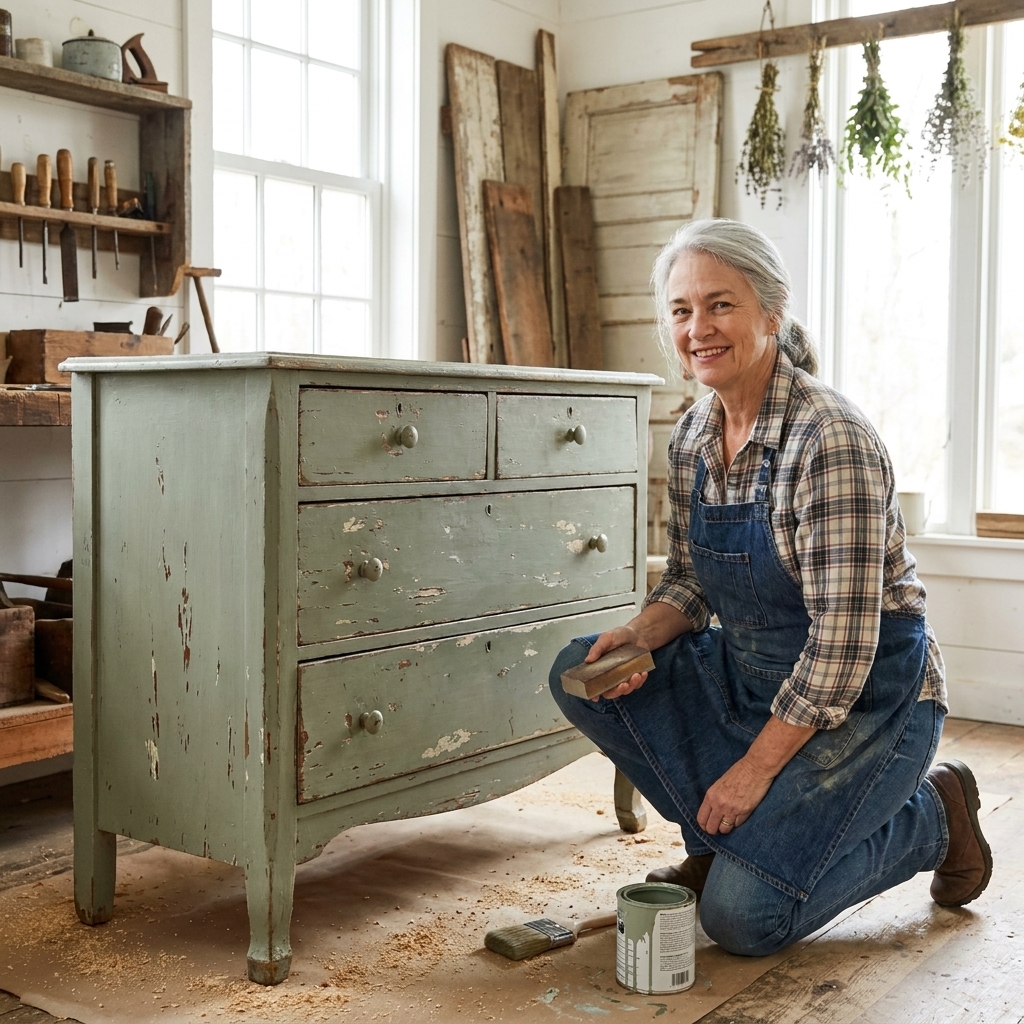
The quick difference
If you only remember one thing, make it this:
- True milk paint is a traditional, mineral-based paint that can chip on its own depending on the surface prep and the piece’s existing finish.
- Chalk paint (and many “chalk-style” paints) is a modern decorative paint that usually will not flake like milk paint. It is designed for controlled distressing with sanding, layering, and waxing techniques. It can still chip if adhesion fails, but that is more of an oops than a feature.
Both can look perfectly at home in a rustic space. The better choice depends on whether you want authentic, unpredictable wear or controlled, reliable coverage.
Milk paint
True milk paint has been around for ages, and you can feel that old-world quality the moment you stir it up. It is typically a powder you mix with water, and it dries down to a soft, earthy look that feels right on pine, oak, and all those hardworking old pieces that have lived a little.
Pros of milk paint
- Authentic character. The finish can look like it has been there for decades, not like it was “made to look old.”
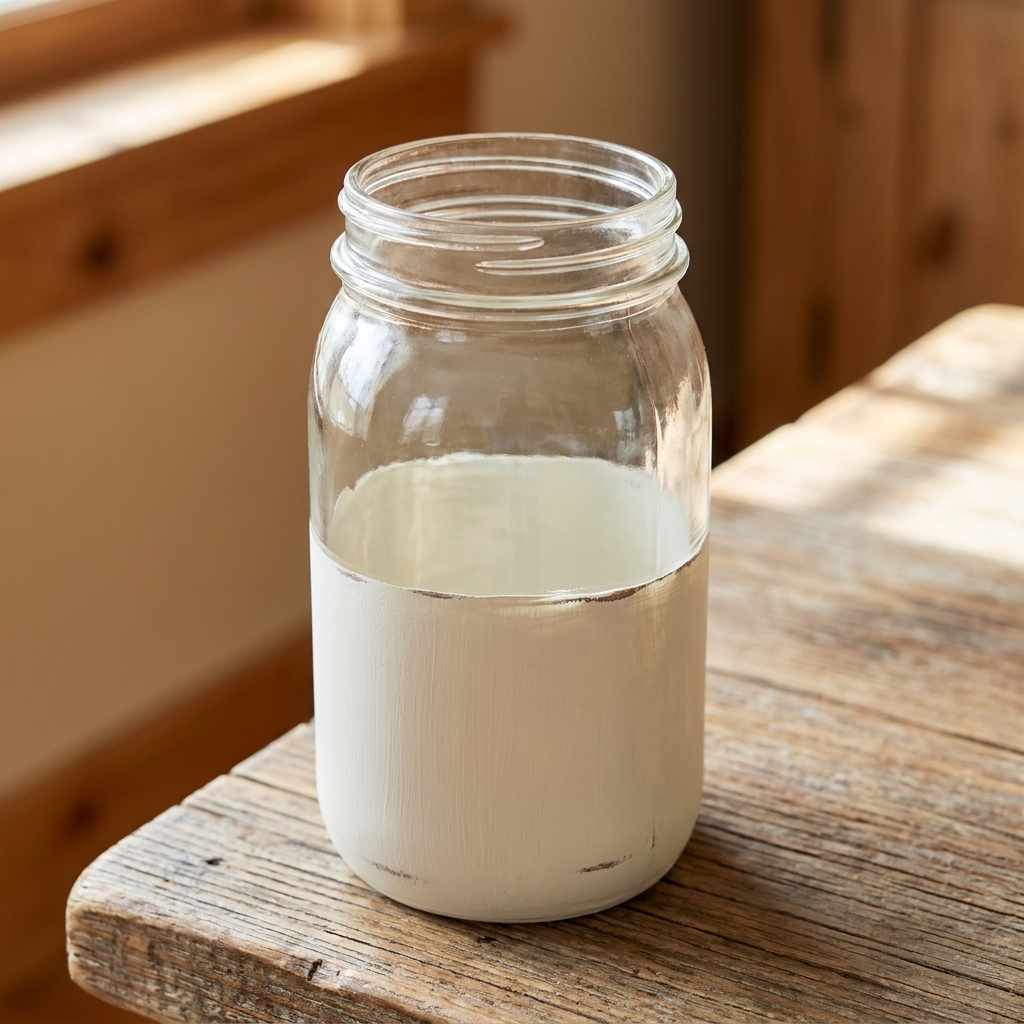
- Beautiful natural chipping. When it chips, it tends to flake and wear in a way that mimics age, especially over older finishes.
- Matte, mineral look. Even solid coverage has that dry, velvety softness that suits rustic and cottage style.
- Great on raw, thirsty wood. Unfinished pine and porous wood can drink it up in the best way.
Cons of milk paint
- Less predictable. Two similar pieces can chip totally differently depending on the existing finish, oils in the wood, and prep.
- Mixing required. Not hard, but it adds a step. Straining helps if you want a smoother finish.
- Can feel fragile before topcoat. It usually benefits from protection, especially on tabletops and high-touch furniture.
- Not always wipeable on its own. For kitchens, bathrooms, and kids’ furniture, a topcoat is your friend.
What milk paint chipping looks like
Milk paint chipping is often random and layered. It loves to grab onto bare wood and can struggle over glossy, sealed, or previously painted surfaces. That is why you will sometimes see dramatic flakes on an old factory finish.
On raw wood, milk paint usually bonds more strongly, so bold chipping is less likely. You can still get wear over time, and you can still create it with distressing, but it is not always the instant “flake-off” show some people expect.
If your heart is set on that storybook, worn-in farmhouse look, true milk paint is often the easiest way to get it because the paint does some of the work for you.
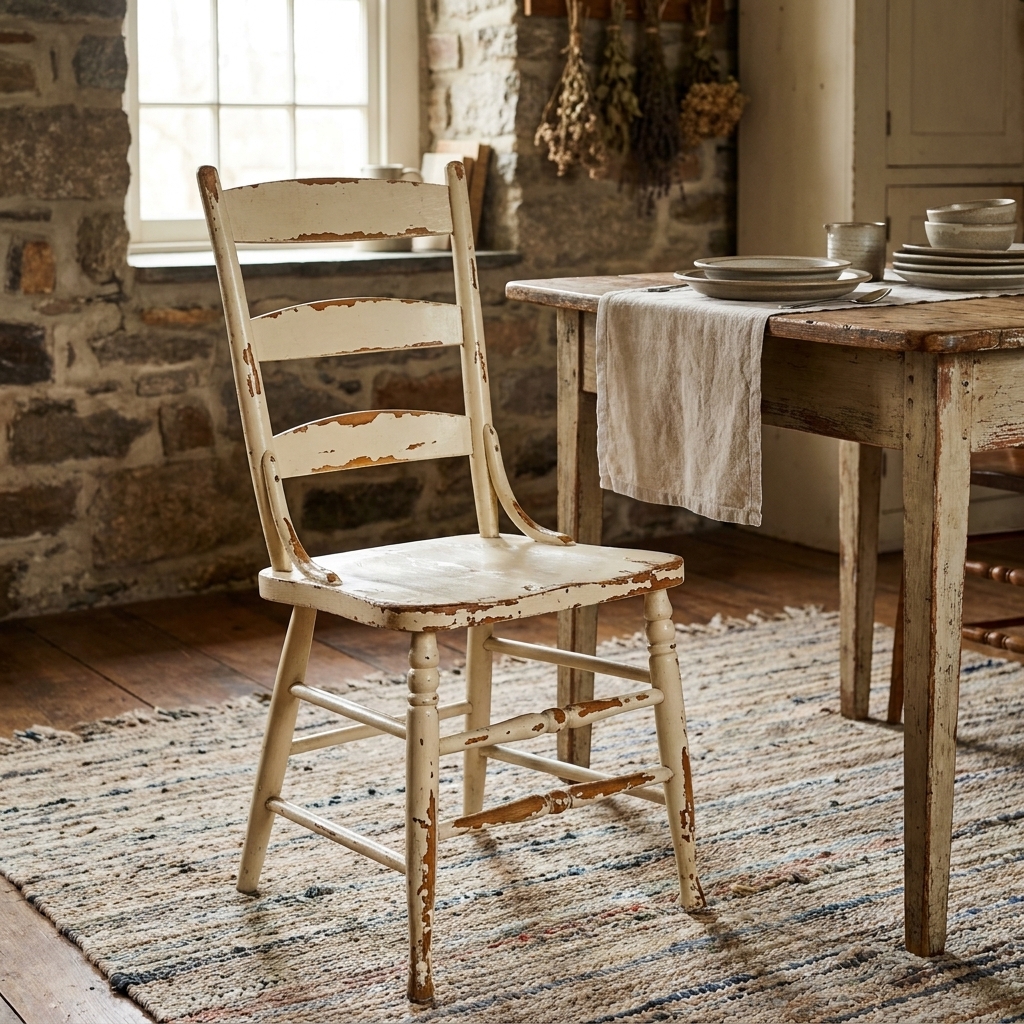
Chalk paint
Chalk paint earned its popularity for a reason. It is thick, grippy, and designed to stick to a lot of surfaces with minimal fuss. If you have ever stood in your garage staring at a laminate nightstand thinking, “There is no way this is going to take paint,” chalk paint is often the confidence boost you need.
Pros of chalk paint
- Very forgiving. It often levels better than standard wall paint, and the finish is naturally matte and rustic-friendly.
- Sticks to tricky surfaces. It often adheres well to previously finished wood, painted pieces, and even some slick surfaces with proper cleaning and a little scuff sanding.
- Easy to distress. Sanding edges and details gives that worn look in a controlled way.
- Fast drying. Great when you want to finish a weekend flip without dragging it out.
Cons of chalk paint
- It can feel thirsty. It usually needs wax or a topcoat to feel finished and to resist scuffs and stains.
- Not naturally flaky in most cases. You usually create distressing with sanding, layering, or specialty techniques.
- Can show brush texture. Some people love this. If you want smoother results, you may need a better brush, a bit of water, or more careful technique.
What chalk paint distressing looks like
Chalk paint distressing tends to be softer and more intentional. You can choose where the wear goes: corners, drawer fronts, raised details, and edges. Instead of big flakes, you usually get rubbed-through edges and gentle sanding highlights that feel lived-in without being overly dramatic.
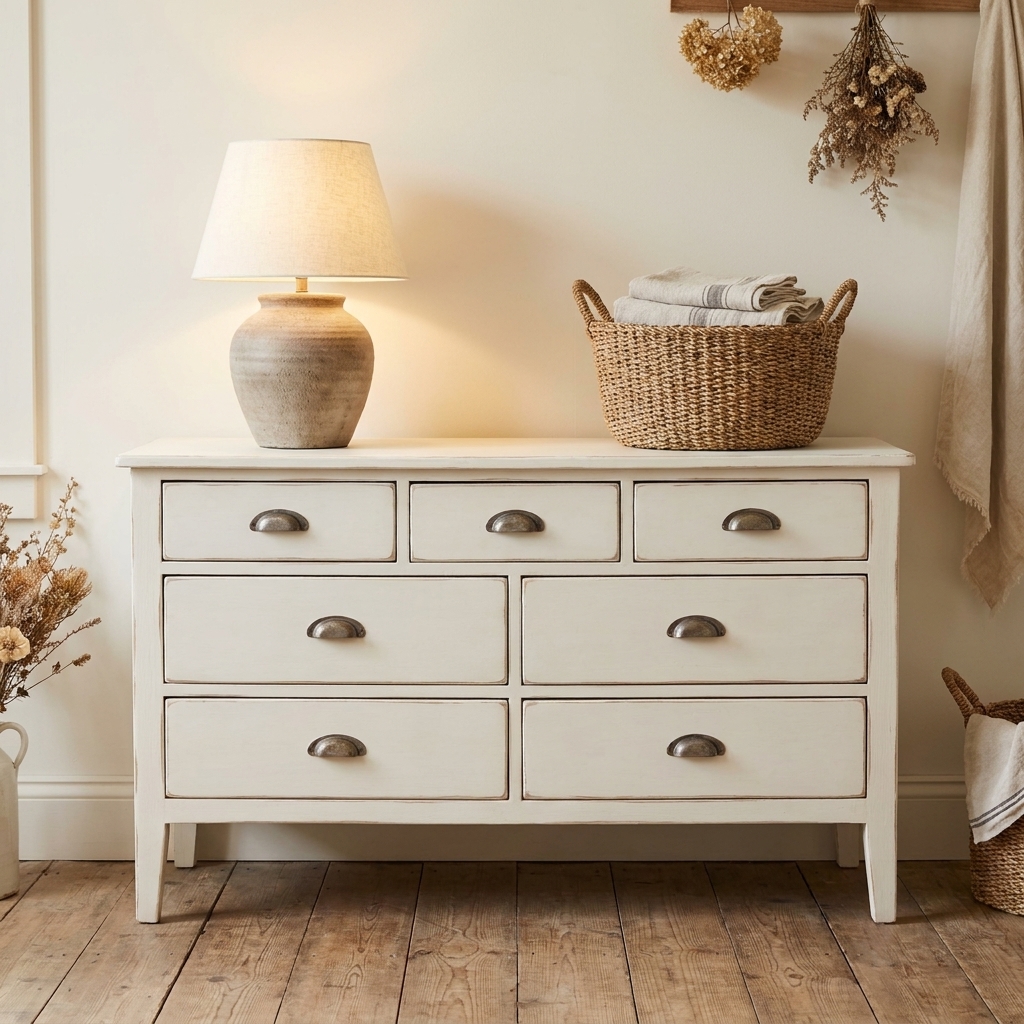
Prep basics
Rustic finishes can look effortless, but the best ones happen because you understood what the piece needed before you opened the paint.
Prep for milk paint
With true milk paint, prep choices directly influence chipping.
- Want lots of chipping? Clean well, but skip heavy sanding on an old sealed finish. Milk paint has a harder time bonding to glossy or previously sealed surfaces, which can encourage that gorgeous flake.
- Want less chipping and more solid coverage? Lightly sand to scuff the surface, clean it, and use a bonding agent made for milk paint before painting.
Either way, start with a real degreasing clean. Kitchen pieces and old thrift finds love to hide furniture polish and cooking residue in every crevice.
Prep for chalk paint
Chalk paint is more forgiving, but it still wants a clean surface.
- Remove grime, wax, and oils with a degreaser.
- Scuff sand very slick surfaces if you can. It helps durability even when the label says “no prep.”
- On bleeding woods like pine knots or tannin-rich oak, consider a stain-blocking primer if you have had issues before.
Finish and protection
Both paints are usually happiest with a protective finish, especially for real-life use.
Milk paint topcoats
- Hemp oil or tung oil can deepen color and add a soft luster that feels very old farmhouse. Tung oil can cure slowly, so plan for more time before heavy use.
- Wax gives a hand-rubbed, buttery finish, but it offers lower water and chemical resistance than a film topcoat.
- Water-based polyurethane is my practical choice for high-traffic pieces when I want durability with minimal color shift. Even water-based products can deepen color slightly depending on the formula, so testing is worth it.
Chalk paint topcoats
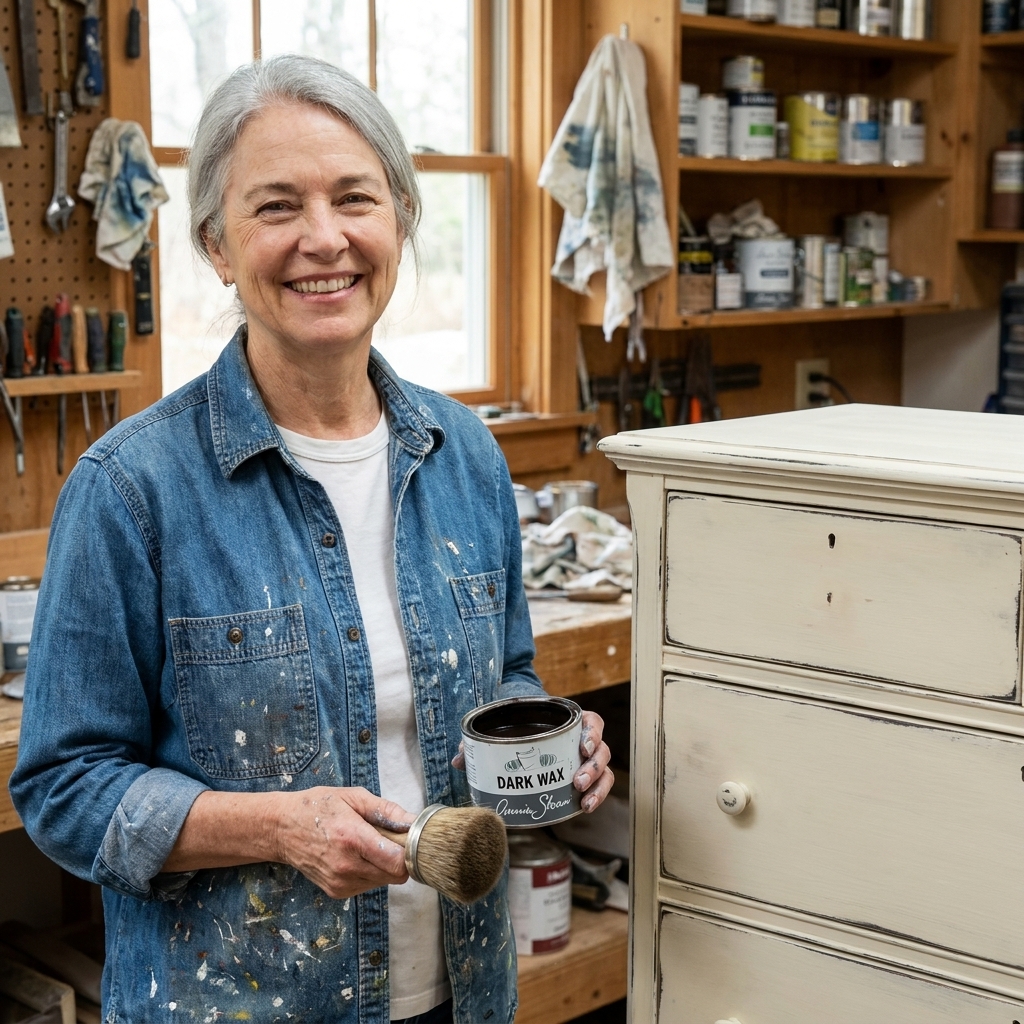
- Wax is classic for chalk paint and adds that smooth, touchable feel. You can tint wax to age the piece, too.
- Polyurethane or a furniture topcoat is a great option if you want more stain resistance, especially for consoles, coffee tables, and kitchen furniture.
Little note from my own workshop: if you love a dead-flat finish but need protection, look for a matte water-based topcoat. It keeps that chalky, old-world vibe without the sticky worry of wax in summer humidity.
Dry vs cure time
A lot of “this paint scratches off” problems are actually cure-time problems.
- Dry to the touch can happen fast (often within an hour or two), but that is not the same as durable.
- Cure time is when the finish hardens. Depending on the paint and topcoat, it can take several days to a few weeks to fully cure.
If you can, baby the piece for the first week. Avoid heavy stacking in drawers, sticky shelf liners, and aggressive cleaning until everything has had time to harden up.
Safety note
If you are working on very old furniture, consider the possibility of lead paint, especially if you plan to sand or scrape. Test first, work in good ventilation, and wear the right PPE. A beautiful chippy finish is not worth breathing dust you cannot take back.
Best pick by project
Thrifted dresser with old factory finish
- Best for chippy farmhouse drama: True milk paint, especially if you want authentic flaking.
- Best for smooth, consistent coverage: Chalk paint, with distressing where you want it.
Raw pine table or unfinished bench
- Best for even coverage: True milk paint can be beautiful here, but it may soak in fast. Multiple coats help.
- Best for a soft brushed look: Chalk paint works well, especially if you plan to sand the edges for wear.
Laminate or slick modern piece
- Most reliable: Chalk paint, plus thorough cleaning and a light scuff sand for durability.
- Possible but picky: True milk paint can work, but you will likely want a bonding agent and you may lose that natural chipping magic.
Kitchen chairs and high-touch furniture
- Most practical: Either paint can work, but plan for a durable topcoat. Chairs get kicked, bumped, and wiped down constantly.
- If you hate maintenance: Skip wax and use a quality topcoat.
Get the chippy look
Bold flaky chipping
- Choose true milk paint.
- Apply over a previously finished surface if you want more chance of chipping.
- Skip bonding agent if you want the paint to release in spots.
- After it dries, gently rub areas with a scouring pad or scraper where natural wear would happen: corners, edges, around knobs.
Soft controlled wear
- Use chalk paint in two coats.
- After drying, sand edges and raised details with fine sandpaper.
- Seal with wax or topcoat, then lightly buff high spots for that hand-worn glow.
Layered vintage depth
If you want that “it has been repainted three times in 80 years” look, layer two colors and distress through the top one. A warm cream under a dusty blue is a classic farmhouse combo. A deep tobacco brown under white feels like an old general store counter.
My decision guide
When readers ask me which one is better, I usually answer with a question: do you want the finish to look accidentally old or intentionally rustic?
- Pick true milk paint if you want authentic, unpredictable chipping, a mineral matte look, and you do not mind a little personality in the process.
- Pick chalk paint if you want a dependable, beginner-friendly finish, controlled distressing, and fast progress on a weekend.
And truly, there is no wrong answer. The best paint is the one that matches your piece, your patience level, and the story you want it to tell when it is back in your home.
FAQ
Is milk paint more durable than chalk paint?
On its own, both can feel a bit vulnerable on high-traffic surfaces. Durability comes down to prep, cure time, and a good protective topcoat. Milk paint can wear beautifully, but for tabletops and daily-use furniture, seal it.
Does chalk paint always need wax?
No. Wax is popular because it gives that soft, hand-rubbed look, but a matte or satin water-based topcoat is often easier for busy households and still keeps a farmhouse feel.
Why is my milk paint not chipping?
Usually it is because the paint bonded well, which is not a bad thing. True milk paint chips most dramatically when applied over slick or sealed finishes without a bonding agent. If you want chipping, you can also create wear with gentle scraping and sanding in natural wear areas.
Why is my chalk paint scratching off?
Most often it is leftover grease or furniture polish, the piece needed a bit of scuff sanding, or the paint and topcoat have not fully cured yet. Clean thoroughly, let coats cure, and protect high-touch pieces with a durable finish.
If you tell me what you are painting, like a pine hutch, a laminate nightstand, or a thrifted dresser with a mystery finish, I can point you toward the paint that will behave best and the kind of chippy you can realistically expect.