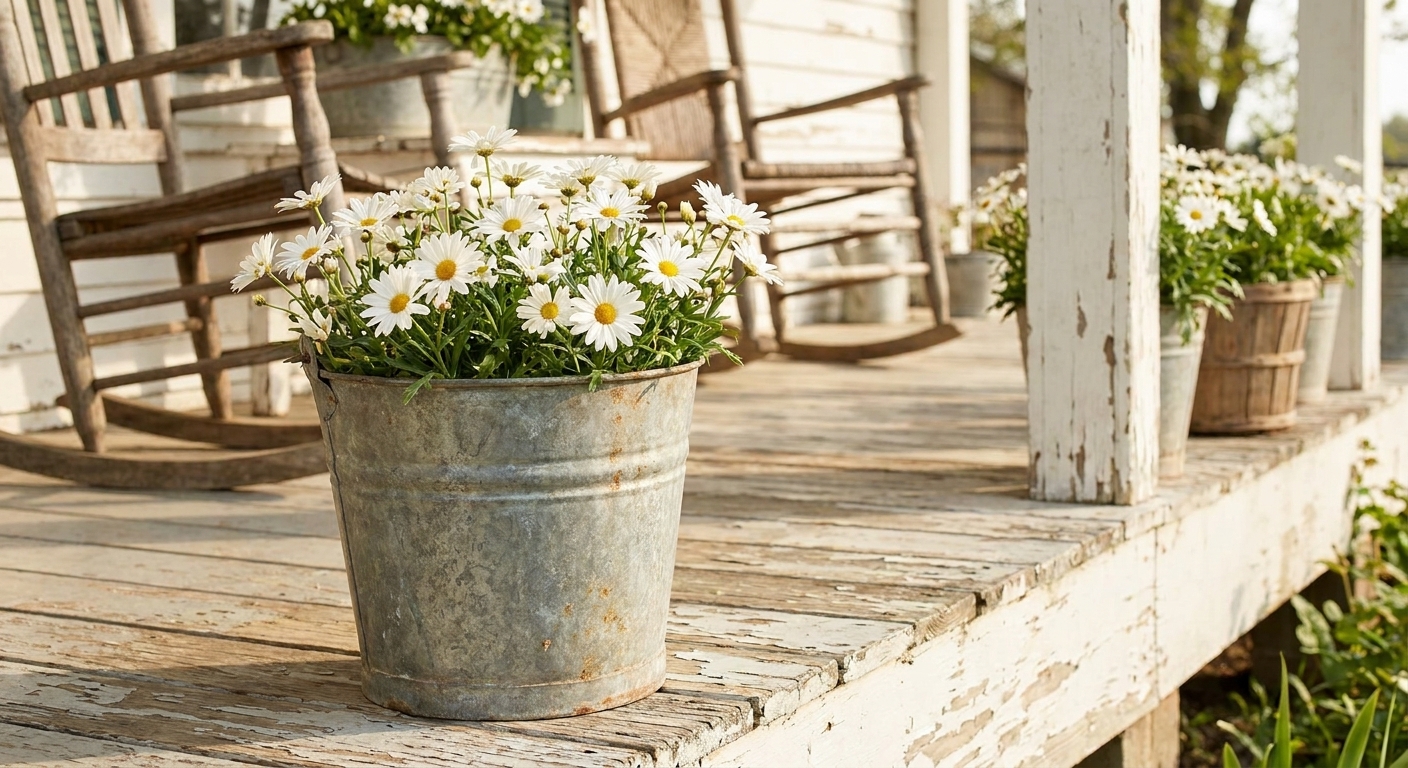
There is a certain heartbreak to a brand new galvanized bucket. It is cute, sure, but it looks new. And if you are like me and you love a home that feels collected over time, that bright, shiny finish can stick out next to old crocks, weathered wood, and soft linen.
The good news is you can take that just-off-the-shelf shine down a few notches (or nudge it toward rusty farmhouse goodness) with a handful of everyday ingredients. I will walk you through a few methods I use depending on how aged I want the metal to look, plus how to protect your flowers from mess and keep the finish from rubbing off on your porch.
First, a quick truth about galvanized metal
Galvanized metal is steel coated in zinc to resist rust. That is why it stays silvery and why it is sometimes a little stubborn about “aging” the way plain steel would.
What we are doing with the methods below is one of two things:
- Dulling and etching the zinc coating so it looks older and less reflective.
- Encouraging surface oxidation so you get a believable, timeworn patina.
One important detail: on intact galvanizing, the first change is usually a dull gray zinc patina (zinc oxides and carbonates). That is the classic older galvanized look. The orange-brown rust most of us picture typically shows up where the zinc layer has thinned or been removed, like cut edges, scratches, seams, or spots you scuff on purpose.
If you want deep, flaky orange rust overnight on true galvanized, it may not happen evenly. But you can absolutely get an authentic aged look that reads “vintage farmhouse,” and that is what matters in a styled space.
What you will need
You likely have most of this already. Choose what you need based on the method you pick.
Basic supplies
- Galvanized metal item (bucket, tub, pitcher, watering can, etc.)
- Dish soap and warm water
- White vinegar
- Salt (table salt is fine)
- Spray bottle
- Clean rags or paper towels
- Rubber gloves
Helpful extras (for stronger aging)
- Hydrogen peroxide (3% from the medicine cabinet)
- Fine steel wool or a Scotch-Brite pad
- Sandpaper (220 grit)
- Exterior-rated matte clear sealer (spray) or clear wax
- Plastic nursery pot, coconut coir liner, or a cheap plastic container to use as an inner pot
- Drop cloth, cardboard, or an old towel to protect concrete and decking
Prep matters more than you think
Before any aging trick will take, wash the metal well. New buckets often have oils from manufacturing and shipping, and they can block your solution from touching the surface evenly.
- Wash with warm water and dish soap.
- Rinse and dry completely.
- Check for a clear coat. Some galvanized pieces are sealed with a factory lacquer, which can resist aging. If water beads up like it is on a freshly waxed car, you likely have a coating. Lightly scuff with a Scotch-Brite pad or fine sandpaper, then wash and dry again.
- Lightly scuff high-shine areas with steel wool or a Scotch-Brite pad if you want quicker results, especially around rims and handles where natural wear would happen.
If your item has stickers, remove all residue. A little bit of leftover adhesive can create a weird ghost patch that never ages like the rest.
Protect your surfaces: Work over cardboard or a drop cloth, especially on concrete, pavers, and wood decking. Rust drips and salty overspray can stain.
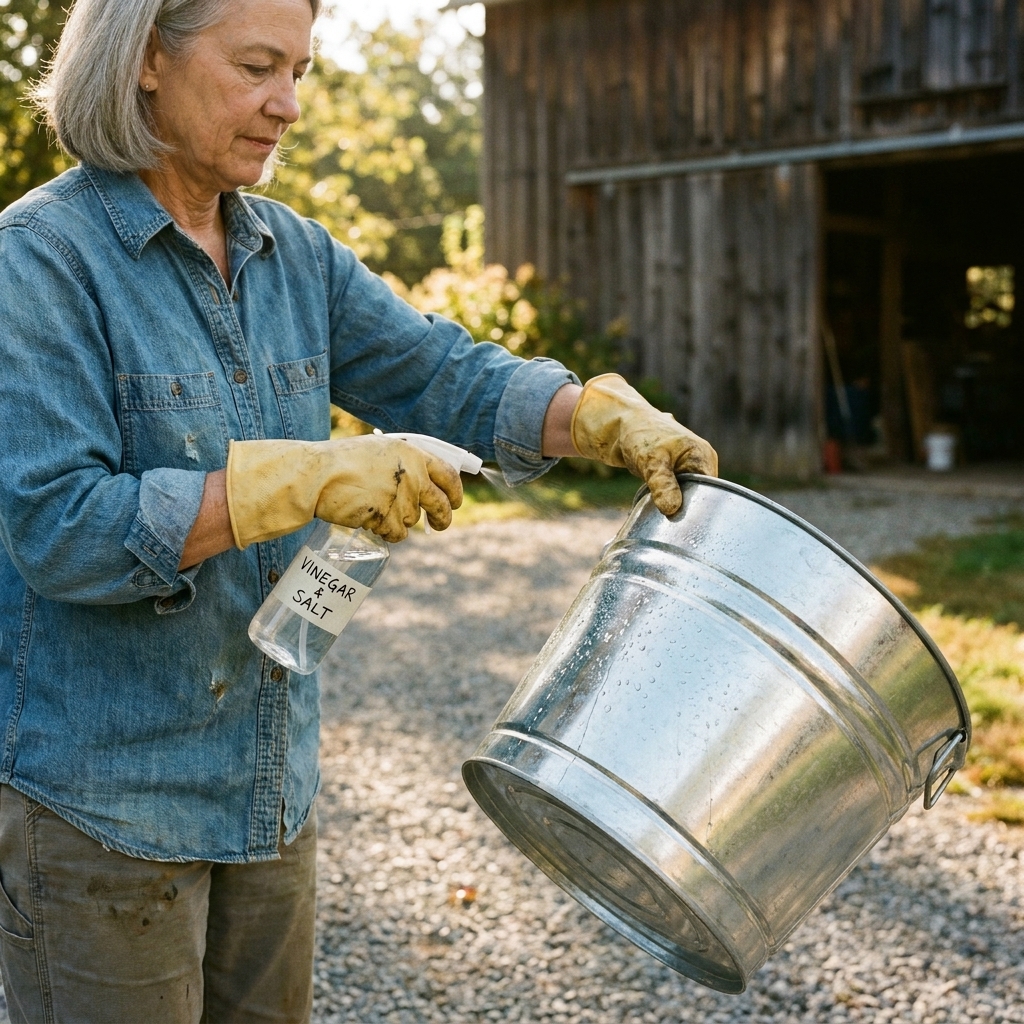
Method 1: Vinegar + salt dulling
This is my go-to when I want a softer, older look without heavy rust. It tones down the shine and gives you that muted, chalky galvanized finish that looks like it has been sitting in a potting shed for years.
Mix
- 2 cups white vinegar
- 1 tablespoon salt
Stir to dissolve, then pour into a spray bottle.
Steps
- Spray generously all over the metal.
- Let it sit 10 to 20 minutes.
- Blot or wipe with a rag. Blotting leaves more mottling and looks more natural.
- Quick rinse (optional but helpful) with clean water to keep the etching controlled and even, then dry completely.
- Repeat 2 to 4 rounds until the shine relaxes.
Where to aim for realism: concentrate extra sprays along the bottom edge, around seams, under handles, and near the top rim. Those are the places that would naturally collect moisture and show wear.
Tip: If you get streaks you do not love, do one more all-over spray and lightly dab with a damp rag to soften the lines. Real age is never perfectly even.
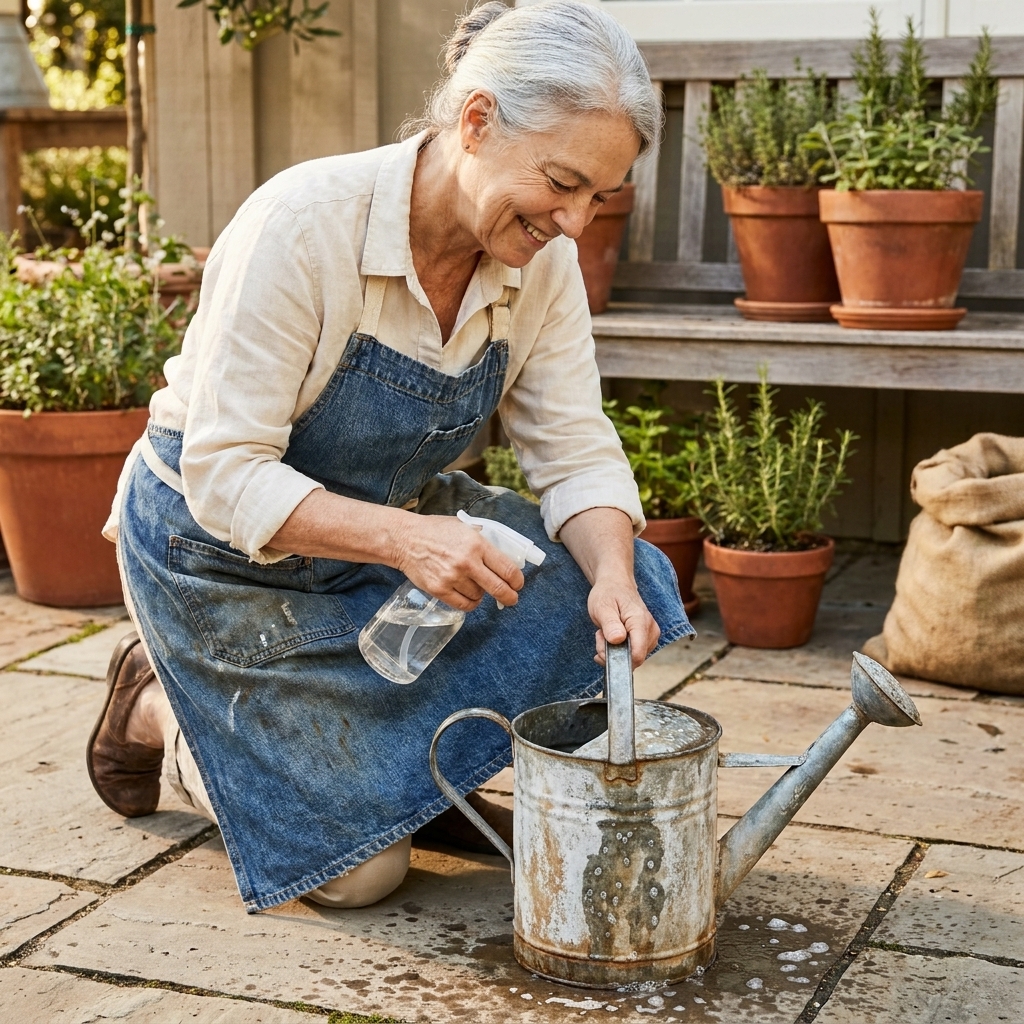
Method 2: Vinegar + peroxide + salt
If you want stronger patina and a chance at rust freckles, adding hydrogen peroxide gives your solution a boost. Results vary a lot depending on your item, especially whether it is hot-dip galvanized, electro-galvanized, clear-coated, or already a little worn. The most consistent rust speckling happens where steel is exposed at scratches, edges, seams, and scuffed spots.
Test first: Do a small test spot on the bottom or back. This method can change fast and sometimes unevenly.
Mix
- 1 cup white vinegar
- 1 cup hydrogen peroxide (3%)
- 1 to 2 tablespoons salt
Use a spray bottle, and gently swirl to combine.
Steps
- Spray the metal until it is evenly wet.
- Wait 5 to 15 minutes. You will usually see the quickest change on scuffed areas and edges.
- Sprinkle a pinch of salt in spots where you want freckles and blooms. Think bottom rim, around rivets, and handle hardware.
- Let it air dry for a more textured finish.
- Repeat until you like the depth. Two to three rounds is usually plenty.
- Rinse lightly with water to stop the reaction, then let it dry completely.
Method 3: Spot aging
Sometimes the most convincing finish is not the rustiest one. It is the one that looks like it happened slowly. This spot approach is wonderful for pitchers and decorative planters that will live on a shelf or table.
How to do it
- Choose 3 to 5 wear zones: rim, handle attachment points, bottom edge, and any raised lettering.
- Scuff those zones with steel wool.
- Use Method 1 or 2 but apply it only to those areas, feathering outward with a damp rag.
- Stand back often. If you can see a clear line where the aging stops, soften it with a quick mist and blot.
This gives you that “handled for years” story, which is exactly what farmhouse style is all about.
How long does it take?
- To dull the shine: 20 to 60 minutes with vinegar and salt, depending on how shiny your piece is.
- To get rust speckles: 30 to 90 minutes with peroxide added, plus drying time. (Again, rust tones show up most where zinc is thin or disturbed.)
- To deepen the patina: a few rounds over an afternoon, or repeat the next day once the metal is fully dry.
I often do one round, let it dry while I putter in the garden, then come back and decide if it needs another seasoning.
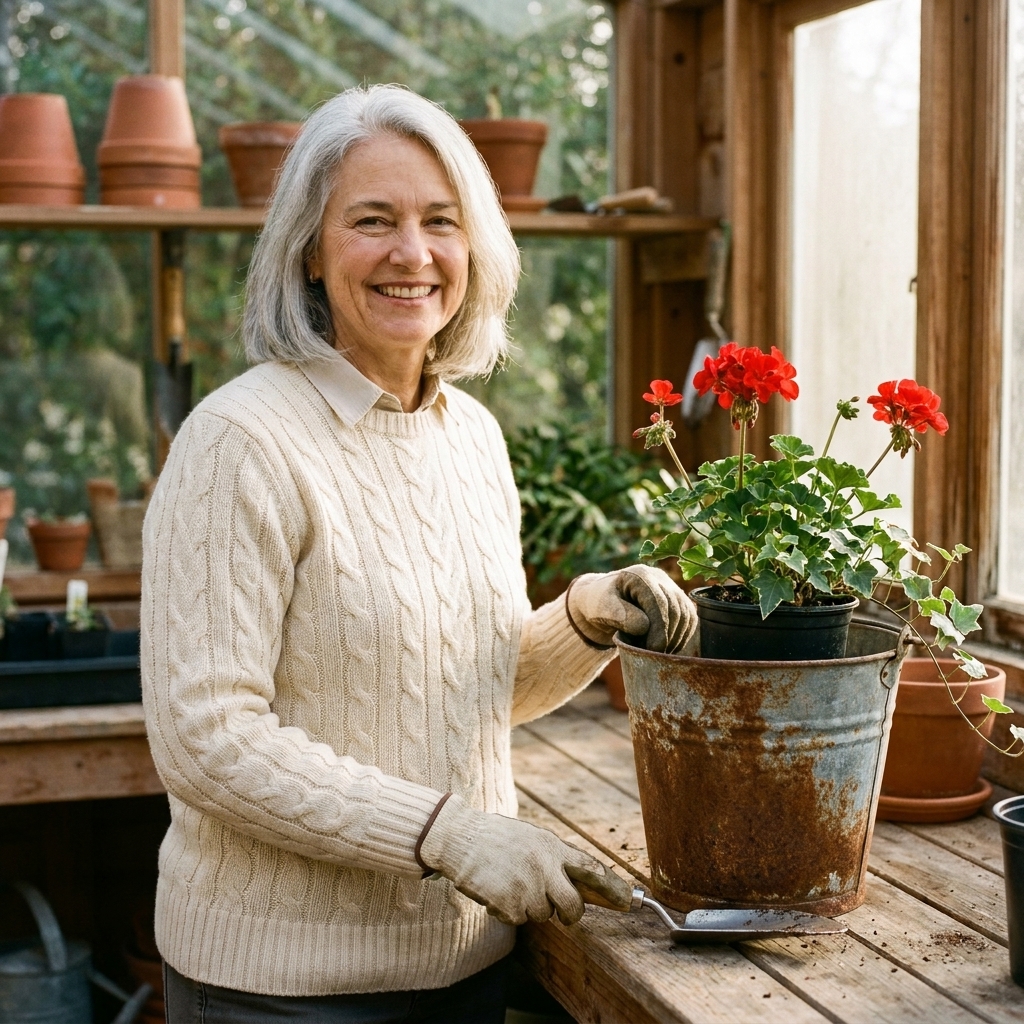
Turning it into a planter
Rust is not automatically plant poison, but a heavily corroded interior can stain, shed flakes, and make a mess. The simplest fix is also the most farmhouse-friendly: use a liner.
Easy liner options
- Plastic nursery pot dropped inside (my favorite because you can lift it out to water).
- Coconut coir liner for buckets and wire baskets.
- Cheap plastic container with drainage holes poked in the bottom.
If you want the metal piece to function as the actual pot, drill drainage holes if it does not already have them and use a well-draining potting mix. Skip the gravel layer. It does not improve drainage in containers and it steals root room. If you need weight to keep a tall planter from tipping, gravel in the very bottom can help for stability, just do not count it as drainage magic.
A note on edibles: Galvanized containers are generally fine for decorative flowers and most ornamentals. For herbs and vegetables, be more cautious, especially with acidic soils or frequent saturation. Zinc can leach over time. If you want to grow edibles, using a plastic inner pot (or choosing a food-safe planter) is the easiest way to keep the look without the worry.
Should you seal the finish?
Sealing depends on where the planter will live and how much hands-on contact it will get.
Seal it if
- It will be on a porch step where jeans and coats might brush against it.
- You do not want rust to transfer to wood decking, concrete, or stone.
- You love the finish exactly as it is and want to slow further aging.
Leave it unsealed if
- You want it to keep evolving outdoors.
- You like the look of continued weathering and natural streaking.
My sealing pick
For decorative planters, I reach for an exterior-rated matte clear spray sealer in light coats. Two thin coats look more natural than one heavy coat. Let it cure fully before setting it on wood surfaces.
If you prefer a softer, hand-rubbed look, a little clear wax buffed on the high points is gorgeous, especially on pitchers used indoors. (Wax is not my first choice for a planter that lives in full weather.)
Troubleshooting
It is still shiny
Wash again and scuff lightly with steel wool, then repeat the vinegar and salt treatment. Factory oils and clear coatings are the usual culprits.
I got streaks
Mist the whole piece with plain water and blot to soften lines. Next round, spray lighter and blot instead of wiping.
It rusted too much, too fast
Rinse, dry, then gently rub the heavy spots with a damp rag or fine steel wool to knock them back. Real patina is layered, so do not be afraid to edit.
The finish rubs off on my hands
That is loose oxidation. Brush it off with a dry rag once fully dry, then seal with a matte clear coat.
Simple styling ideas
- Herbs in a row: aged buckets lined up on a back stoop with rosemary, thyme, and basil. (Use liners if you plan to cook with them.)
- Soft whites: white petunias, alyssum, or daisies look especially pretty against weathered metal.
- One big statement: a large aged tub with trailing ivy and a little birch log tucked in for texture.
- Indoor pitcher planter: use a small nursery pot inside an aged metal pitcher for faux stems or pothos near a sunny sink.
Safety notes
- Work outdoors or in a very well-ventilated area.
- Wear gloves and avoid splashing solutions on clothing.
- Do not mix these ingredients with bleach or household cleaners.
- Keep solutions away from natural stone that can etch.
- Cleanup: Do not dump salty, acidic leftover solution onto lawns, garden beds, or near desirable plants. Dilute it heavily with water and dispose of it down an appropriate drain, then rinse your work area well.
FAQ
Will vinegar ruin galvanized metal?
Vinegar can etch the zinc layer, which is exactly why it helps remove the bright new look. Used in short sessions and rinsed, it is a controlled way to age the surface.
Can I age galvanized metal indoors?
I do not recommend it. Even simple ingredients can be messy, and the smell and overspray are not worth it. A driveway, patio, or a garage with the door wide open is ideal.
Does this work on stainless steel or aluminum?
Not in the same way. These methods are best for galvanized steel and plain steel. Stainless and aluminum resist this kind of surface change.
How do I keep rust from staining my porch?
Use a plastic inner pot and set the planter on a small saucer or a discreet outdoor mat. If you want extra insurance, seal the outside with an exterior-rated matte clear coat once the finish is fully dry and fully cured.
One last thought
The secret to an authentic farmhouse finish is not perfection. It is restraint, layering, and a little bit of patience. Start gentle, build slowly, and let your planters tell a story that matches the rest of your home. And if you end up with a few drips and freckles you did not plan, welcome to the club. Those are usually the spots that make it feel real.