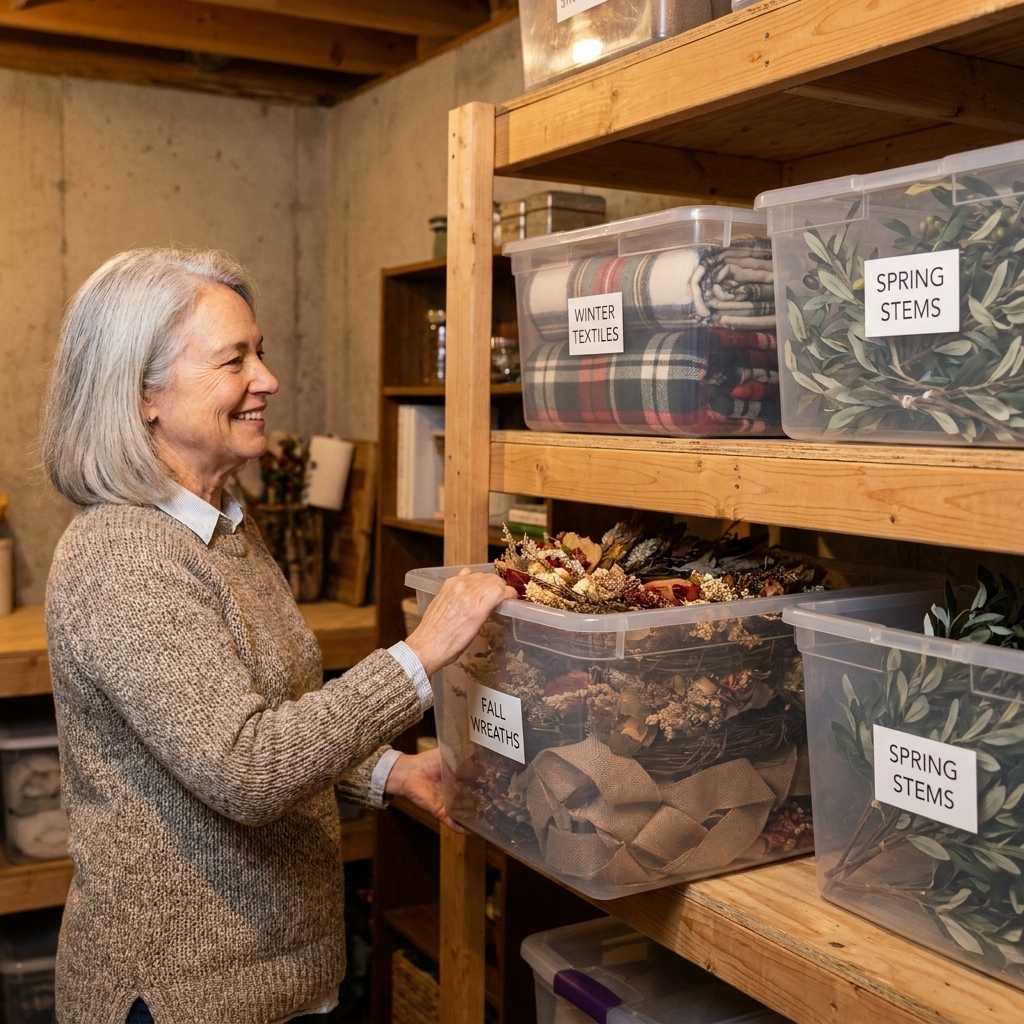
There is something about dried oranges in winter that feels instantly nostalgic. The soft amber slices, the little jewel-like pockets of citrus, the scent that lingers in a hallway when you walk by. This is one of my favorite cold-weather DIYs because it is simple, inexpensive, and it makes the house feel truly lived-in in the best way.
Today I am walking you through exactly how I dry oranges (two ways), how I string them with cinnamon so the garland hangs nicely, and a handful of farmhouse styling ideas you can use from Thanksgiving straight through February.
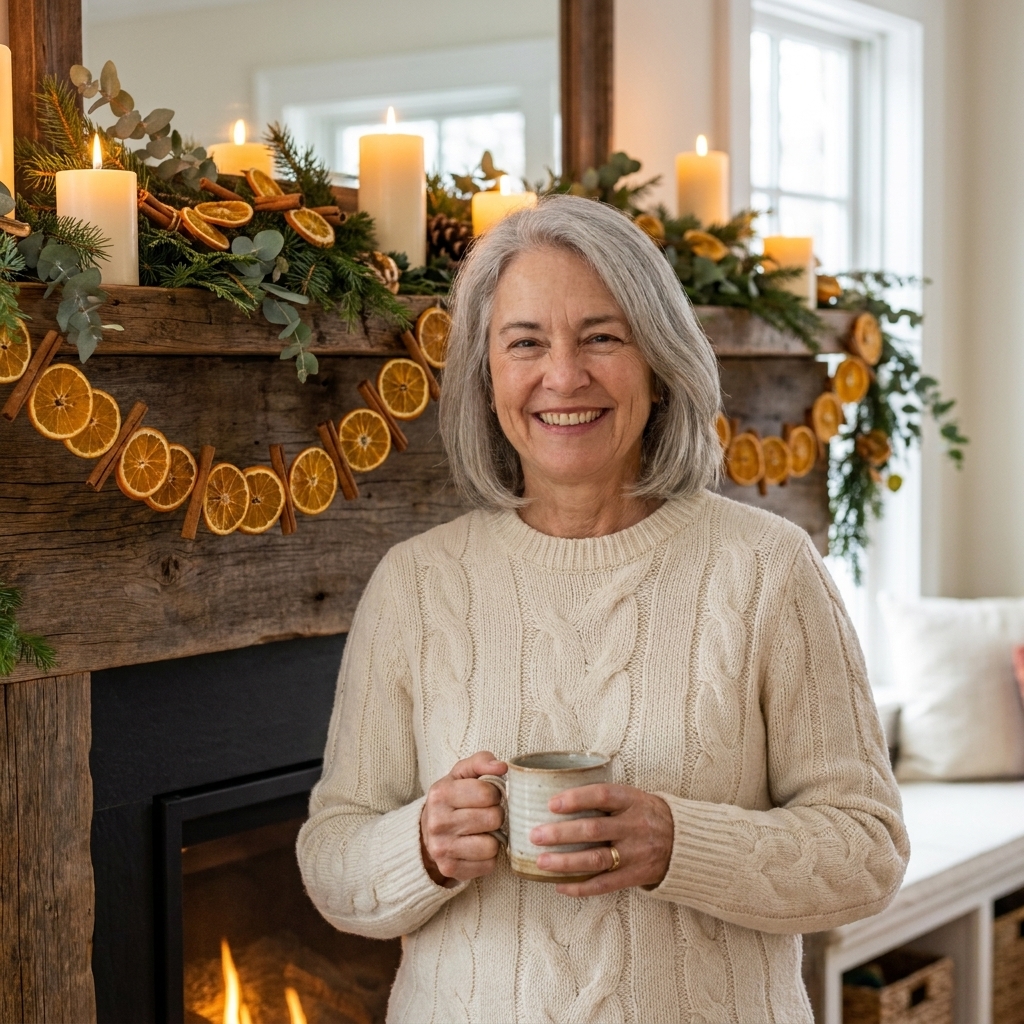
Why it works in farmhouse homes
Farmhouse style is at its prettiest when it is layered with natural textures and a bit of imperfection. Dried oranges give you that warm, timeworn color. Cinnamon adds structure and scent. And when you string everything on jute or twine, it feels like something you could have made in a little upstate kitchen with the snow coming down outside.
- Budget-friendly: oranges, string, and a few pantry spices go a long way.
- Low waste: use up oranges that are getting a little soft.
- Flexible: dress it up with ribbon or keep it purely rustic.
- Smells like winter: citrus and cinnamon is a classic for a reason.
Supplies (with easy swaps)
You can keep this as simple as oranges and string, or make it a little fuller. Here is what I reach for most often.
What you need
- Oranges (navel oranges are my go-to)
- Cinnamon sticks (whole sticks hold up best)
- Twine, jute, or cotton string (thin macramé cord works too)
- Needle with a large eye or a wood skewer for pre-poking holes
- Parchment paper and baking sheets (for oven method)
- Cooling rack (optional but helpful for airflow)
- Scissors
Optional add-ins
- Dried apple slices or pear slices
- Bay leaves (fresh or dried)
- Wood beads
- Star anise pods (beautiful and very fragrant)
- Cranberries (fresh look lovely but can shrivel or mold quickly indoors)
- Small pinecones (best if they are clean and fully dry)
- Velvet ribbon or torn muslin strips for little bows
Twine tip: If you want a softer, cottage feel, use cotton string. If you want the most rustic look, jute is perfect.
Slicing oranges evenly
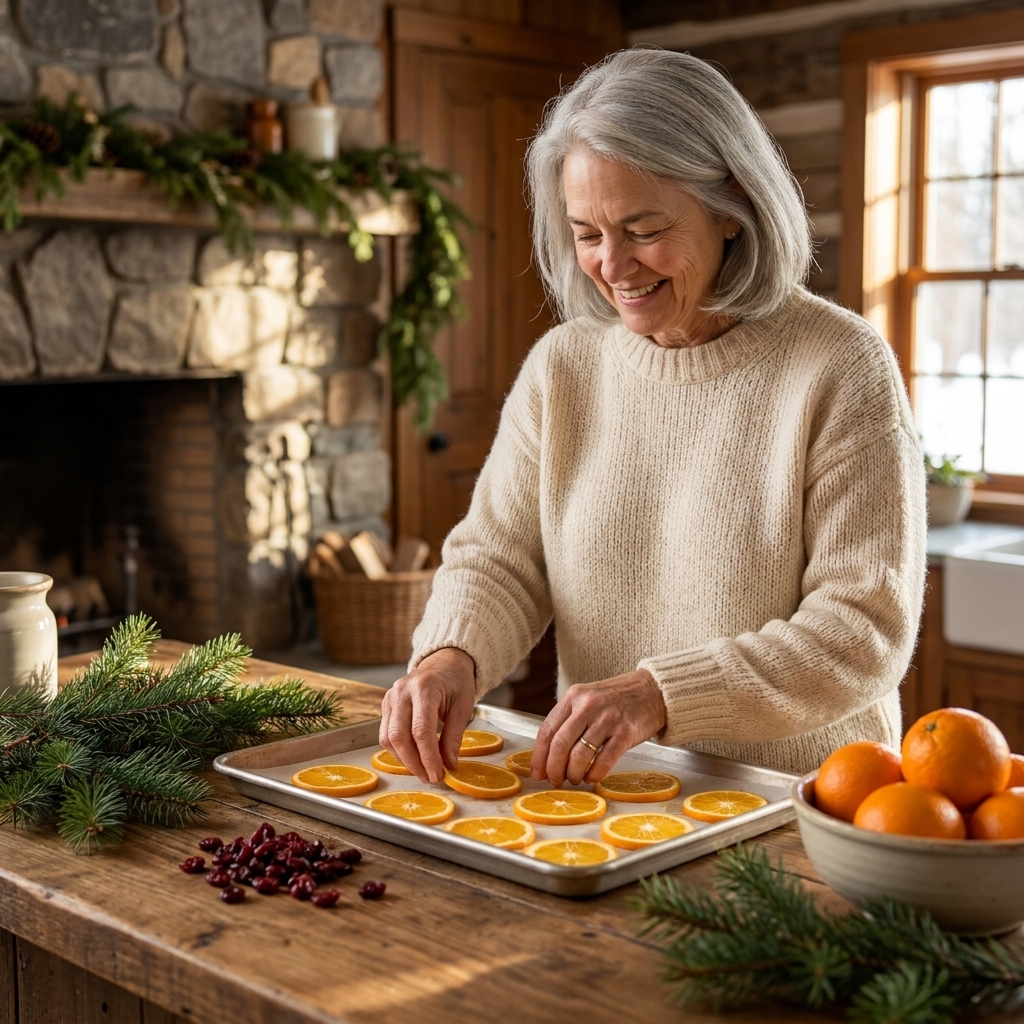
The secret to oranges that dry flat and pretty is consistency.
- Wash and dry your oranges first, especially if you plan to use the peel.
- Slice into rounds about 1/8 to 1/4 inch thick. Thinner slices dry faster and look more translucent. Thicker slices take longer and can stay tacky in the center.
- Blot each slice with paper towels to remove surface juice. This helps them dry faster and reduces sticking.
- Remove obvious seeds so you do not end up with little holes or wet spots.
If you want that classic “stained glass” look, choose oranges with a thinner peel and a bright, evenly colored interior. But honestly, the quirky slices are often the prettiest once they are strung up.
Drying oranges (two methods)
Method 1: Oven-dried
This is my favorite method when I want to make a garland in the same day.
- Preheat your oven to 200°F (or the lowest setting your oven allows).
- Line baking sheets with parchment paper. Arrange orange slices in a single layer.
- Bake for 3 to 6 hours, flipping every 45 to 60 minutes. Time varies a lot based on slice thickness, juiciness, and how your oven runs.
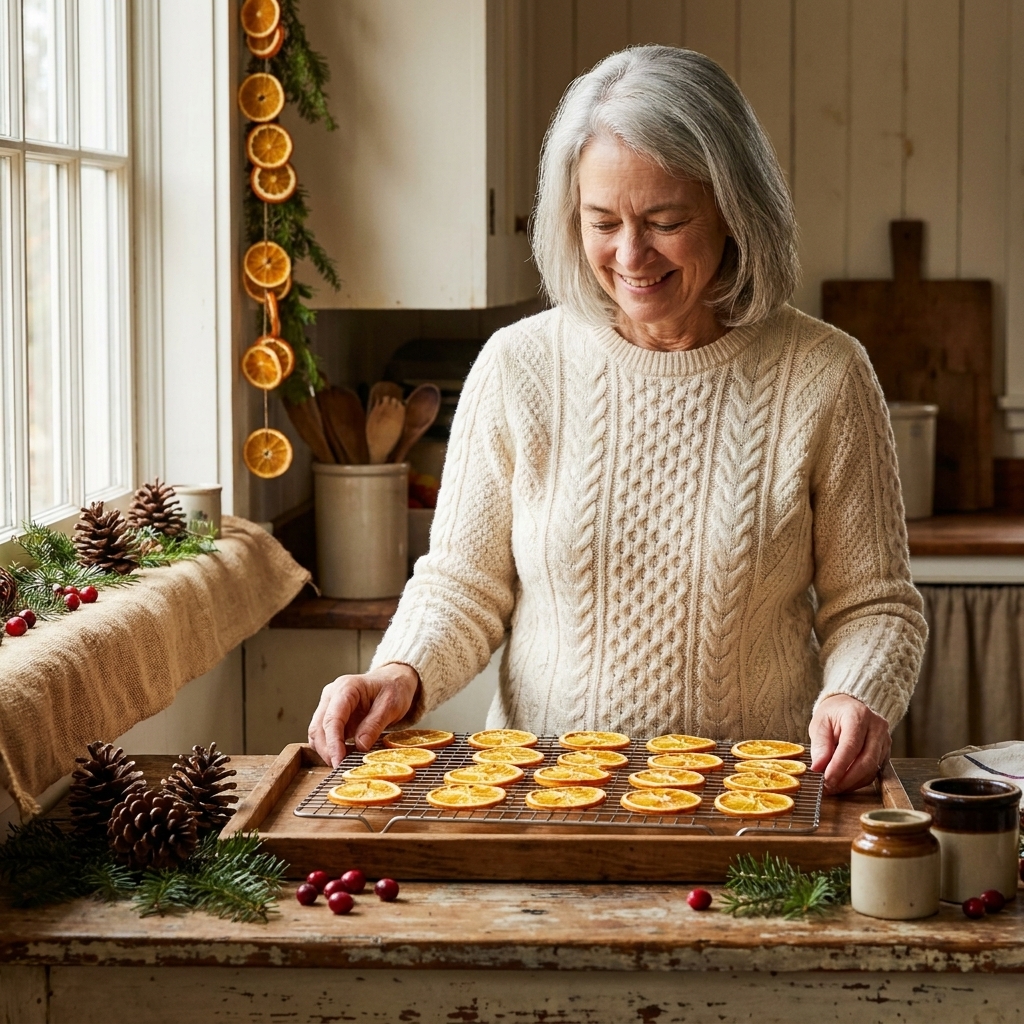
- Cool completely on a rack before judging doneness.
- They are done when they feel dry all the way through after cooling, with no cool, damp center and no tacky spots.
Oven tip: If your oranges start to brown too quickly, your oven may run hot. Drop the temperature slightly and flip a bit more often.
Convection tip: If you use convection, check early. Many convection ovens dry faster, and you may prefer lowering the temperature slightly to keep the slices from over-browning.
Method 2: Air-dried
Air-drying takes longer, but it is wonderfully hands-off if your home is dry and you have good airflow.
- Place slices on a cooling rack or a screen so air can circulate around both sides.
- Set them in a warm, dry spot out of direct sunlight.
- Flip once a day.
- Expect 5 to 14 days, depending on humidity, airflow, and slice thickness.
Air-dry tip: If your home is humid in winter, a small fan on low pointed nearby can help a lot.
Food-safety style note: Air-drying has a higher mold risk. Discard any slices that smell off, feel damp after days of drying, or show fuzz or spotting.
Stringing the garland
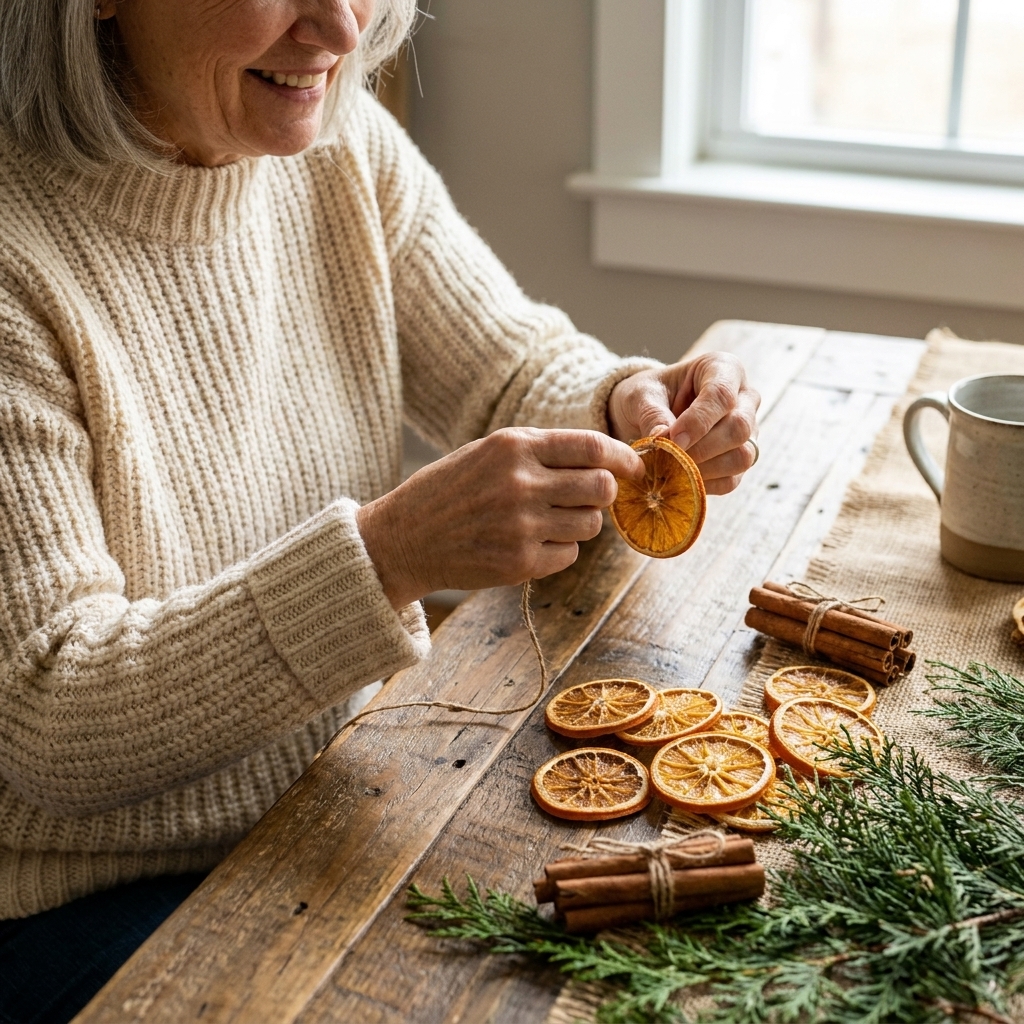
Once your slices are fully cool and dry, the fun part starts. I like to build my garland on the floor or a big table so I can step back and check the spacing.
Step-by-step
- Cut your twine: Measure your mantel, staircase, window, or shelf and add at least 12 to 18 inches extra on each end for tying.
- Decide your pattern: I like a simple repeat, such as orange slice, cinnamon stick, orange slice, then a little gap.
- Prep holes: Use a skewer to poke a hole near the top of each orange slice. You can also slide a needle straight through, but pre-poking helps prevent tearing.
- Thread the oranges: Thread through the hole, then slide the slice down the twine.
- Add cinnamon sticks: Tie each cinnamon stick on with a small piece of twine, or thread the main garland twine around it and knot it tightly.
- Keep it balanced: Every few pieces, lift the garland up to see how it drapes. Adjust spacing as you go.
- Finish the ends: Leave enough twine for tying bows or looping over hooks.
My best hanging tip: If you want the garland to drape in a gentle swoop, keep the pieces a bit closer together in the center and slightly lighter toward the ends. It helps the middle hold that full, gathered look without pulling too much weight on one side.
If it twists: Thread oranges through two holes instead of one, like sewing a button. It helps them face forward more consistently.
More scent, not sticky
Dried oranges have a light citrus scent, and cinnamon is naturally fragrant. If you want a little extra punch, keep it dry and simple.
- Add star anise every few slices for a stronger spice note.
- Use whole cloves sparingly. You can poke a few into the peel edge of an orange slice, but do not overdo it or it can look busy.
- Avoid spraying oils directly onto the oranges. Oils can darken slices and attract dust.
If you love essential oils, place a drop or two on a wood bead or a tiny scrap of ribbon tied at the end of the garland instead of on the fruit itself.
Farmhouse styling ideas
This garland is surprisingly versatile. Here are a few ways I use it year after year.
Mantel
- Layer it over evergreen (real or faux) for that classic winter mantel look.
- Pair with brass candlesticks, amber bottles, or vintage frames.
- If you have stocking hooks, drape the garland just above them so it does not tangle.
Kitchen shelves and hutches
- Run a shorter garland along the front edge of open shelving.
- Tuck a cinnamon stick or two into a crock of wooden spoons so the scent carries.
Stair rail
- Keep the garland lighter here, with more space between slices so it does not feel too heavy.
- Secure with clear command hooks or twine ties every few feet.
Windows and doorways
- Hang it as a gentle swag across the top of a window.
- Add a simple bow at each end using torn muslin for a soft cottage look.

How long it lasts
If your oranges are truly dried and your home is not overly humid, a dried orange garland can last through the whole season and often longer.
To help it last
- Keep it away from direct heat sources like a working fireplace opening or a blasting radiator.
- Avoid high-humidity spots.
- Handle gently. Dried slices can crack if bent sharply.
Storage
After the season, I store mine the way I store ornaments: loosely coiled in a shallow box with tissue paper between layers. Make sure everything is fully dry before boxing it up.
If you live in a humid area or you are storing it in an airtight bin, add a couple of silica gel packets to help keep moisture down. If you notice any softness, tackiness, or an off smell at any point, it is better to compost the fruit and reuse the string and cinnamon sticks for a fresh garland next year.
Troubleshooting
Slices are browning too much
Your oven temp is likely too high, or the slices are thin and drying too aggressively. Lower the temperature and flip more often.
Centers are still sticky
They need more time. Pop them back in at a low temp and keep checking every 20 to 30 minutes. Sticky centers can lead to mold later, especially in storage.
Slices crack while stringing
They may be overdried, or the hole is too close to the edge. Poke holes a bit farther in from the rind, and handle the slices like delicate ornaments.
Simple variations
- All citrus: mix oranges with dried lemon slices for a brighter, more Scandinavian winter feel.
- Neutral farmhouse: use pale dried oranges, bay leaves, and unfinished wood beads.
- Old-world kitchen: add small bundles of rosemary tied with twine.
- Little cottage sweet: add small velvet bows every 12 to 18 inches.
Safety with pets and kids
Hang garlands out of reach if you have curious pets or little ones. Dried citrus and spices can be tempting to nibble, and cinnamon and cloves can cause stomach upset if ingested. String can also be a choking or obstruction risk. On a mantel or high shelf, it is usually perfectly fine and still easy to enjoy.
Quick FAQ
Do I need to treat the oranges to preserve them?
Most people do not, as long as the slices are fully dried. The real key is removing moisture completely. In humid homes, good airflow while drying and dry storage (and even silica gel packets in a closed bin) makes a bigger difference than sprays or preservatives.
Can I use clementines or blood oranges?
Yes. Clementines are smaller and a little fussier to slice evenly, but they look adorable. Blood oranges dry darker and moodier, which can be really beautiful in a rustic home.
Can I make this ahead of time?
You can dry the oranges a few days ahead. Let them cool completely, then store in a dry container. I like stringing the garland closer to hanging time so everything stays crisp and clean.
How many oranges do I need?
For a standard mantel garland (about 5 to 6 feet), I usually use 4 to 6 oranges, depending on slice size and how full I want it.
A warm finishing touch
If you are craving a winter home refresh but do not want to haul out bins of decor, this little DIY does so much with so little. It brings warmth, scent, and that handmade farmhouse charm that never feels fussy. Put on a pot of coffee, turn on a favorite playlist, and let your home smell like the best kind of winter day.