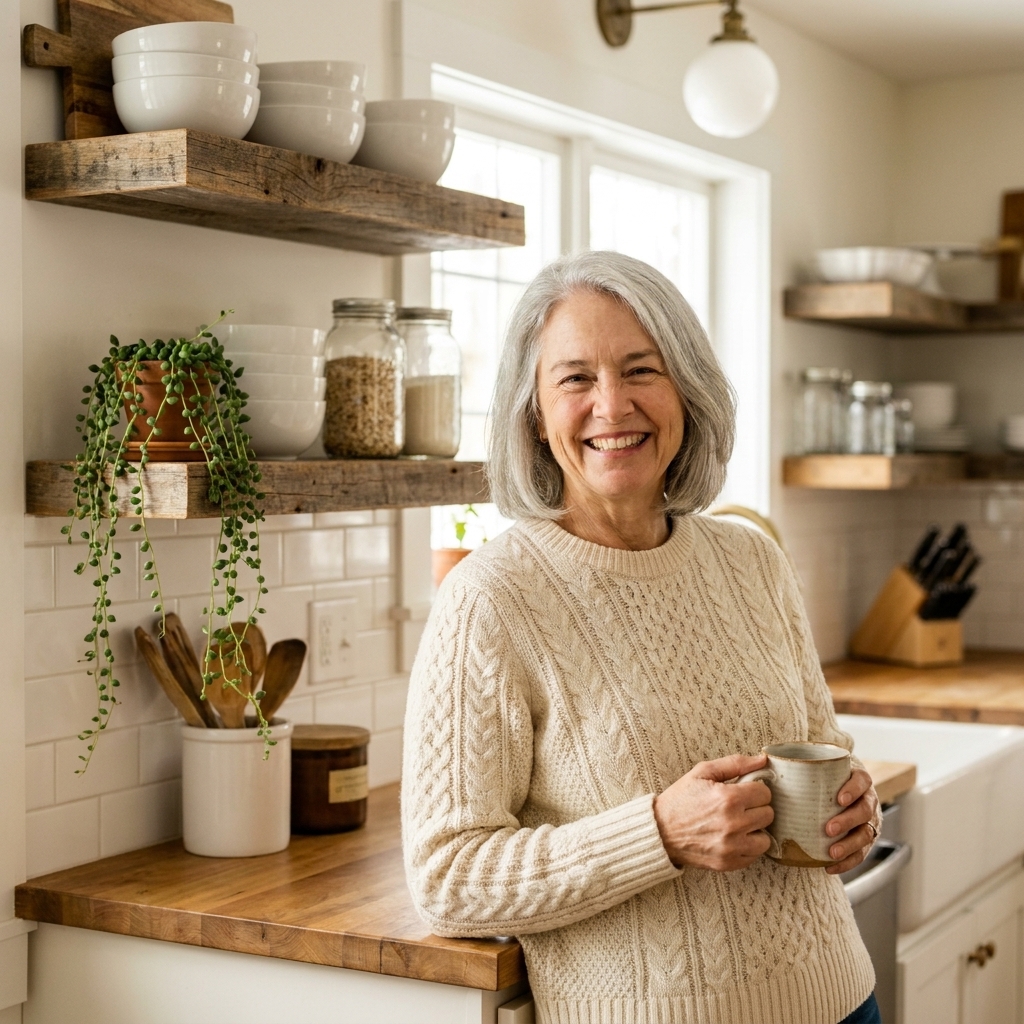
There is something about reclaimed wood in a kitchen that feels instantly grounding. It softens all the hard surfaces, adds that honeyed, timeworn texture, and makes even a newer space feel like it has a story. The best part is you do not need a full remodel to get that cozy farmhouse look. A few small DIYs, built from old boards, can change the whole mood of the room.
Below are seven beginner-friendly reclaimed wood projects I love for kitchens. They are practical, they are forgiving, and they let those imperfect knots and nail holes do the decorating for you.
Before you start
If you are new to working with salvaged lumber, do not overthink it. Some of my favorite boards have come from a neighbor’s torn-down shed, an old pine bed frame, and the bottom shelf of a wobbly thrifted bookcase.
Where to look
- Architectural salvage stores and Habitat ReStore
- Facebook Marketplace listings for “barn wood,” “old fence,” or “free lumber”
- Estate sales for broken furniture you can strip down for parts
- Pallets (only if they are stamped HT for heat-treated, and only if you know they are clean and dry)
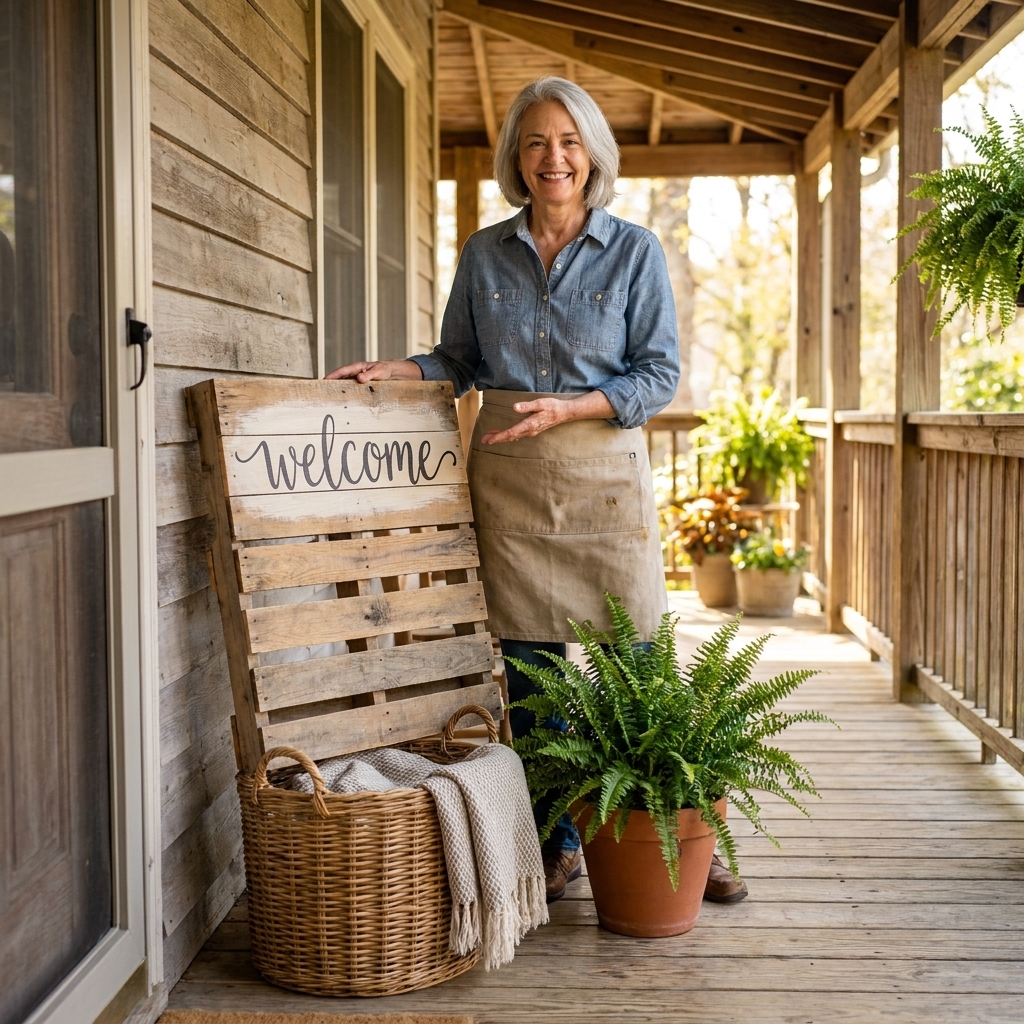
A quick pallet note, because it comes up a lot: an HT stamp means the pallet was heat-treated, not chemically fumigated. It does not guarantee it stayed clean. Pallets can pick up spills and grime in transit, so I avoid pallet wood for cutting boards, prep surfaces, and anything that will regularly touch food. If you use it at all, choose pallets from a known source and stick to wall pieces or decor.
Quick prep routine (my go-to)
- Check for metal: Run a magnet over the board and pull nails or staples. A cheap metal detector is worth it if you do this often.
- Clean: A stiff brush and warm soapy water usually does the job. Let it dry fully.
- Watch for pests and rot: Skip boards with active insect holes, soft spots, or a musty smell that will not air out. A little character is charming. Structural damage is not.
- Flatten splinters, keep the character: I like a light sanding with 80 grit, then 120 grit. Stop before it looks brand new.
- Plan for food areas: For cutting boards and food prep surfaces, use a finish intended for that use. For everything else, a durable clear coat is great.
One quick safety note before you sand: If you suspect a piece is very old and has been painted or finished, treat it as potentially hazardous until proven otherwise. Lead test kits are easy to find, and a properly fitted respirator rated for particulates plus good ventilation is worth the effort. When in doubt, skip sanding painted surfaces and choose another board.
Best wood choices for kitchens
- Hardwoods: Oak, maple, and walnut dent less and hold up well for trays and high-touch pieces.
- Softwoods: Pine and fir are perfectly usable, just expect more dings. I actually think that adds to the patina over time.
1) Floating shelves
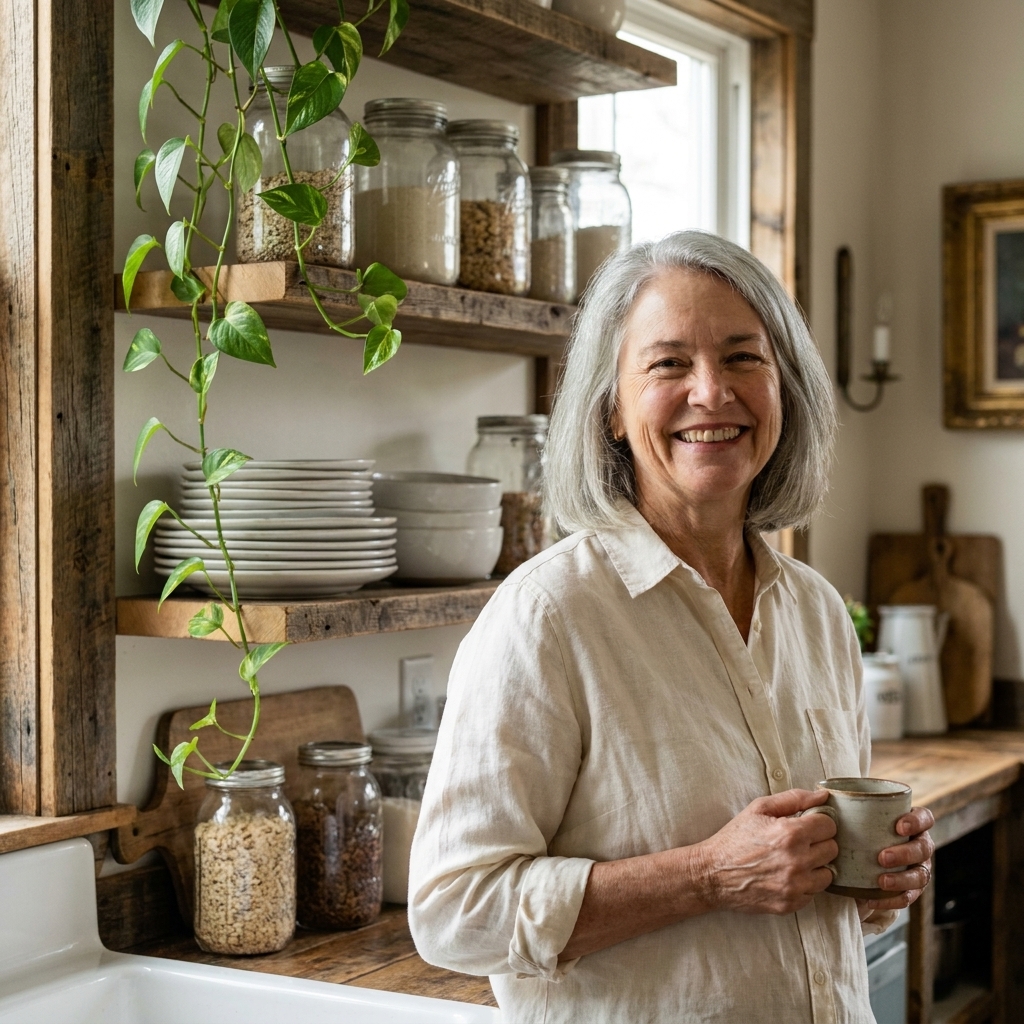
If you do one project from this list, make it shelves. They add vertical storage and that warm farmhouse layer all at once. I especially love them for everyday dishes, glass canisters, and a small stack of cookbooks.
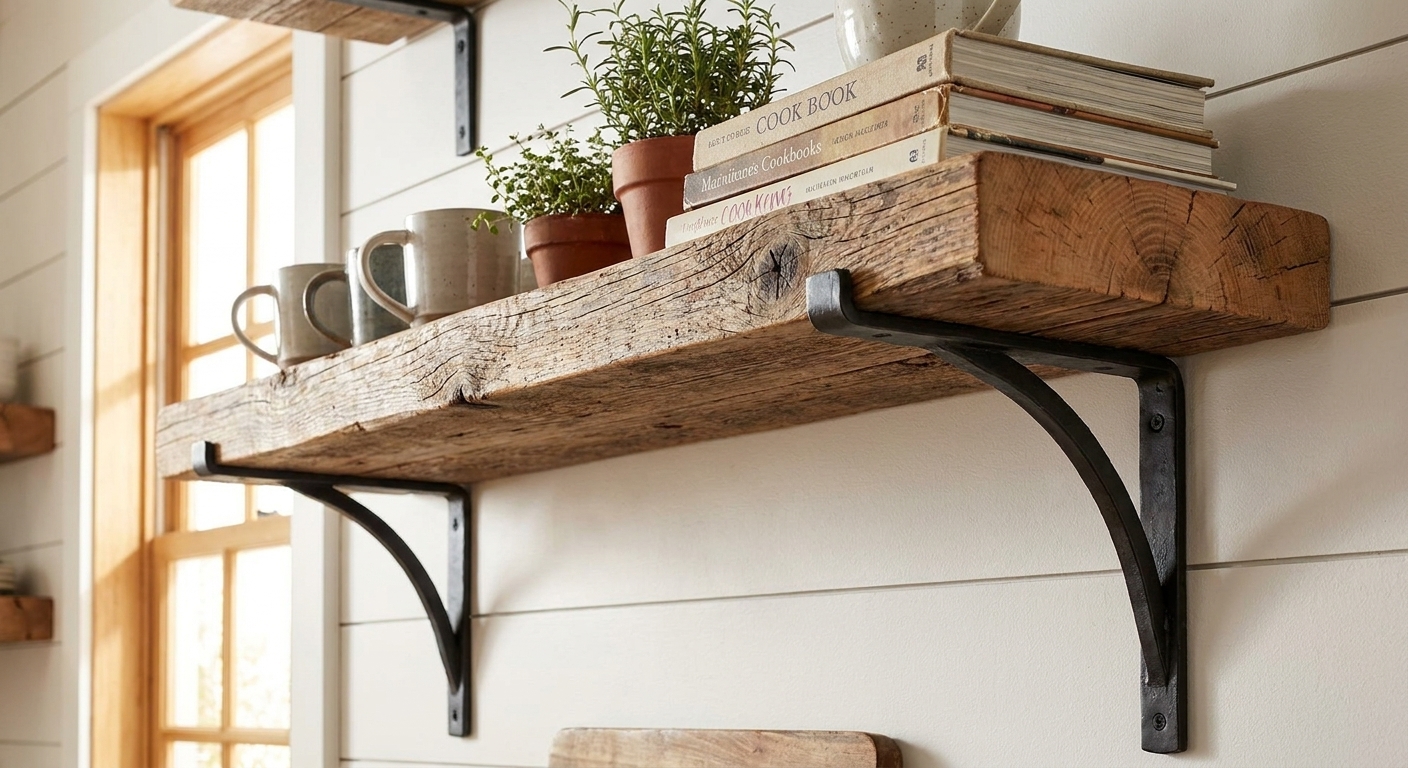
What you need
- One straight reclaimed board (1x8 to 2x10 are great)
- Heavy-duty brackets or a floating shelf kit
- Stud finder, level, drill, screws
- Finish: wipe-on polyurethane, hardwax oil, or a matte clear coat
Easy steps
- Cut your board to length and lightly sand.
- Seal all sides, including the back and underside. Kitchens are humid and splattery.
- Find studs and plan your bracket spacing. Check the bracket load rating and use the screw length recommended by the manufacturer.
- Mount brackets into studs, then attach the shelf. Avoid relying on drywall anchors for heavy dishware.
Maggie tip: If your board has a slightly rough edge or saw marks, keep them facing out. That is the charm.
2) Mug rack
A mug rack is a tiny project with big payoff, especially if your cabinet space is tight. It also makes the kitchen feel lived-in in the best way, like someone is always about to put the kettle on.
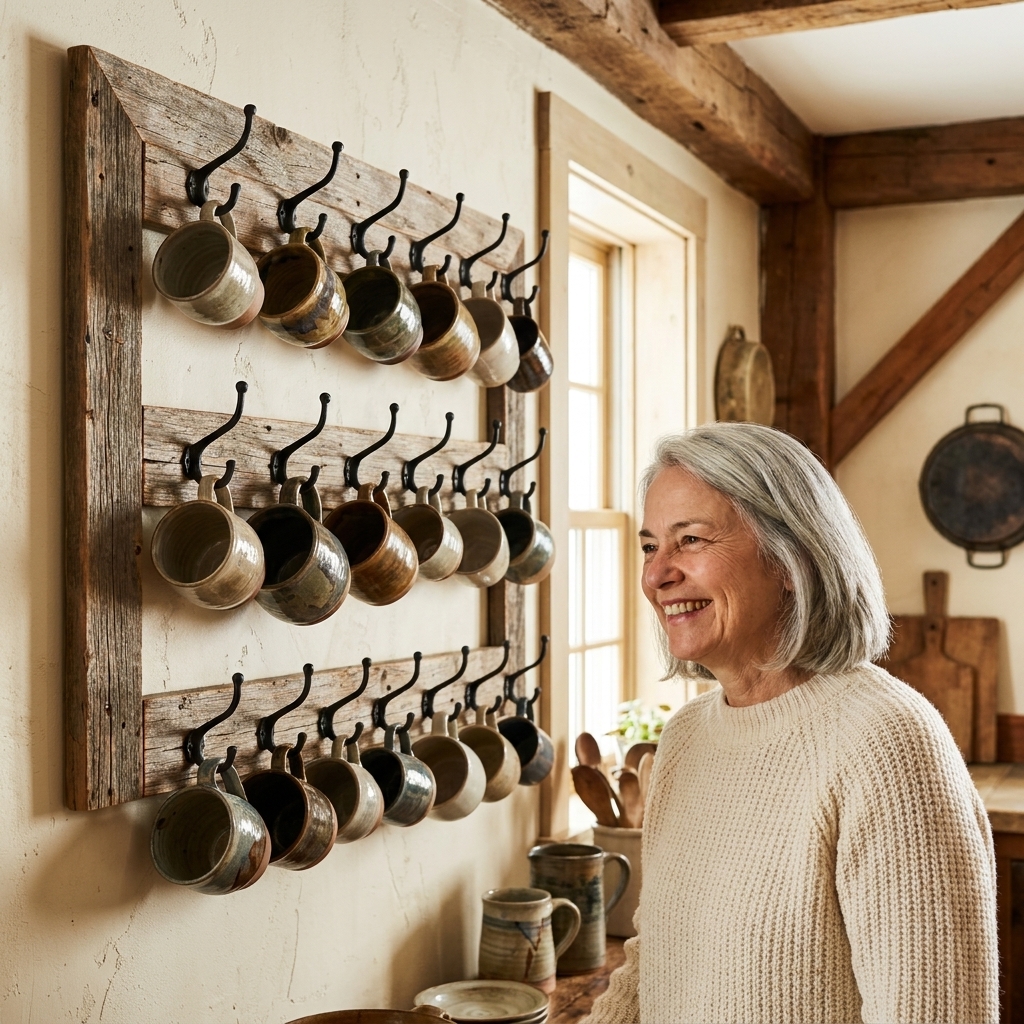
What you need
- A reclaimed board (around 4 to 6 inches tall, 18 to 30 inches long)
- 4 to 7 hooks (iron, brass, or simple black)
- Drill, screws, wall anchors or stud mounting hardware
- Optional: small shelf ledge on top for coffee tins
Easy steps
- Lightly sand, then seal the board.
- Mark hook spacing and pre-drill for screws to prevent splitting.
- Attach hooks, then mount the rack to studs if possible.
Style idea: Hang your prettiest mugs and keep the everyday ones stacked in a basket nearby. That mix looks collected, not cluttered.
3) Message ledge
This is one of my favorite quiet farmhouse touches. A slim ledge gives you a place for a handwritten recipe, a small framed print, or even a tiny seasonal wreath. It makes a kitchen feel personal.
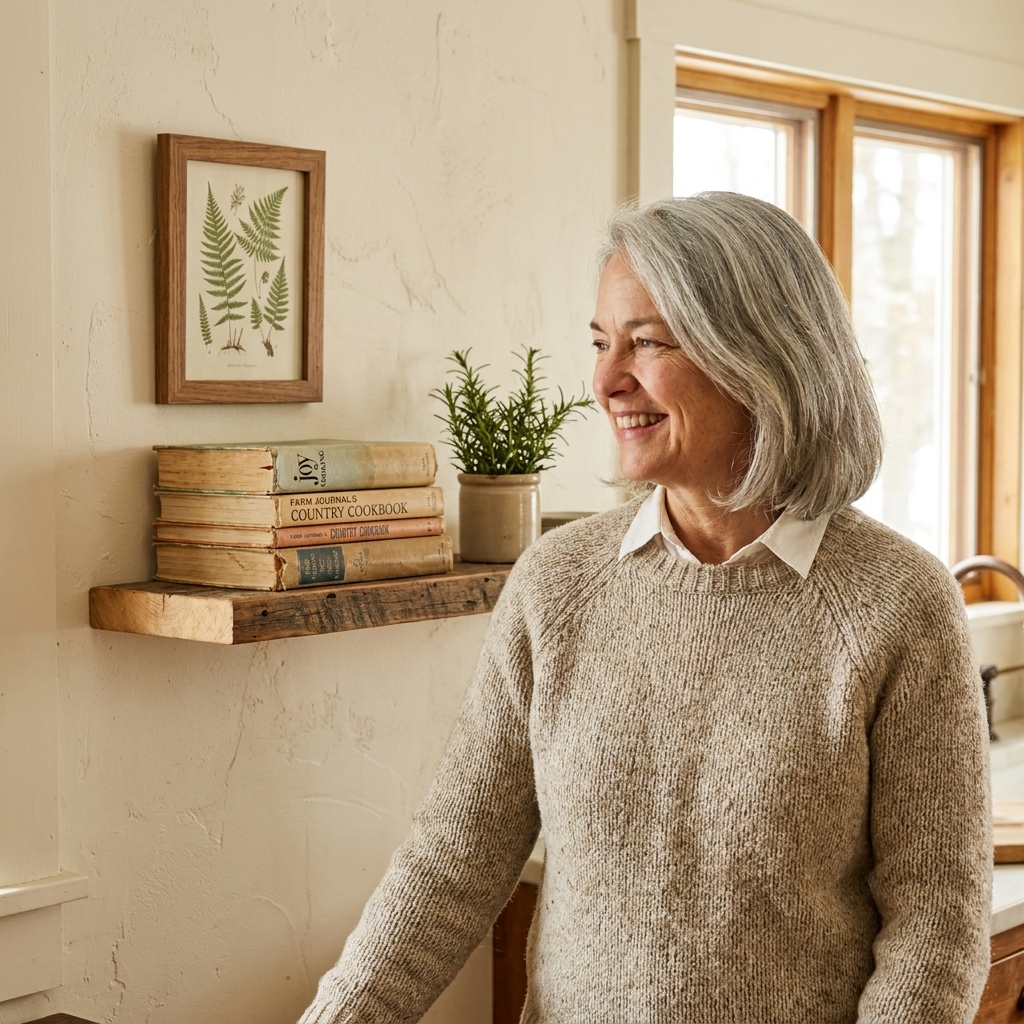
What you need
- One reclaimed board for the back (about 3 to 5 inches tall)
- One strip for the shelf base (about 3 to 4 inches deep)
- One strip for the front lip (about 1 to 1.5 inches tall)
- Wood glue, brad nails or screws, level
Easy steps
- Build a shallow ledge with a base, a back, and a small front lip. A finished depth around 3.5 inches is usually enough for cookbooks and small frames.
- Sand lightly, seal, then mount into studs.
Maggie tip: If you want extra cozy, tuck in a tiny battery candle at night. Warm light bouncing off old wood is pure cottage comfort.
4) Utensil caddy
If you have a pile of offcuts you cannot bear to toss, this is the project. A countertop utensil caddy keeps wooden spoons and spatulas corralled and adds a rustic note near the stove.
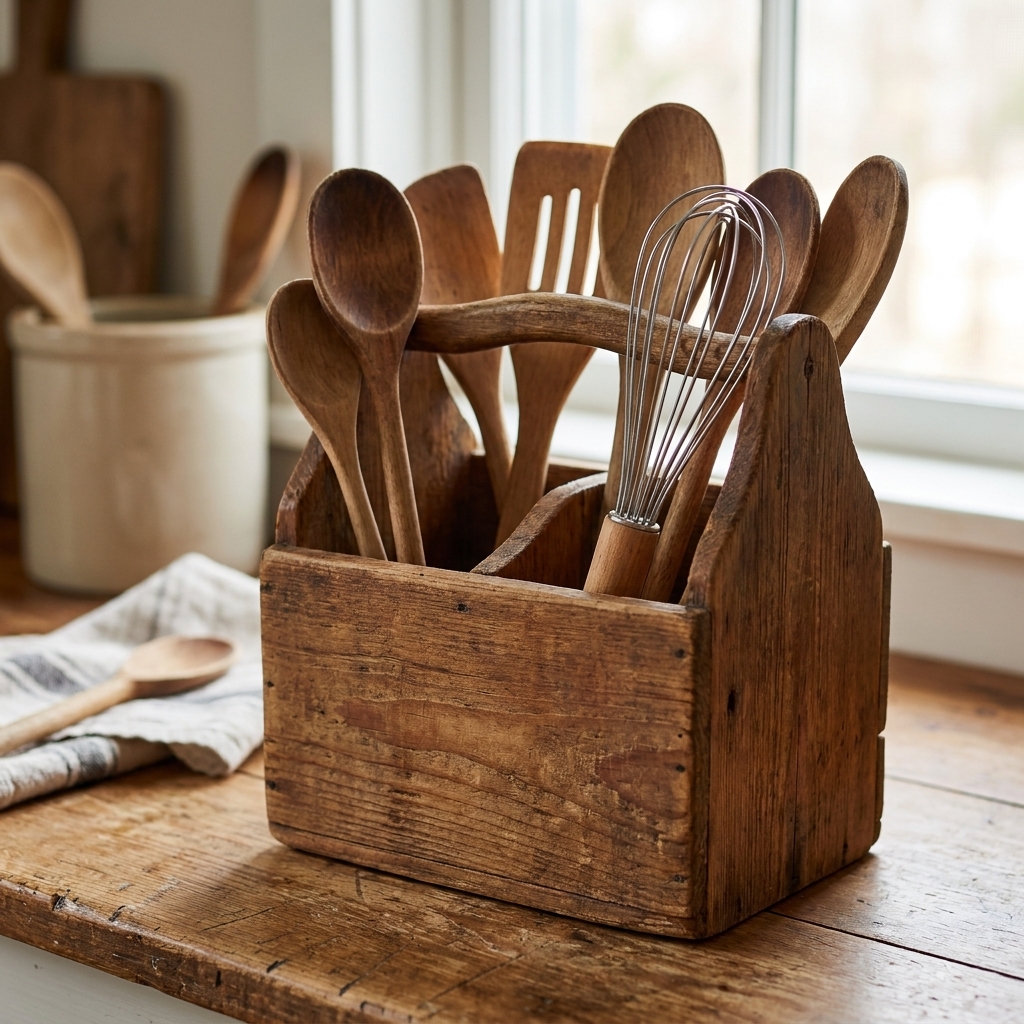
What you need
- Scrap pieces for four sides and a bottom
- Wood glue and nails or screws
- Optional: a divider inside
- Finish: wipe-on poly or hardwax oil
Easy steps
- Cut pieces to size and dry fit first.
- Glue and fasten the box together, then add the bottom.
- Sand corners so nothing catches your hand.
- Seal well for easy wipe-downs.
Practical note: Because it will sit near cooking splatter, I recommend a finish that cures hard and can be wiped with a damp cloth.
5) Paper towel holder
This one is wonderfully old-school, like something you would find in a hardworking farmhouse pantry. Mount it under a shelf or cabinet to free up counter space.
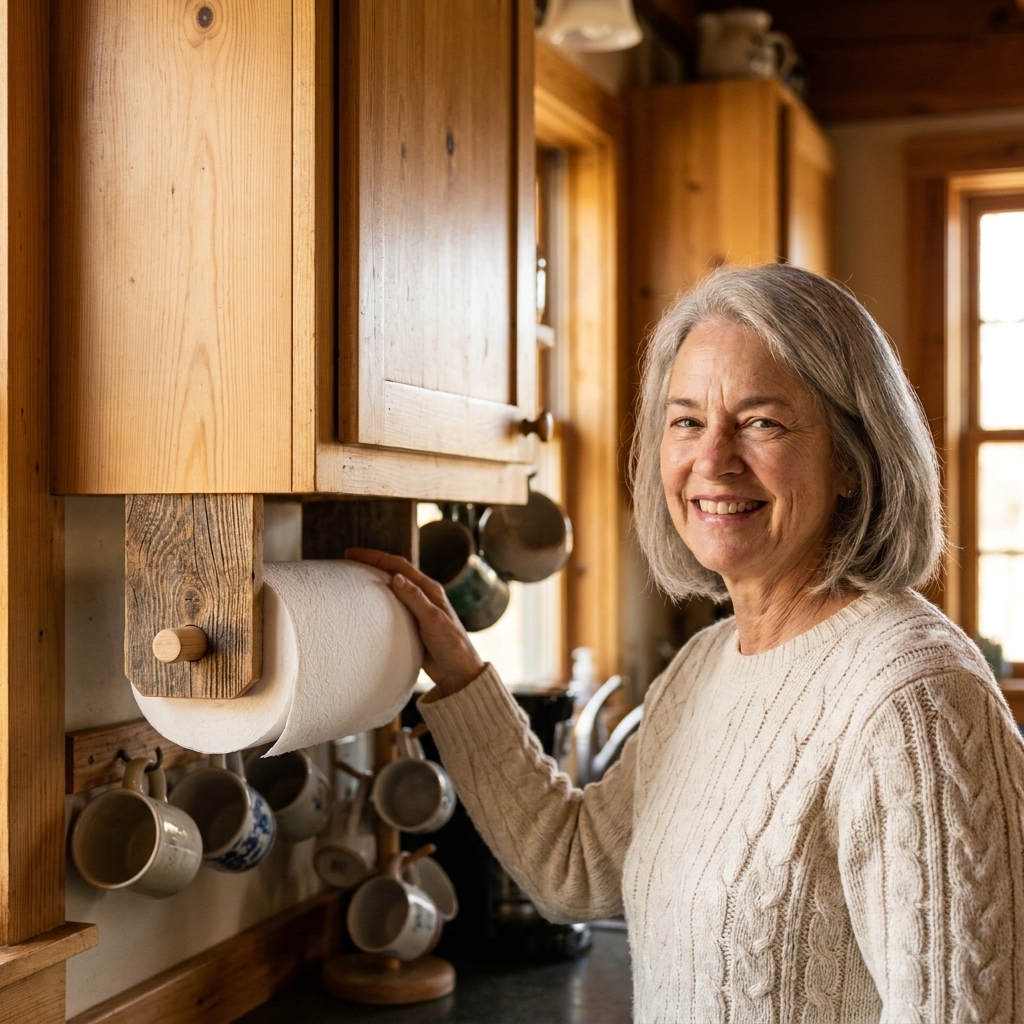
What you need
- Two small reclaimed wood side brackets (or one board cut into two ends)
- A wooden dowel or metal rod
- Screws, drill
- Optional: a little leather strap detail on the ends
Easy steps
- Cut and sand the two end pieces.
- Drill holes for the dowel ends or attach hooks for a metal rod.
- Mount under a shelf or cabinet (pre-drill to prevent splitting), then slide the roll on.
Maggie tip: If you are using a dowel, rub it with a little paste wax after finishing. The roll will glide better.
6) Rustic tray
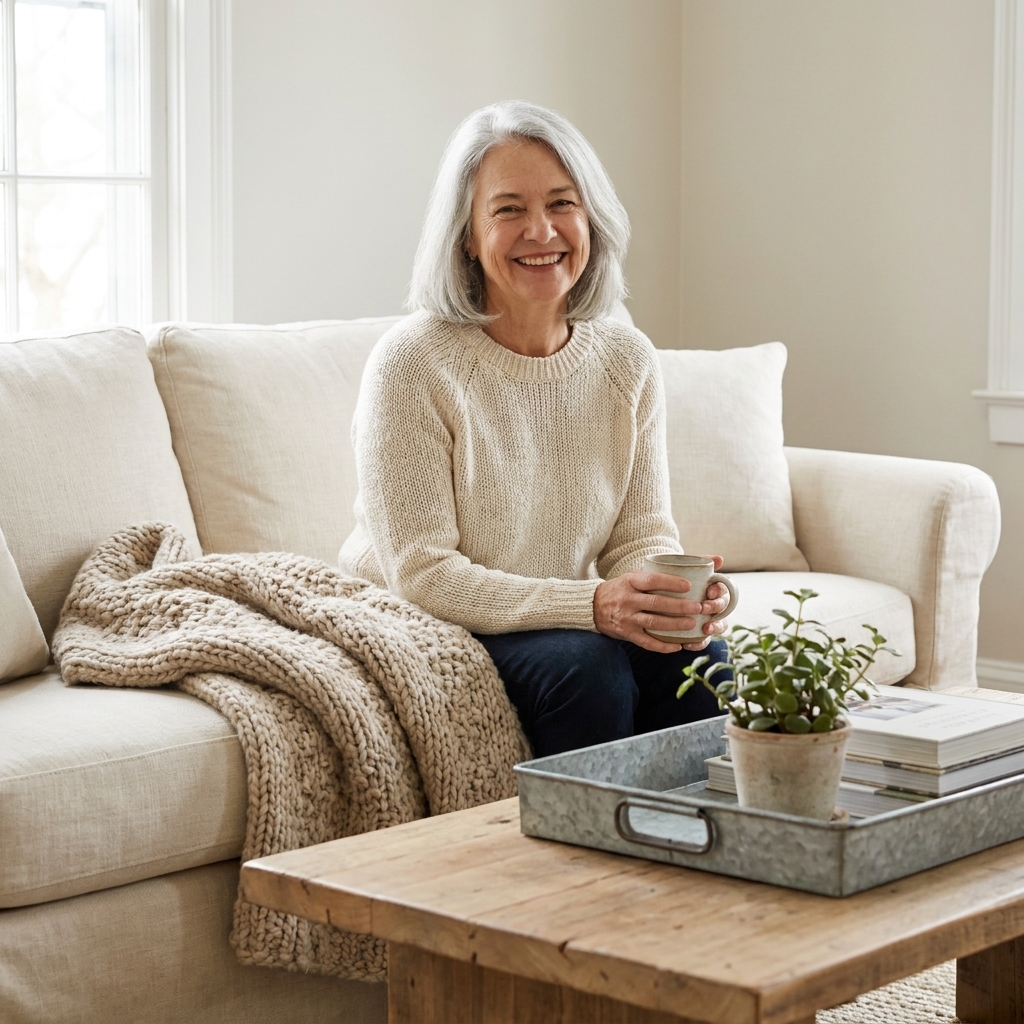
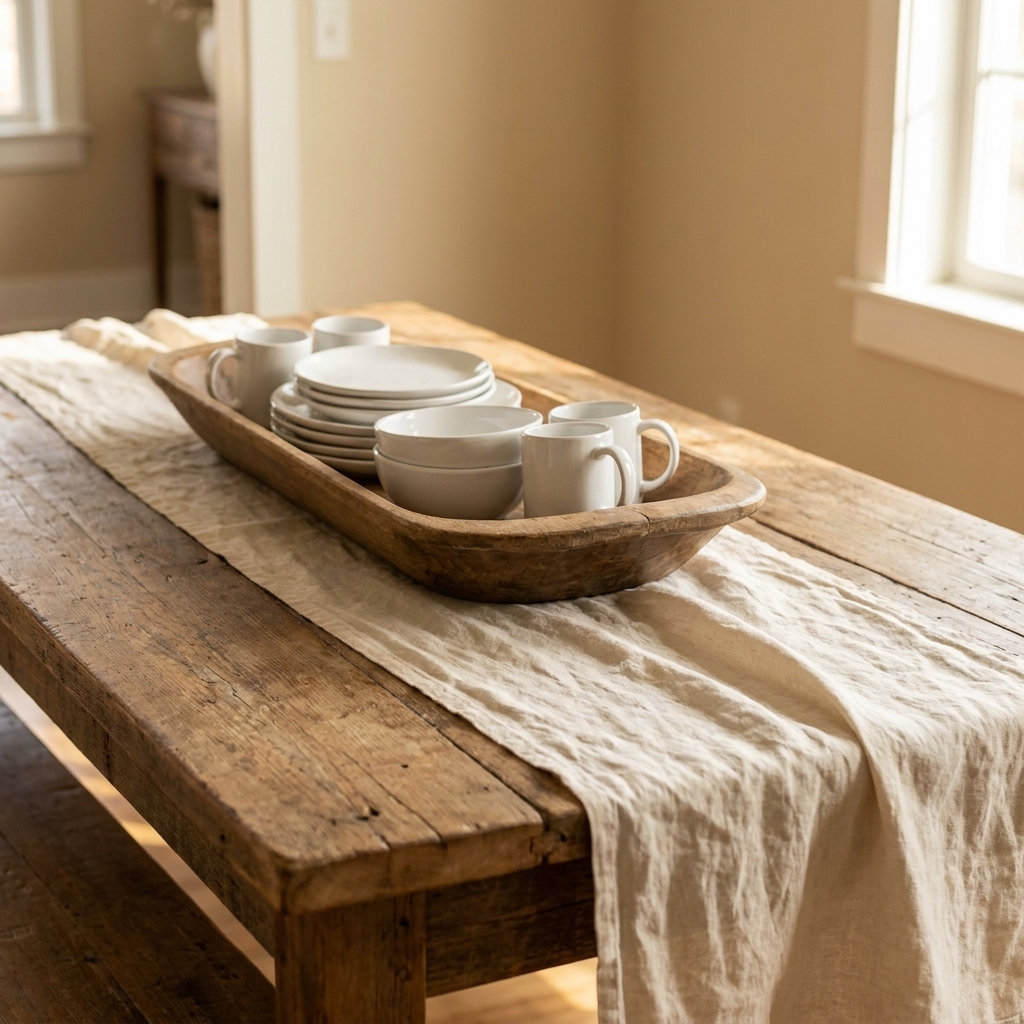
A tray is the quickest way to make a counter look intentional. It groups the everyday kitchen items, gives them a home, and adds that warm wood texture right where your eyes land.
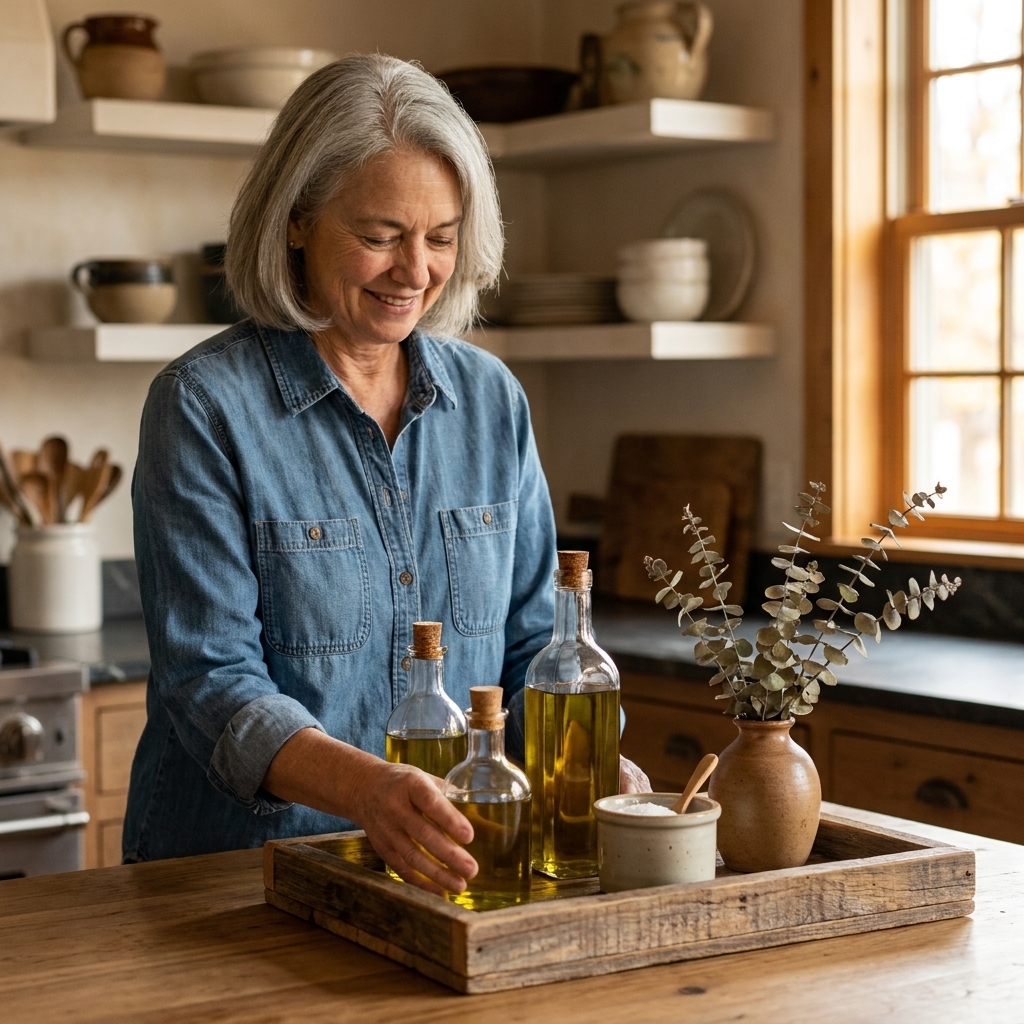
What you need
- A reclaimed board for the base
- Thin strips for the sides
- Optional: two small handles or cutout handholds
- Wood glue, nails, sandpaper, finish
Easy steps
- Cut base and side strips. Pre-drill nail or screw holes, especially if your wood is very dry.
- Attach sides with glue and nails or screws.
- Sand edges smooth for comfortable carrying.
- Seal thoroughly, especially the inside corners where oil drips like to live.
Style idea: Add one soft thing on the tray, like a folded linen napkin or a small bundle of dried herbs. That little bit of texture makes it feel curated, not utilitarian.
7) Open crate
An open crate is perfect for onions and potatoes, for rolled tea towels, or for those odds and ends that always seem to multiply in a kitchen. It is also a great way to use boards that are not quite shelf pretty.
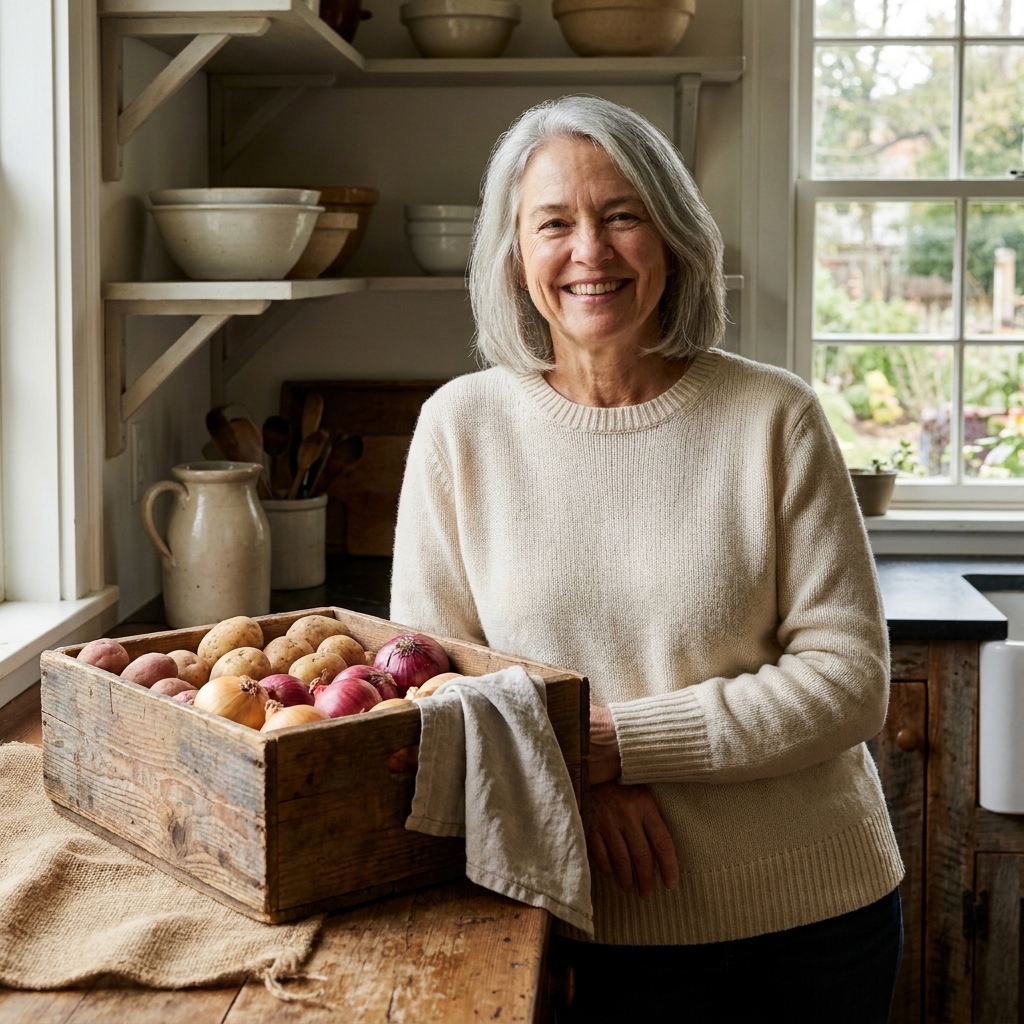
What you need
- Reclaimed boards for four sides and a slatted bottom
- Screws or nails, drill, wood glue
- Optional: a small metal label holder
Easy steps
- Build a basic box frame first.
- Add slats to the bottom for airflow.
- Sand the top edges so it is comfortable to carry.
- Seal lightly if you want easier wipe-down, or leave raw for a drier, rustic look.
Finishing tips
Reclaimed wood can handle kitchen life beautifully, as long as you protect it where it counts. Steam, splashes, and sticky fingerprints are part of the deal in a real home.
- For shelves and wall pieces: Wipe-on polyurethane is durable and forgiving. Matte or satin keeps it from looking too shiny. Like most film finishes, it is generally considered safe for incidental contact once fully cured, so give it the full cure time on the can.
- For trays and caddies: Hardwax oil gives a soft, natural look and is easy to refresh later. Let it cure fully before loading it up.
- For cutting boards and true prep surfaces: Use a finish made for that job, like a food-grade oil and wax blend, and reapply as needed.
- Keep the patina: If you love the aged color, skip stains. A clear coat will deepen the tone just a touch and lock it in.
Maggie tip: Always seal the underside and the back of shelves. It helps prevent warping and keeps the finish looking even over time.
Common questions
Do I need to kiln-dry reclaimed wood?
Not always. For indoor projects, the bigger issue is making sure the wood is clean, dry, and stable. Let it acclimate inside your home for a few days, especially if it came from a damp barn or garage.
How do I keep reclaimed wood from looking dirty?
Clean first, sand lightly, then seal. A matte clear coat keeps the old wood look without the dusty, crumbly feel.
What if my boards are slightly warped?
Use them for smaller projects like trays, crates, or ledges. For floating shelves, start with the straightest boards you can find, or use brackets that pull the shelf snug to the wall.
When should I call a pro?
If you cannot hit studs for a wall-mounted shelf, if you are mounting into tile you are not comfortable drilling, or if you want to store heavy stacks of dishes above a busy work zone, it is worth getting help. Pretty shelves are not worth a scary failure.
Cozy is layers
One reclaimed wood project is lovely, but a few small touches really make a kitchen feel like home. A shelf that holds your everyday plates, a mug rack that shows off the mismatched collection, a tray that keeps the counter calm. That is the heart of farmhouse style to me. Practical, warm, and a little bit imperfect in a way that feels honest.
If you try one of these, start with what your kitchen needs most, not what looks best on paper. Cozy always follows function when you build it with real life in mind.