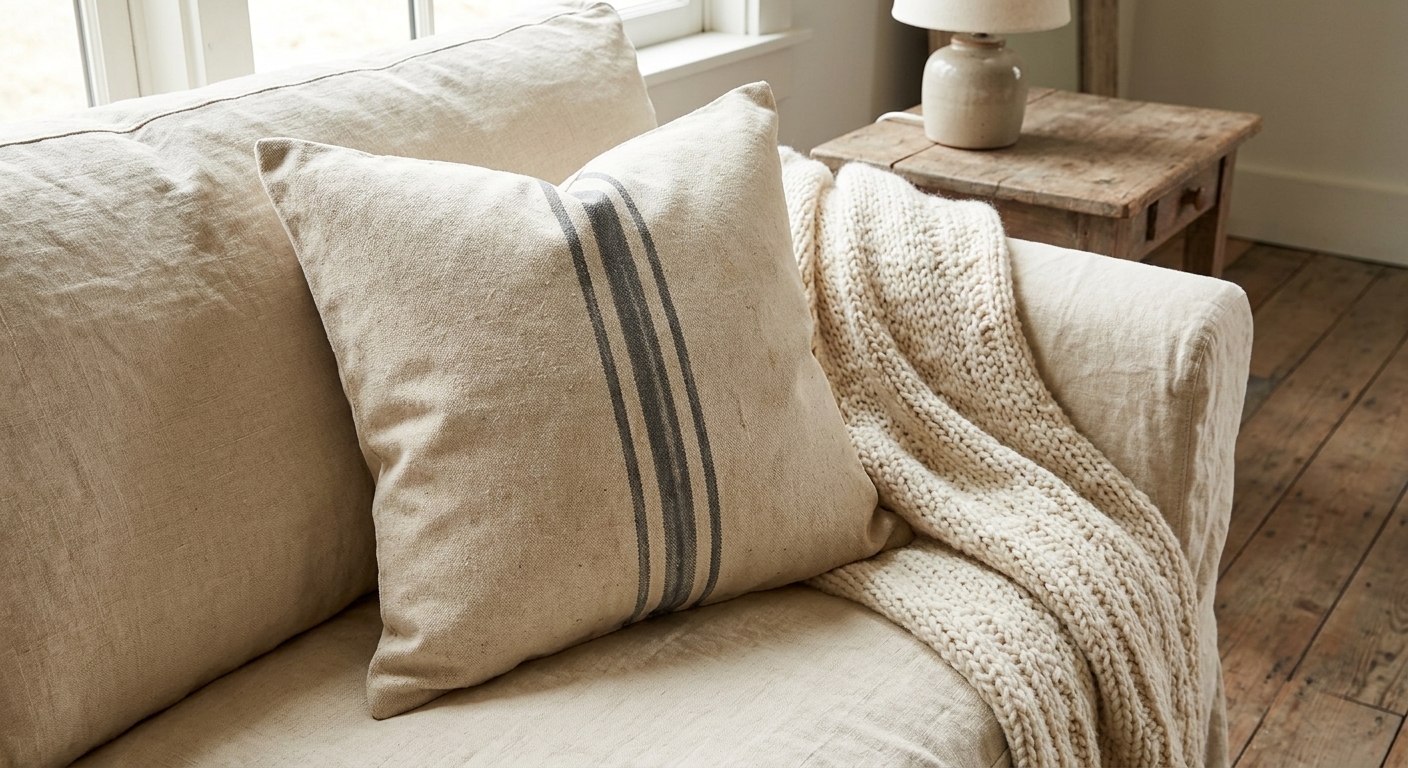
There is something about a true grain sack pillow that makes a room feel instantly settled. The weighty texture, the time-worn stripes, that quiet little nod to farm life. The only problem is that authentic grain sack fabric can be pricey, and if you are outfitting a whole sofa, it adds up fast.
So today I am sharing my favorite budget-friendly workaround: faux grain sack throw pillows made from canvas drop cloths, with the classic stripes painted right on. They look beautifully imperfect, hold up to real life, and they give you that vintage farmhouse vibe for a fraction of the cost.
Why drop cloth works so well
If you have ever bought a canvas drop cloth for painting a room, you already know the secret: it is basically instant farmhouse fabric. It has that nubby weave, the slightly irregular texture, and it softens up beautifully after a wash.
- Affordable and wide: One drop cloth can make multiple pillows.
- Sturdy: Great for high-traffic sofas, mudroom benches, and kid-friendly spaces.
- Already looks “old”: The natural cotton color reads like an aged textile, especially once washed.
- Takes paint well: Perfect for crisp stripes with a handmade feel.
Quick note: Look for 100% cotton canvas drop cloths. Skip plastic-backed or waterproof versions, since paint adhesion and sewing can be a headache.
Supplies
You can keep this project very simple. Use what you have, and do not overthink it. Grain sacks were utilitarian, so a little wonkiness is part of the charm.
- Canvas drop cloth (8 oz to 10 oz canvas is ideal)
- Pillow insert (choose your size, like 18x18 or 20x20)
- Fabric paint or acrylic craft paint
- Textile medium (if using acrylic paint, optional but recommended)
- Painter’s tape (medium tack works well on fabric)
- Measuring tape or ruler
- Pencil or washable fabric marker
- Foam roller or stencil brush
- Iron and ironing board
- Sewing machine and thread (or needle and heavy thread for hand sewing)
- Zipper (optional), or hook-and-loop tape (optional)
- Scissors or rotary cutter and cutting mat
Paint choice tip: Fabric paint tends to stay a little softer. Acrylic plus textile medium is a great budget option and holds up well when heat-set correctly.
Paint color tip: Classic grain sack stripes are often deep indigo or charcoal. My go-to is a softened black, like a charcoal gray, because it looks aged instead of stark.
Step 1: Wash and prep
This step is not glamorous, but it makes everything better. Canvas drop cloths can shrink, and some can come with sizing or a factory finish that makes paint behave oddly.
- Wash on warm with a small amount of detergent.
- Tumble dry, then pull it out while it is still a tiny bit warm.
- Iron the area you will paint. Smooth fabric makes cleaner stripes.
If you want an extra soft, broken-in look, wash it twice. The fabric gets that cozy “been around forever” feel.
Step 2: Cut the panels
Before you cut, let’s define two sizes so the math stays simple.
- Insert size: The size on your pillow form (like 18x18).
- Finished cover size: The size of your sewn cover after stitching (before stuffing).
I like a pillow to look full, so I usually make the finished cover size about 1 inch smaller than the insert.
Choose your finished cover size:
- For a full look: Finished cover size = insert size minus 1 inch (example: 18x18 insert, 17x17 finished cover).
- For an easy fit: Finished cover size = insert size (example: 18x18 insert, 18x18 finished cover).
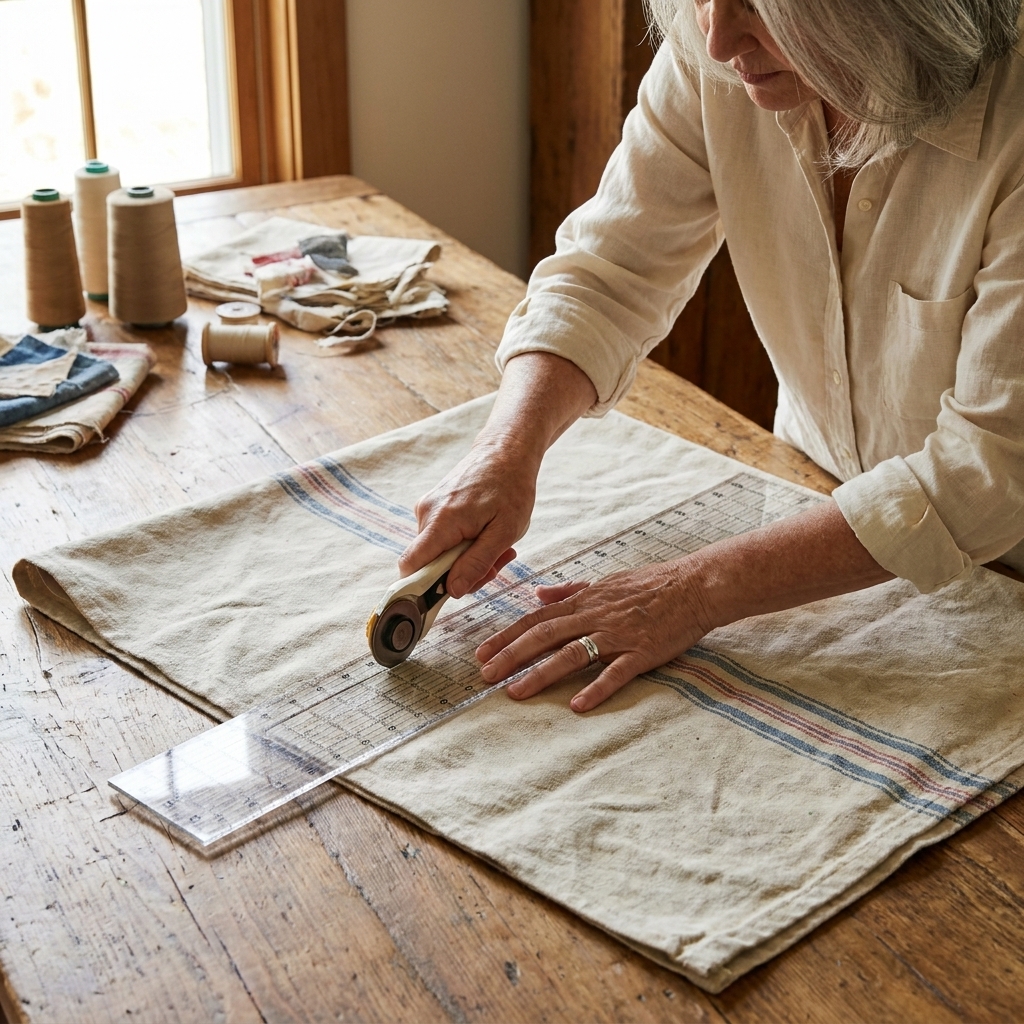
Now cut your fabric: Cut size = finished cover size + 1 inch in both directions (that gives a 1/2 inch seam allowance).
Example: For a 17x17 finished cover, cut two 18x18 panels.
Step 3: Plan the stripes
Classic grain sack stripes usually live down the center, often in sets of two or three. You can do one wide stripe, three skinny stripes, or a chunky middle stripe with two skinny stripes flanking it.
Here are three layouts that always look good:
- Timeless: Three stripes, each 3/4 inch wide, with 3/4 inch spacing.
- Modern farmhouse: One stripe, 2 to 3 inches wide, centered.
- Vintage inspired: One 2 inch stripe plus two 1/2 inch stripes, all grouped together.
Use a ruler to find the center line of your pillow front panel, then lightly mark your stripe edges with pencil or a washable marker.
Step 4: Mask the stripes
Painter’s tape on fabric can be a little hit or miss depending on the weave, but you can absolutely make it work.
- Apply tape along your marked lines to create the stripe “windows.”
- Burnish the tape edges well with your fingernail or a plastic gift card, and do it again right before you paint.
- If your canvas is very textured, do not fight it. The tiniest bit of paint bleed looks authentically old.
If tape is not cooperating: Two easy alternatives are freezer paper (iron it on as a paint mask) or fabric masking tape. You can also lightly starch the stripe area, let it dry, and then tape for a crisper edge.
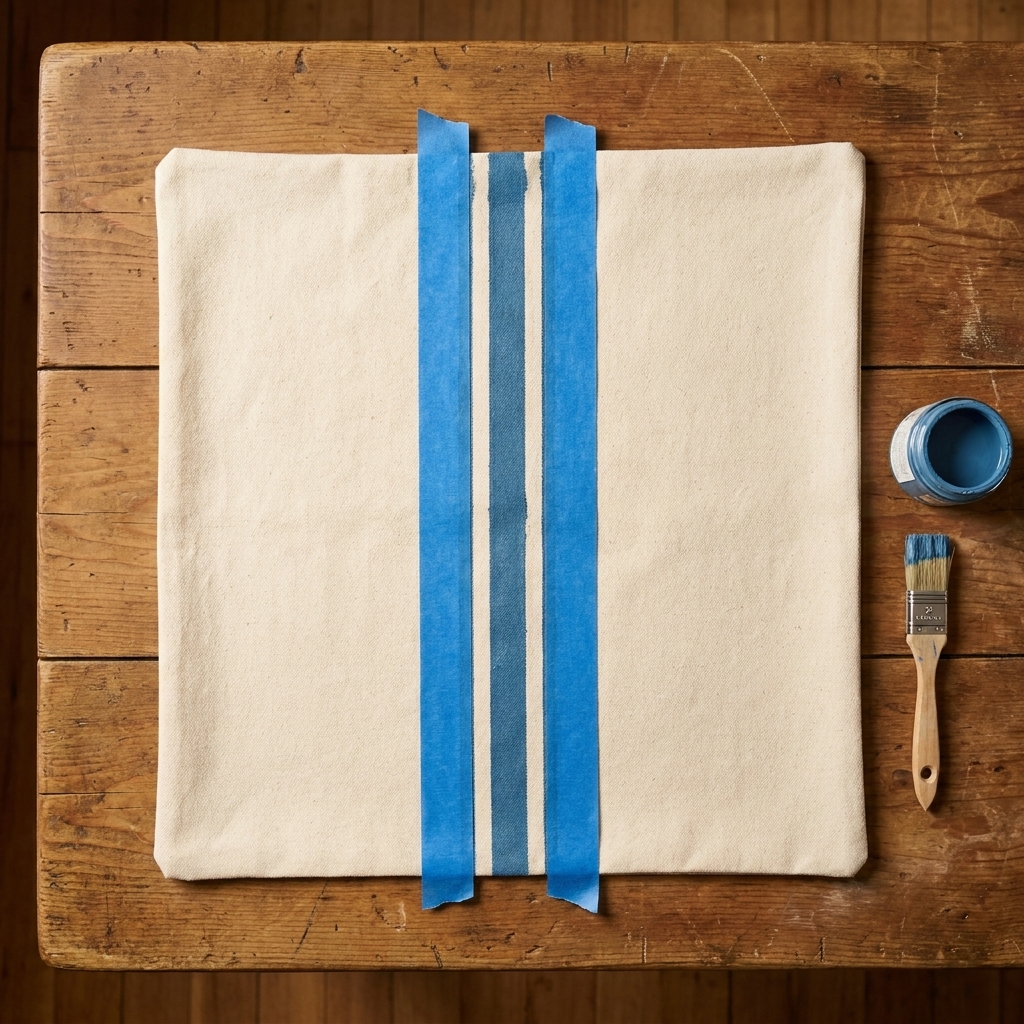
Step 5: Paint the stripes
Less paint is the secret to stripes that look crisp but not too perfect, like they belong in an old farmhouse.
- If using acrylic paint, mix it with textile medium according to the bottle instructions.
- Load a foam roller lightly and roll off extra paint on a paper towel first.
- Apply paint in thin coats. Two thin coats beat one thick coat every time.
- Let it dry to the touch, then carefully peel the tape back on itself.
My little realism trick: For an aged look, do not aim for perfect opacity. Let the weave show through slightly, especially on the first coat.
Step 6: Heat-set the paint
Once the paint is fully dry, heat-set it so your stripes hold up over time. Dry is not always the same as cured, so always check your specific paint or textile medium directions.
- Test your iron setting on a scrap of the same drop cloth first so you do not scorch the canvas.
- Place a pressing cloth or a piece of scrap cotton over the painted area.
- Iron with no steam, moving constantly, and follow your paint or textile medium instructions for time and heat level.
Step 7: Sew the cover
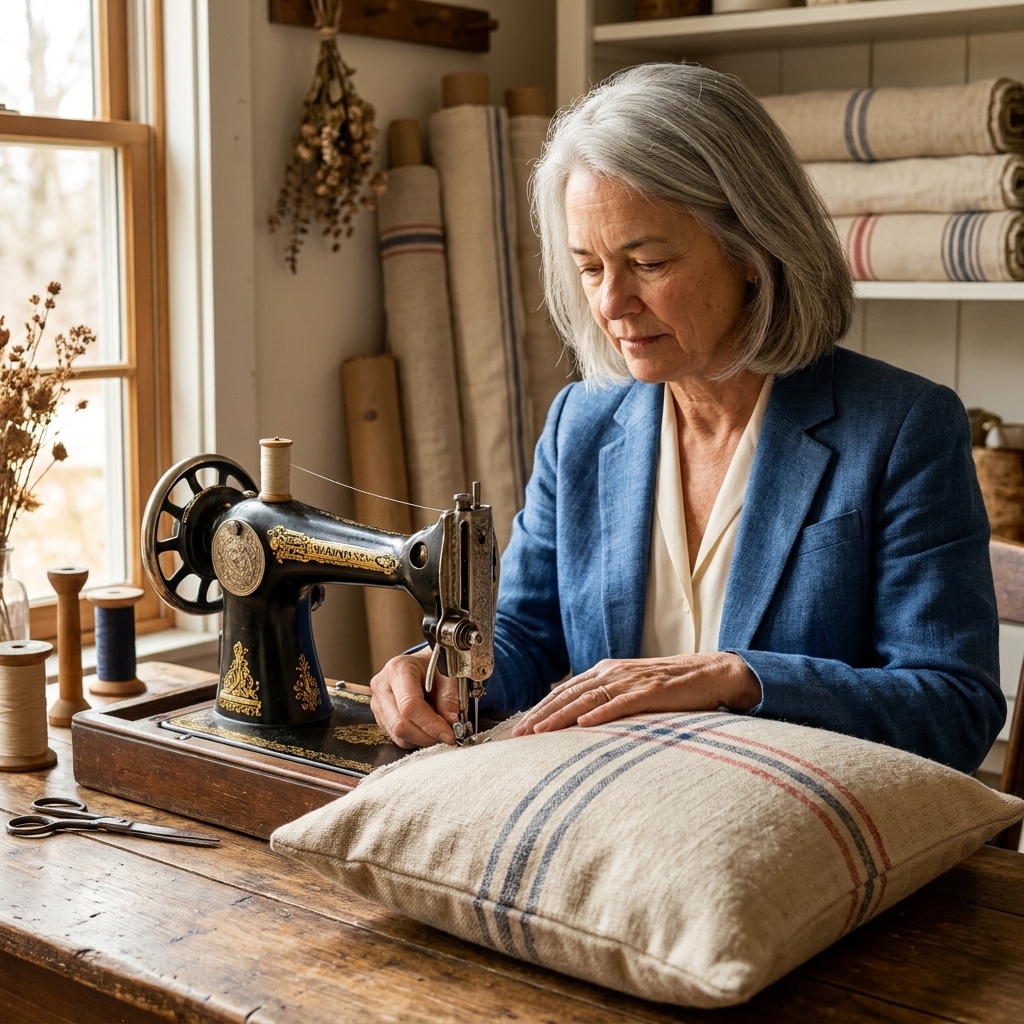
You have a few options here. I will share the easiest one first, because that is how I made my earliest covers in my little 1920s cottage when I had more enthusiasm than fancy supplies.
Option A: Envelope back
- Cut one front panel.
- Cut two back panels the same height as the front. Each back panel should be about 2/3 of the width so they overlap.
- Hem one long edge of each back panel (fold 1/2 inch twice, stitch).
- Lay the front panel right side up.
- Place back panels right side down with hemmed edges meeting in the center, overlapping 4 to 6 inches.
- Pin and sew around all four sides with a 1/2 inch seam allowance.
- Clip corners, turn right side out, and insert pillow.
Option B: Zipper back
If you are comfortable with zippers, add one to the bottom seam for a tailored finish. A neutral zipper blends right into the canvas.
Option C: Sewn shut
You can sew three sides, insert the pillow form, then hand stitch the last seam closed with a ladder stitch. It is not removable, but it is quick.
Make it look vintage
If you love that “found at a French flea market” feeling, here are a few gentle ways to tone things down.
- Soften the canvas: Wash the finished cover once inside out, then air dry halfway and tumble for a few minutes.
- Knock back bold stripes: Lightly sand the painted stripes with very fine sandpaper after heat-setting, just a whisper.
- Add a tiny patch detail: A simple square patch on the back feels authentic and charming.
- Choose a plump insert: For a very full look, you can often size up (like a 20x20 insert in an 18x18 cover), but it depends on the insert fill. If your inserts are already extra firm, stick with the same size.
Where they look best
Grain sack stripes play well with other rustic textures. They are a quiet staple that lets wood, iron, and linen shine.
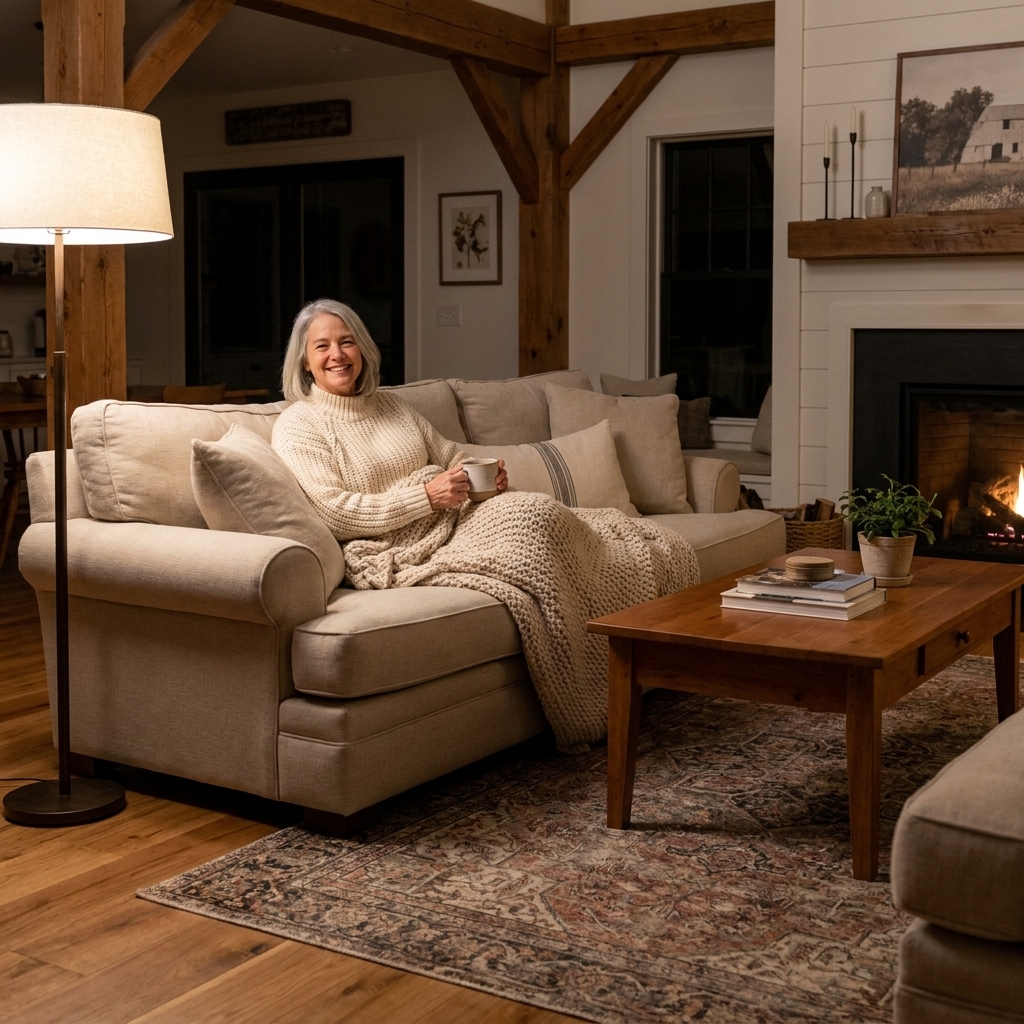
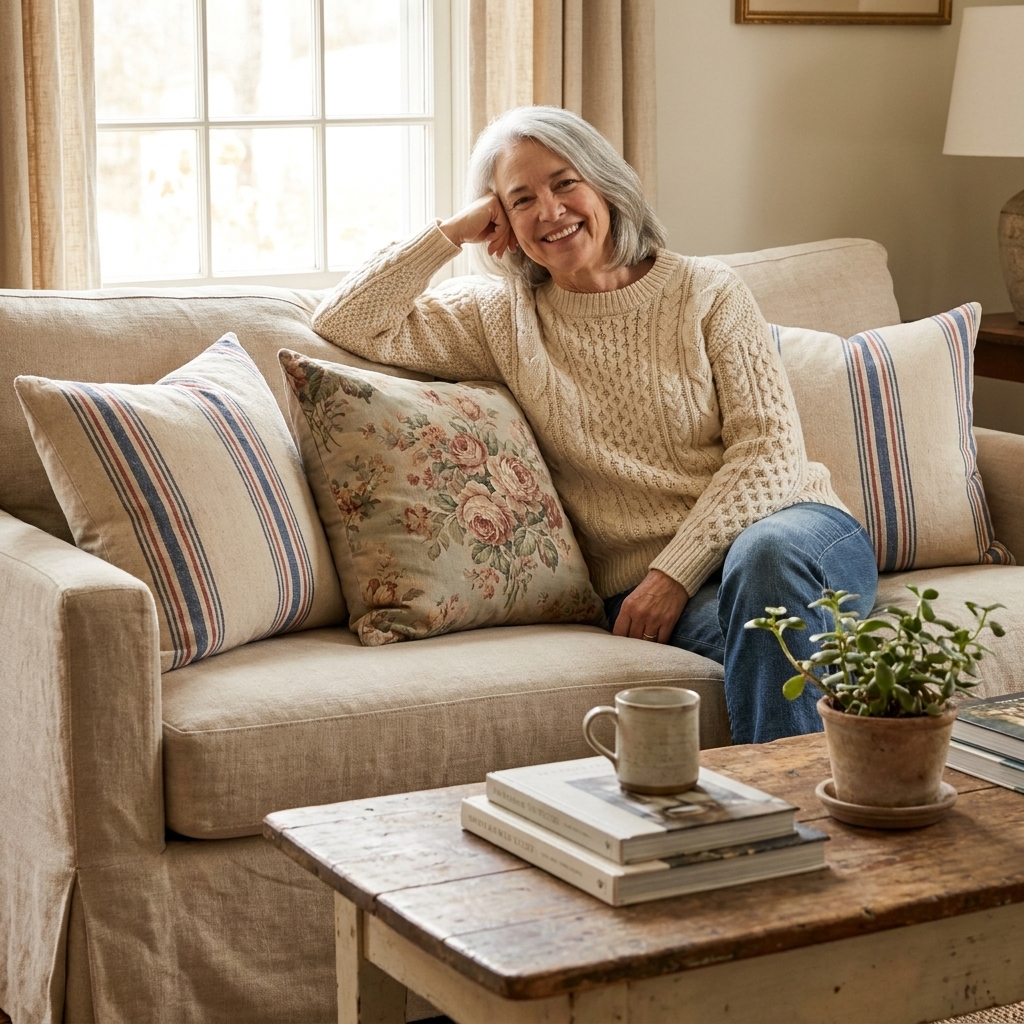
- Layered on a slipcovered sofa with a chunky knit throw
- On a bench in the entryway with a vintage basket underneath
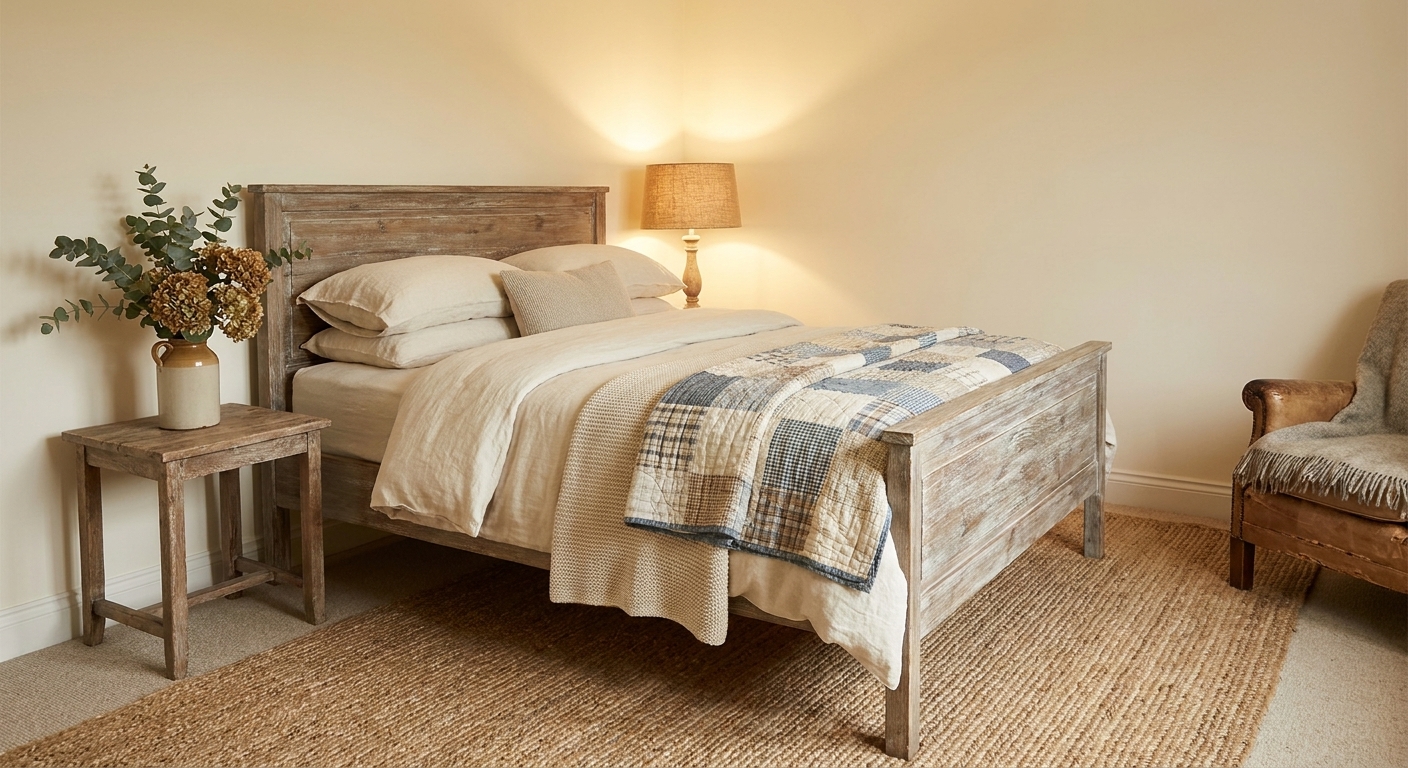
- In a bedroom mixed with ticking stripe, matelassé, or quilts
- On porch rockers with a natural fiber rug (bring them in if weather turns)
Troubleshooting
Paint bled under the tape
First, breathe. Most of the time it still looks great and reads as vintage. If it truly bothers you, touch up the edge with a small artist brush and a little watered-down paint, feathering it into the stripe so it looks natural.
Tape will not stick
Iron the fabric again and make sure there is no lint. Medium tack tape works better than delicate tape on rough canvas. Press and burnish the edges right before painting. If it still fights you, try freezer paper as a mask or use fabric masking tape.
Stripes look too harsh
Mix a softer color, like charcoal instead of black. You can also dry-brush a tiny bit of the base fabric color over the stripe to mute it, then let it dry and heat-set again according to the paint directions.
Cover feels stiff
That is usually too much paint. Next time, use thinner coats. For the current cover, wash it once inside out and tumble dry on low for 10 minutes to break it in.
Care tips
- Wait until paint is fully cured per the product directions before washing.
- Wash cold or warm, gentle cycle, inside out.
- Air dry or tumble on low.
- Iron on the reverse side if needed.
- Avoid harsh stain removers directly on the painted stripes.
A cozy finishing touch
This is one of those DIYs that gives you a lot of bang for your buck. A simple canvas drop cloth and a few painted stripes can make your whole room feel more collected, more layered, more like it has a story.
If you make a set, mix them with one floral or one nubby solid pillow so the stripes feel grounded and not too matchy. That little bit of contrast is where the magic happens.