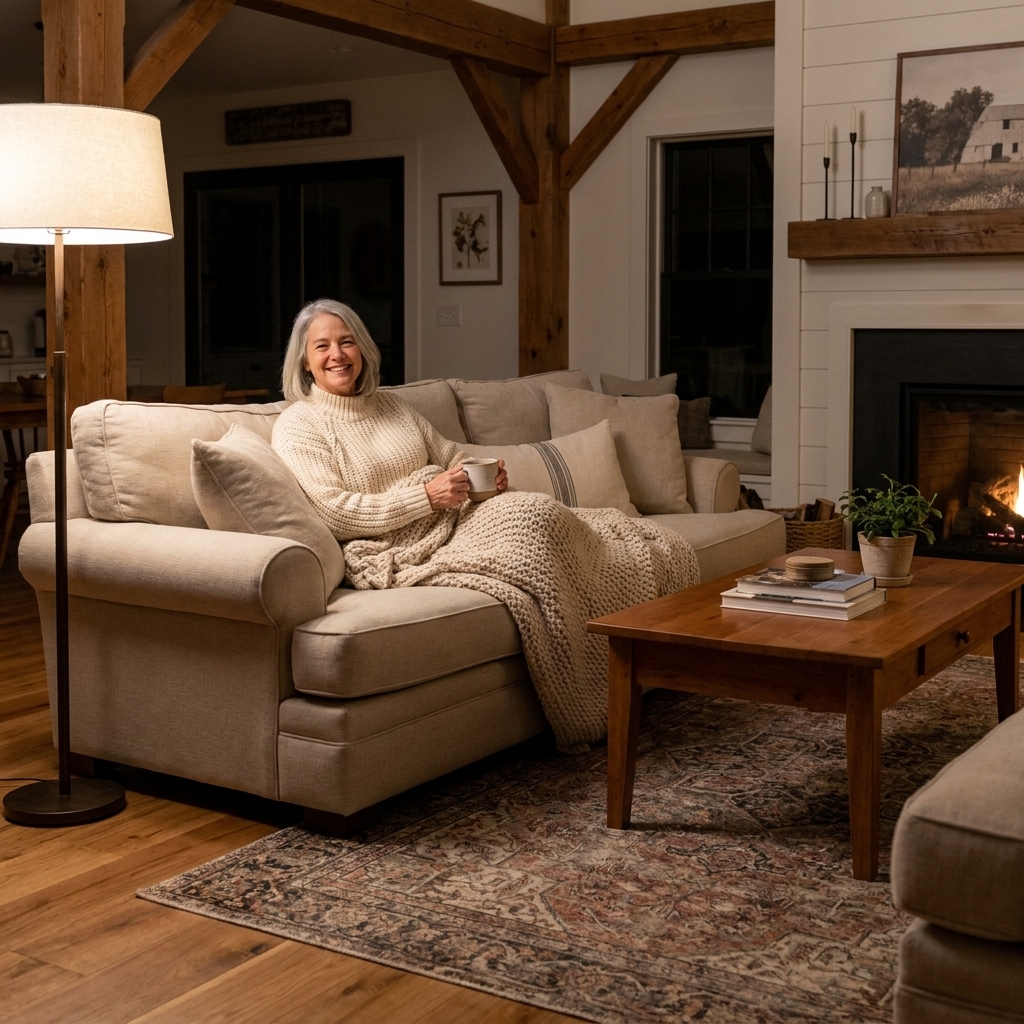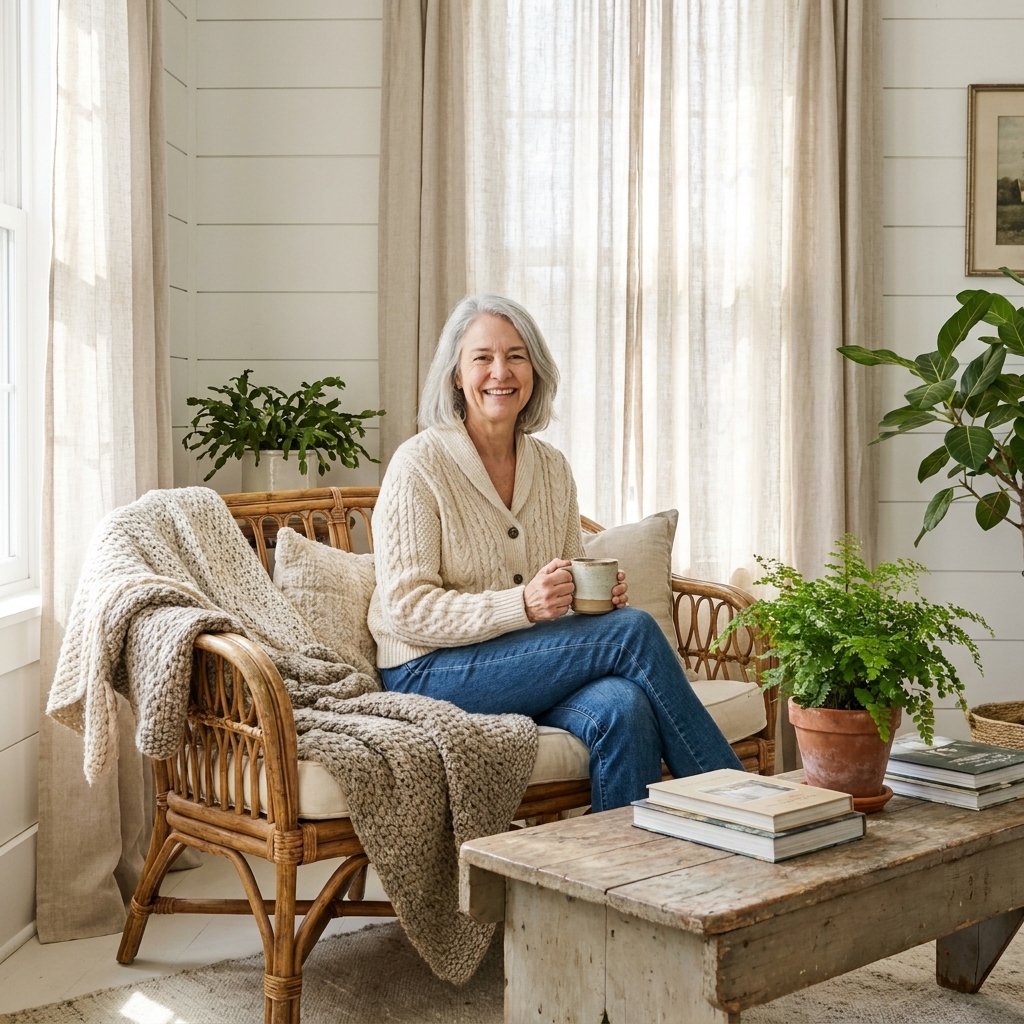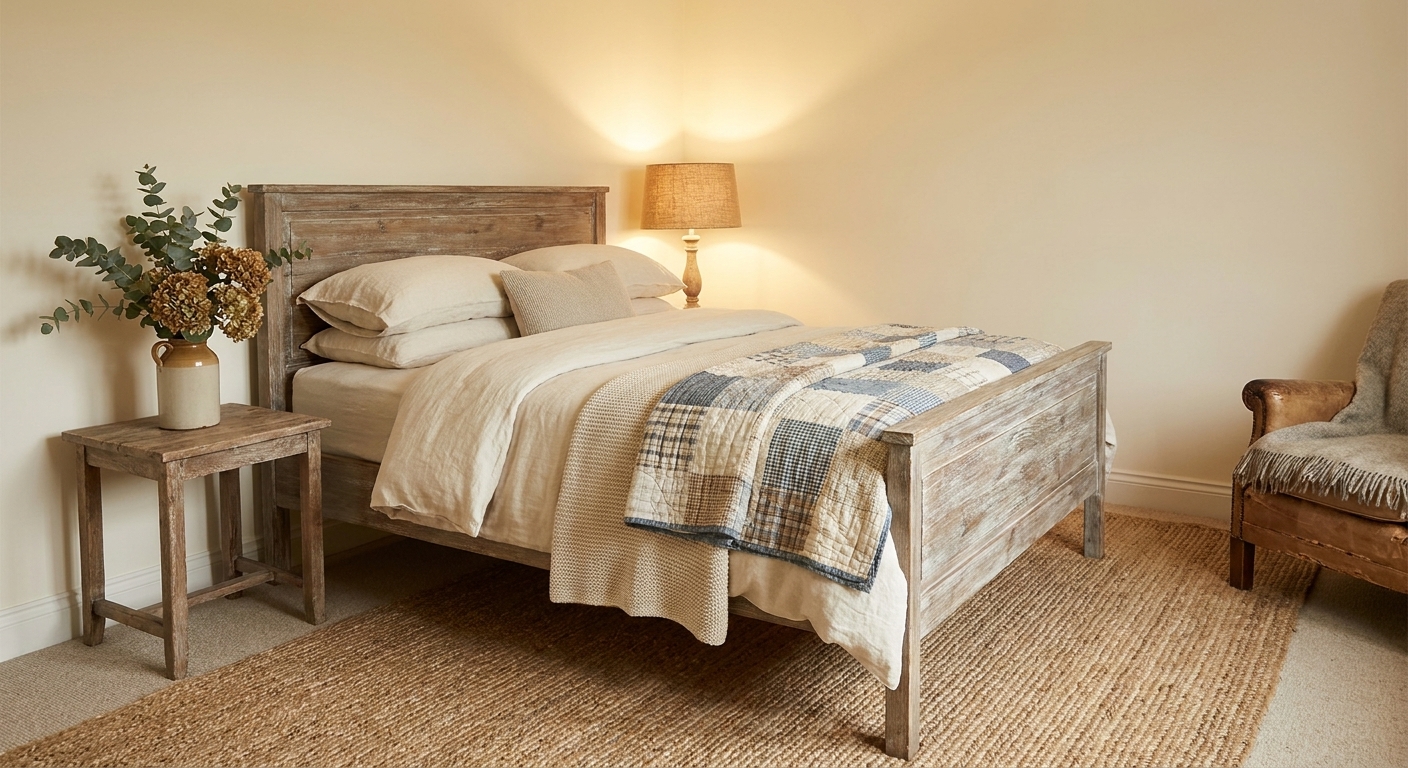
If you have a soft spot for chunky knit throws and quilt stacks (hi, it is me), a blanket ladder is one of those simple, high impact projects that makes a room feel instantly cozier. It adds vertical storage without taking up much floor space, and it gives you a spot to layer textiles the way an old farmhouse naturally would, lived-in, practical, and pretty.
This version is my favorite because it is sturdy, beginner-friendly, and often doable for under $20 if you shop smart, use budget lumber, and keep the design simple. I am going to walk you through the whole thing: the cut list, assembly, staining, and the little styling touches that make it feel collected, not crafty.
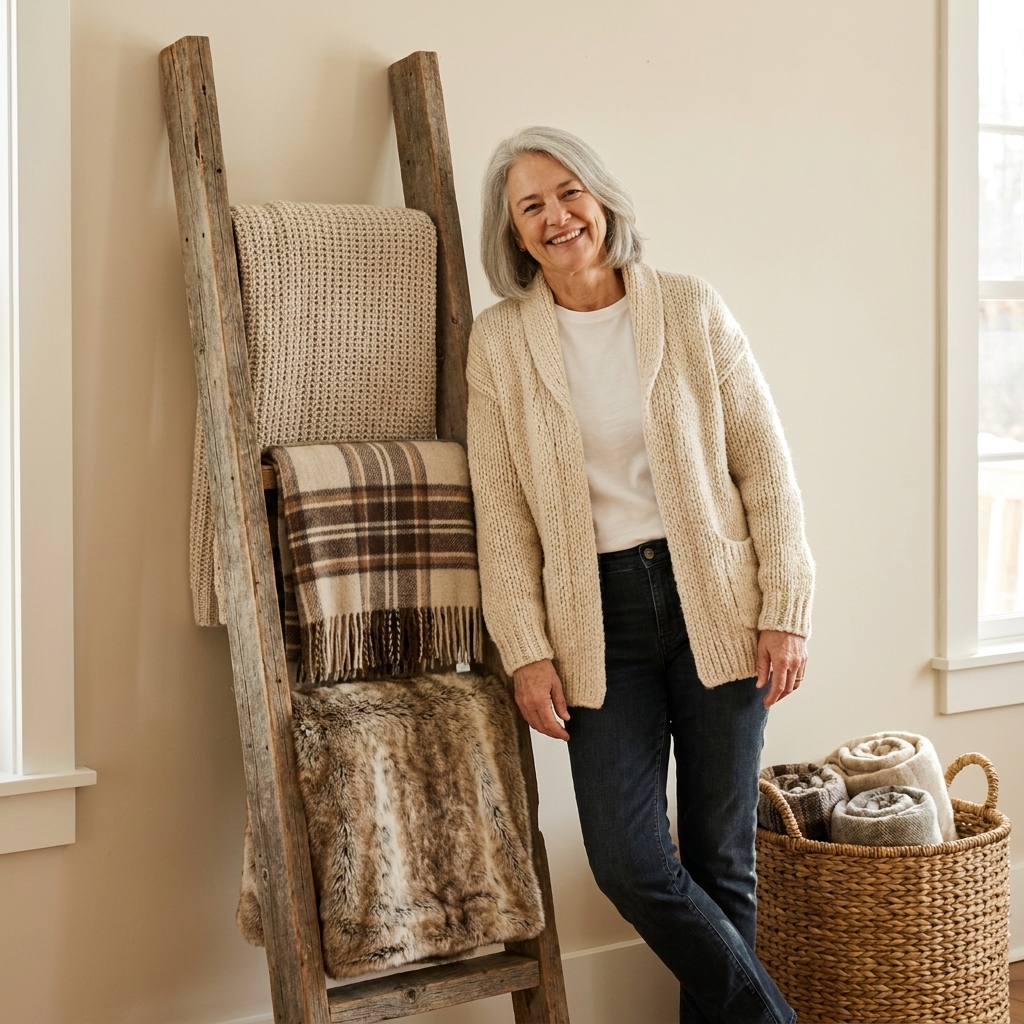
What You Will Build
This is a classic lean-to blanket ladder with two vertical rails and five rungs. The look is straightforward, clean farmhouse lines. The finish is up to you, but I will share my favorite quick rustic stain method that brings out grain and hides little imperfections.
- Finished size: about 70 in tall x 19.5 in wide (outside width)
- Rung spacing: 12 in apart (center-to-center), roomy enough for thick throws
- Skill level: beginner
- Time: 1 to 2 hours to build, plus stain and dry time
Quick clarity: In this plan, the rungs sit between the rails (not across the front). That makes the ladder feel cleaner and more sturdy, and it is why the outside width ends up wider than the rung length.
Budget Breakdown
Prices vary wildly by region, so think of this as the strategy more than a promise. The easiest way to land near (or under) the $20 mark is choosing basic furring strips or inexpensive 1x2s for the rails and rungs, and using a finish you already have.
- Wood: three 1x2x8 boards (two for the rails, one for the rungs)
- Fasteners: 1 1/2 in wood screws (or brad nails plus glue)
- Finish: leftover stain, or a vinegar and steel wool mix, or paint you already own
Maggie tip: If you have scrap wood from an old shelf, bed slats, or a dismantled pallet (clean and heat-treated only), this is a great project to use it up. Just keep the rail boards straight so the ladder does not wobble.
Tools and Materials
Materials
- Three 1x2x8 boards (pine is budget-friendly)
- Wood glue (optional but recommended)
- Ten 1 1/2 in wood screws (or 18 gauge brad nails)
- Sandpaper (120 and 220 grit)
- Stain and rag, or paint and brush
- Clear topcoat (optional, but nice for durability)
- Two small felt pads or rubber bumpers for the top ends (optional, helps protect walls)
Tools
- Measuring tape and pencil
- Miter saw or handsaw
- Drill and bit for pre-drilling (recommended), plus a driver bit
- Clamps (helpful but not required)
- Speed square or any square you trust
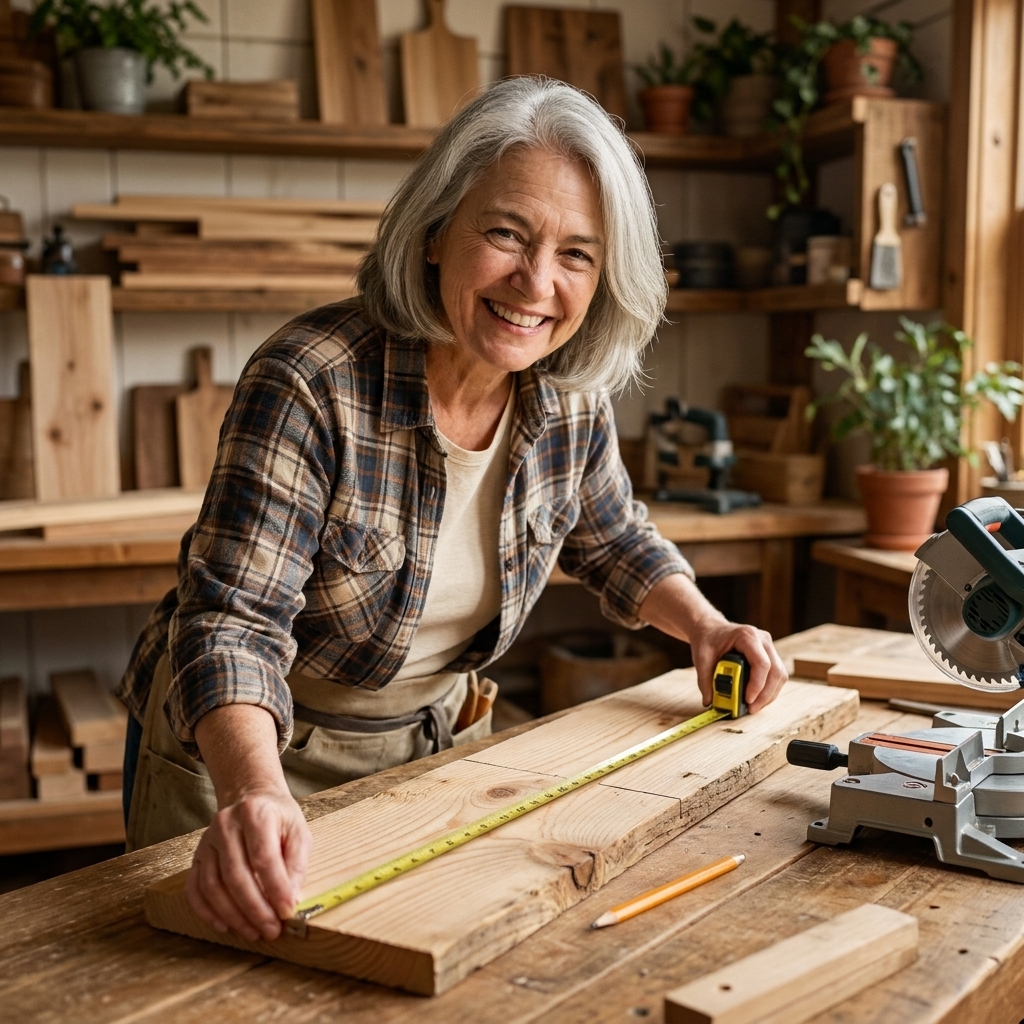
Cut List
This plan gives you a 70 inch tall ladder with 18 inch rungs. You can adjust the height, but keep the spacing similar so blankets are easy to grab.
- Rails (2): 70 in each
- Rungs (5): 18 in each
What that means for width: Since the rungs are mounted between two 3/4 in thick rails, the outside width is about 19.5 inches (18 + 0.75 + 0.75).
Optional rustic detail: Cut a slight angle on the bottom of each rail so it sits a bit more flush on the floor when leaning. If you do this, cut both rails at the same angle and keep your ladder height consistent.
Step-by-Step
1) Sand first
Give the boards a quick sand with 120 grit to knock down splinters and mill marks, then a light pass with 220 grit. You do not need furniture-level perfection here, but you do want it snag-free for soft blankets.
2) Mark rung placement
Lay both rails side-by-side on the floor or a workbench, edges aligned. Mark where each rung will go.
- Start your first rung 14 inches up from the bottom (measured to the rung center).
- Then measure 12 inches between rung centers for the remaining rungs.
- On a 70 inch ladder, this leaves about 8 inches of rail above the top rung, which looks balanced and helps keep blankets off the floor.
Maggie tip: Mark both rails at the same time while they are touching. It helps keep everything even, even if your measuring hand gets a little ambitious.
Beginner-friendly trick: After you mark each centerline, use a scrap of your rung board (or measure 3/4 in up and 3/4 in down) to mark the top and bottom edges of where the rung will sit. It makes placement feel a lot more obvious when you start attaching things.
3) Dry fit and square it up
Place your rungs between the rails on your marks. Check that the overall frame looks square and even. This is the moment to adjust before anything is permanent.
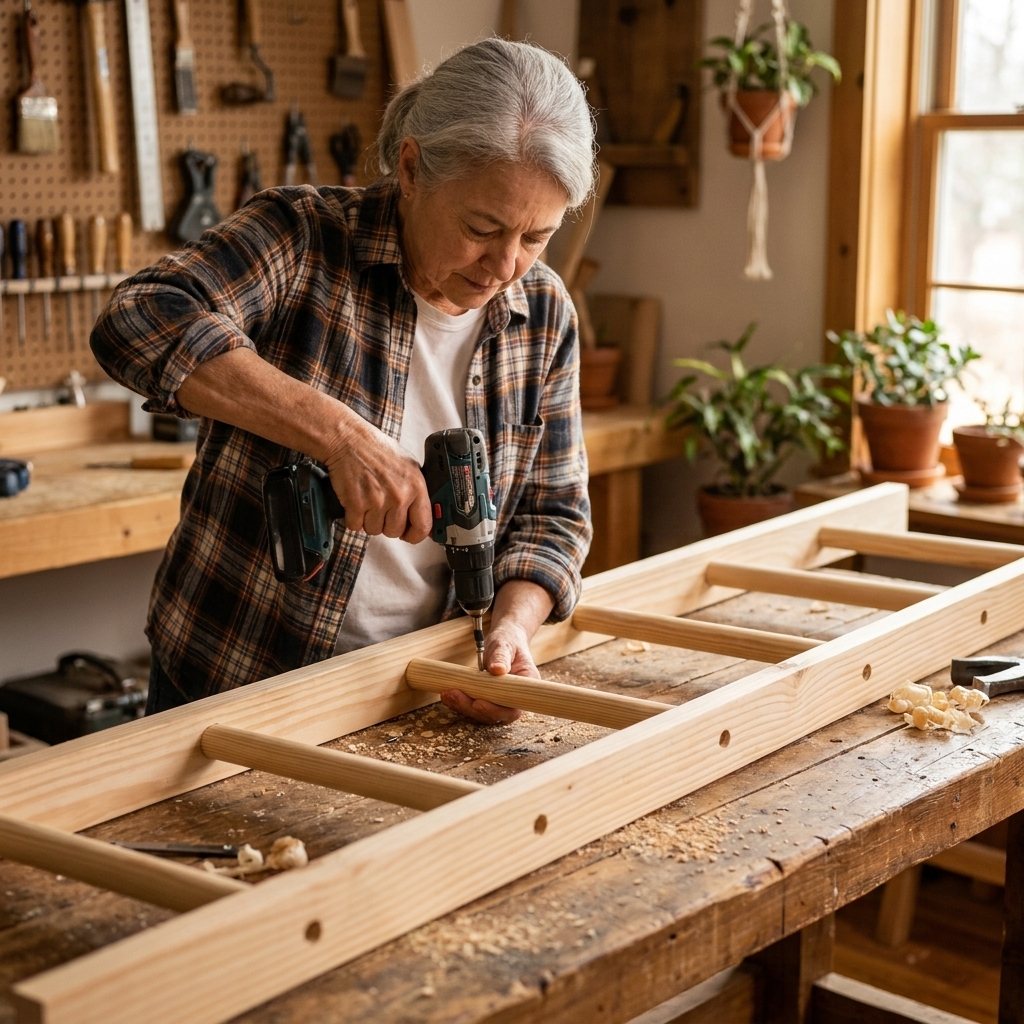
4) Pre-drill and attach
For each rung end, pre-drill one hole through the rail into the rung to prevent splitting, especially with pine 1x2s. Add a small bead of wood glue if you have it, then drive one screw per side, per rung.
- Per rung: 2 screws total (one on each side)
- Total screws: 10
Screw placement tip: Aim your pilot hole and screw dead center on the rung thickness (roughly centered on that 3/4 in edge). Staying centered is the best way to avoid splitting and keeps the screw from wandering out the side.
Quick note on screw length: With 1x2 lumber (3/4 in thick), 1 1/4 in to 1 5/8 in screws are the sweet spot. My default is 1 1/2 in. I only jump to 2 in screws if I am using thicker stock (like 1x3 rails) or I can guarantee perfect centering with a clean pilot hole.
If you are using brad nails, add glue and nail through the rails into the rung ends, two nails per side for extra security.
Stain and Finish
There are a few ways to get that warm, timeworn look. My advice is to choose a finish that matches your home, not a trend. A rustic ladder looks best when it ties into your other wood tones: beams, floors, frames, or even woven baskets.
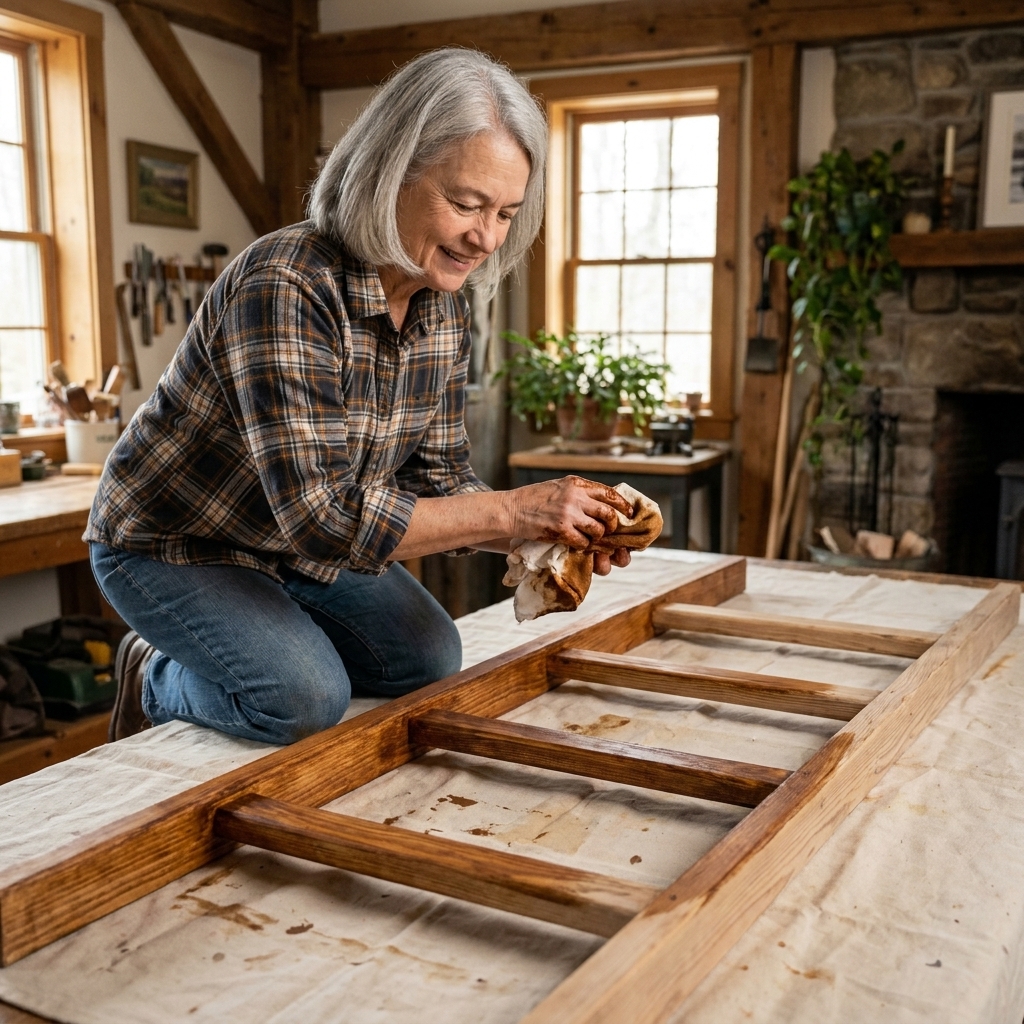
Option A: Classic stain
- Wipe the ladder clean of dust.
- Apply stain with a rag, working in sections.
- Let it sit 1 to 5 minutes, then wipe back.
- Add a second coat if you want deeper color.
For a farmhouse feel, I love mid-tone stains like Early American or Special Walnut, then a gentle rub-through on edges once dry.
Option B: Paint wash
Mix a little paint with water (think 1 part paint to 2 parts water) and brush it on. Wipe back with a rag so grain shows through. White, putty, and soft sage are especially pretty in bedrooms.
Option C: Vinegar aging
If you already have white vinegar and steel wool, you can make a simple aged solution. Let steel wool sit in vinegar in a jar for 24 hours, then brush it on raw wood. Test first on a scrap because pine can shift in surprising ways.
Topcoat? Optional. If the ladder will be handled often, a matte water-based poly helps protect the finish without adding shine.
Safety and Stability
A blanket ladder is meant for blankets, not climbing. It seems obvious, but kids see a ladder and think adventure.
- Keep it out of play zones and never let children climb it.
- Check the lean: the feet should sit firmly on the floor and the top should rest against the wall without slipping.
- Mind the footprint: a comfortable, stable lean usually puts the feet about 10 to 14 inches from the wall for a 70 inch ladder. Adjust until it feels solid and not tippy.
- Add wall bumpers at the top ends if you have delicate paint or wallpaper.
- Consider anchoring if you live in an earthquake-prone area or have pets who barrel through rooms.
Styling Ideas
The secret to a beautiful blanket ladder is restraint. You want it to look layered, but still easy to use. Here are a few styling formulas that work every time in farmhouse and rustic spaces.
Living room
- One chunky knit throw
- One vintage quilt or woven blanket
- One softer neutral throw to tie in your sofa
Keep the colors within the same warm family: cream, oatmeal, tobacco, rust, sage, denim.
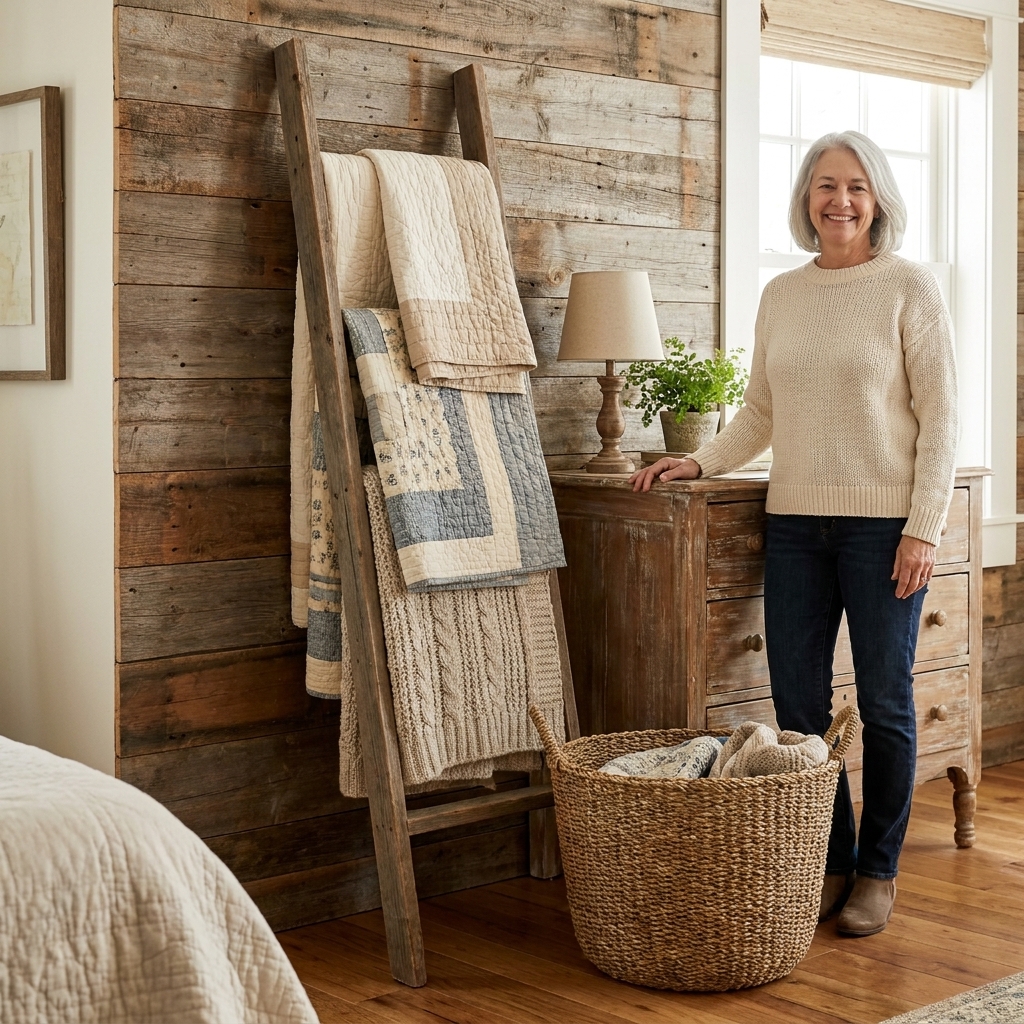
Bedroom
- Folded linen throw on the bottom rung for texture
- Quilt or coverlet draped casually over the middle rung
- Seasonal blanket on top (flannel in winter, cotton in summer)
Place the ladder near a dresser or reading chair, then add a basket with slippers or books underneath.
Easy Changes
Change the height
For higher ceilings, bump the rails to 72 to 80 inches. Just keep the bottom rung high enough that blankets do not drag on the floor.
Swap rung count
Prefer a slimmer look? Use 4 rungs instead of 5. Want more storage? Add a 6th rung, but keep spacing consistent.
Soften corners
If you love a softer cottage feel, round the top corners with a jigsaw or sand them into a gentle curve. Small detail, big charm.
Two-tone finish
Try stained rails with painted rungs, or vice versa. It is a sweet nod to old utility ladders and painted barn wood.
Troubleshooting
My ladder wobbles
- Check that both rails are the same length.
- Make sure your rungs are cut to the same length.
- Confirm rungs are square to the rails before tightening screws.
- Sand the bottom ends so they sit flat on the floor.
Wood split when I screwed in
- Pre-drill a slightly larger pilot hole.
- Move the screw in from the edge a touch.
- Double-check you are centered on the rung thickness.
- Use a screw length in the 1 1/4 in to 1 5/8 in range instead of forcing a longer screw.
Stain looks blotchy
- Wipe on a pre-stain conditioner first next time.
- Or do a quick wash coat of thinned polyurethane before staining.
- In a pinch: lean into rustic and lightly sand high spots, then re-wipe stain.
FAQ
What is the best wood for a blanket ladder?
Pine 1x2s are affordable and easy to work with, which makes them perfect for this project. If you want a heavier, more substantial ladder, poplar is a nice upgrade. Just know it may push you over the $20 mark.
Do I need wood glue if I am using screws?
No, but I like glue because it reduces wobble over time and helps the ladder feel more solid. Screws alone will still work.
Will this scratch my wall?
It can, especially if the wood edges are sharp or the ladder gets bumped. Felt pads or clear rubber bumpers at the top ends are an easy fix, and they are usually just a couple dollars.
Can I use this in a bathroom for towels?
Yes, with a protective topcoat. Bathrooms have moisture swings, so sealing the wood helps. Keep it away from direct splashes and give it breathing room so towels can dry.
A Cozy Finish
I love projects like this because they are the kind of useful pretty that farmhouse style does best. It is storage, it is texture, it is height in a room that might otherwise feel a little flat. And when you build it yourself, every little knot and brushstroke feels like part of your home’s story.
If you make this ladder, style it with your softest throws and the quilt you cannot stop pulling out year after year. That is the good stuff.