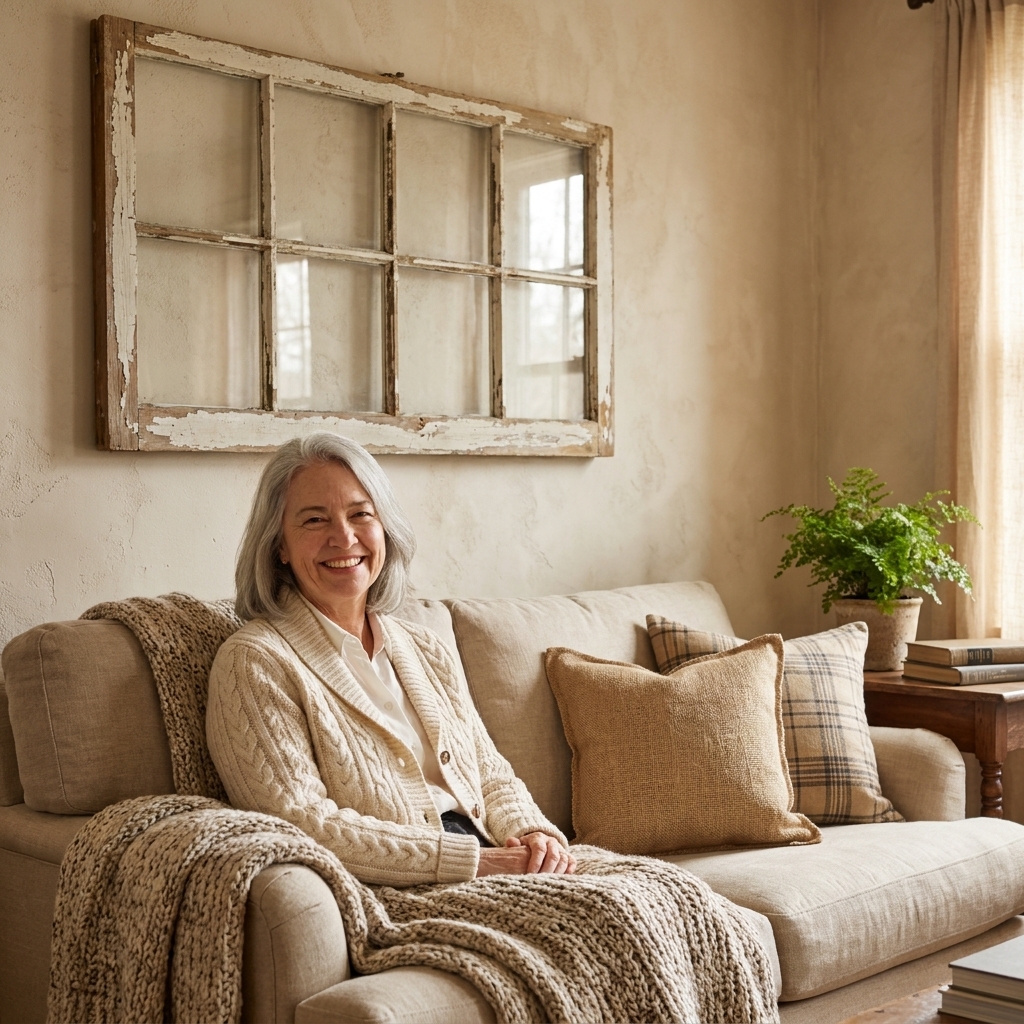
There is just something about an old wood window frame that feels like instant history on a wall. The wavy glass, the chipped paint, the little dings around the muntins. It is the kind of perfectly imperfect texture that makes a living room feel lived-in in the best way.
If you have a salvaged window collecting dust in the garage, consider this your nudge to bring it inside. Below are my favorite ways to repurpose old window frames into rustic wall art, with practical how-to steps so you can actually build the thing, hang it safely, and make it look intentional instead of like you ran out of storage space.
Before you start: quick prep
A little prep work is what turns “salvage” into “statement piece.” If your frame is truly antique or has flaking paint, take this part seriously.
Safety first
- Assume old paint could contain lead. In the U.S., homes built before 1978 are the common cutoff, but other countries use different dates and rules, so check local guidance. Skip dry sanding and scraping indoors. Work outside when you can, keep surfaces damp, and choose an encapsulating primer if you are not stripping.
- Use the right protection. For any situation where lead dust might be present, a P100 or HEPA-rated respirator is the safer choice. Wear eye protection and gloves, and keep kids and pets away from the work zone.
- Be careful with cleanup. Do not use a regular household vacuum on paint dust. Use a HEPA vacuum if you have one, or wet wipe and bag debris for disposal.
- Check the glass. If panes are loose or cracked, either remove them or secure them with fresh glazing points and window putty. If you are turning the frame into a mirror or photo insert, it is usually easiest to remove the glass entirely.
- Dispose of glass safely. Wrap removed panes in cardboard, tape it closed, and follow your local disposal rules.
- De-nail and de-splinter. Pull old nails, staples, and glazing points. Lightly knock down splinters with a sanding sponge.
Clean and stabilize
- Vacuum out dust and cobwebs, then wipe with warm water and a little dish soap.
- If the frame is wobbly, add wood glue to the joints and clamp until dry. For extra strength, add small mending plates on the back where nobody will see them.
- If you love the chippy look, seal it with a clear matte water-based polycrylic so it does not snow paint chips onto your floor.
Pro tip: I almost never “perfect” an old window. I just make it safe and stable, then let its age do the decorating for me.
1) Window frame mirror
If you want one project that gives the most impact fast, do a mirror. It bounces light, visually expands the room, and still keeps that vintage grid that feels farmhouse at heart.
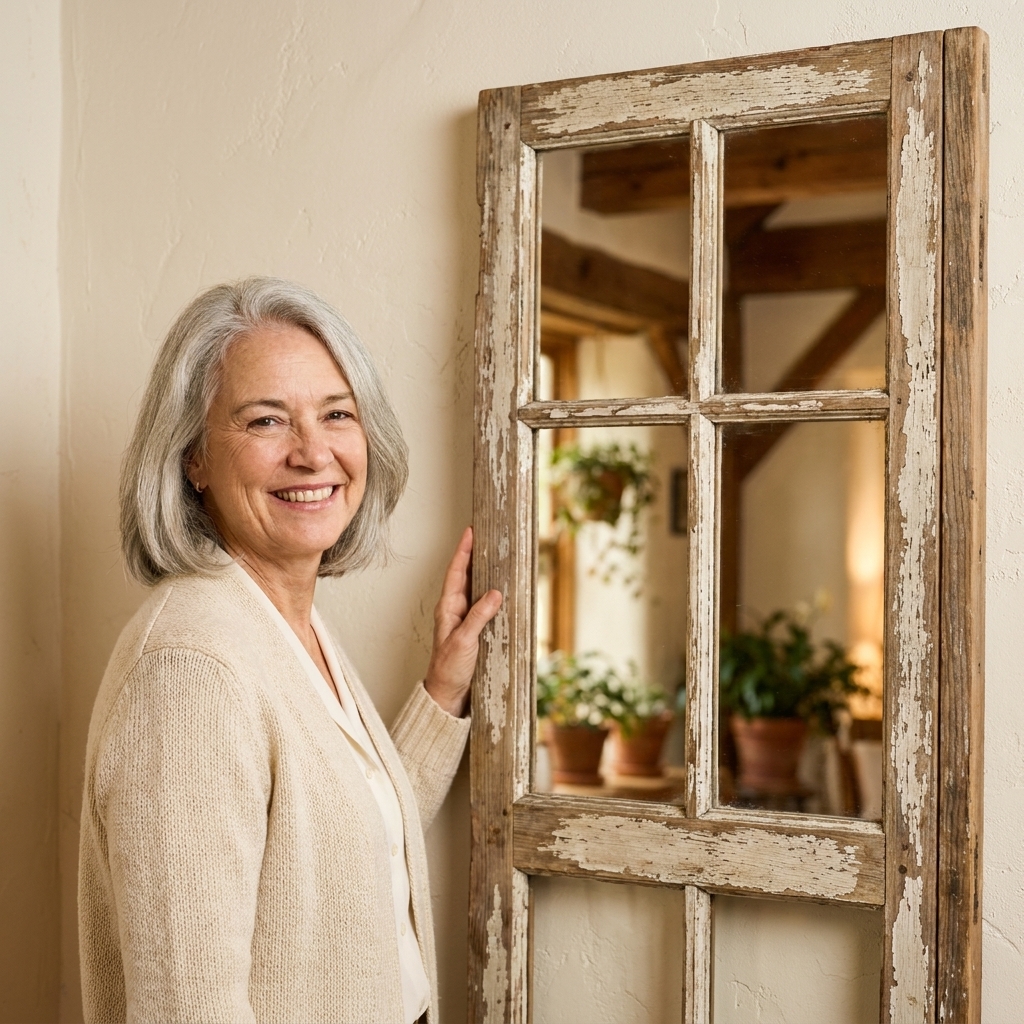
How to build it
- Remove the glass and any loose glazing. Measure the back opening.
- Order mirror glass cut to size. Local glass shops are usually affordable and precise. You can do one large mirror behind the muntins or individual mirror pieces per pane.
- Consider safety backing. For larger mirrors, ask for safety-backed mirror (or add a protective film) to reduce shatter risk.
- Create a backer. Cut 1/4-inch plywood to fit the back of the frame. Paint it a dark color if you want a little depth behind the mirror.
- Attach mirror to backer with mirror mastic, not regular construction adhesive (which can damage mirror backing).
- Protect sharp edges. If any mirror edge could be exposed, cover it with wood trim, tape made for mirror edges, or make sure it sits fully behind the frame.
- Secure the backer to the window with small screws and fender washers or turn buttons so it is snug and removable.
- Add hanging hardware rated for the weight. For heavier mirrors, I prefer two D-rings and hanging directly on two wall screws rather than relying on wire.
Where it looks best
- Over a sofa as a soft focal point
- Above a console table with lamps on either side
- Across from a window to double the light
2) Photo gallery window
This is my go-to when you want family photos in the living room, but you do not want the wall to feel like a school hallway. The window grid does the organizing for you.
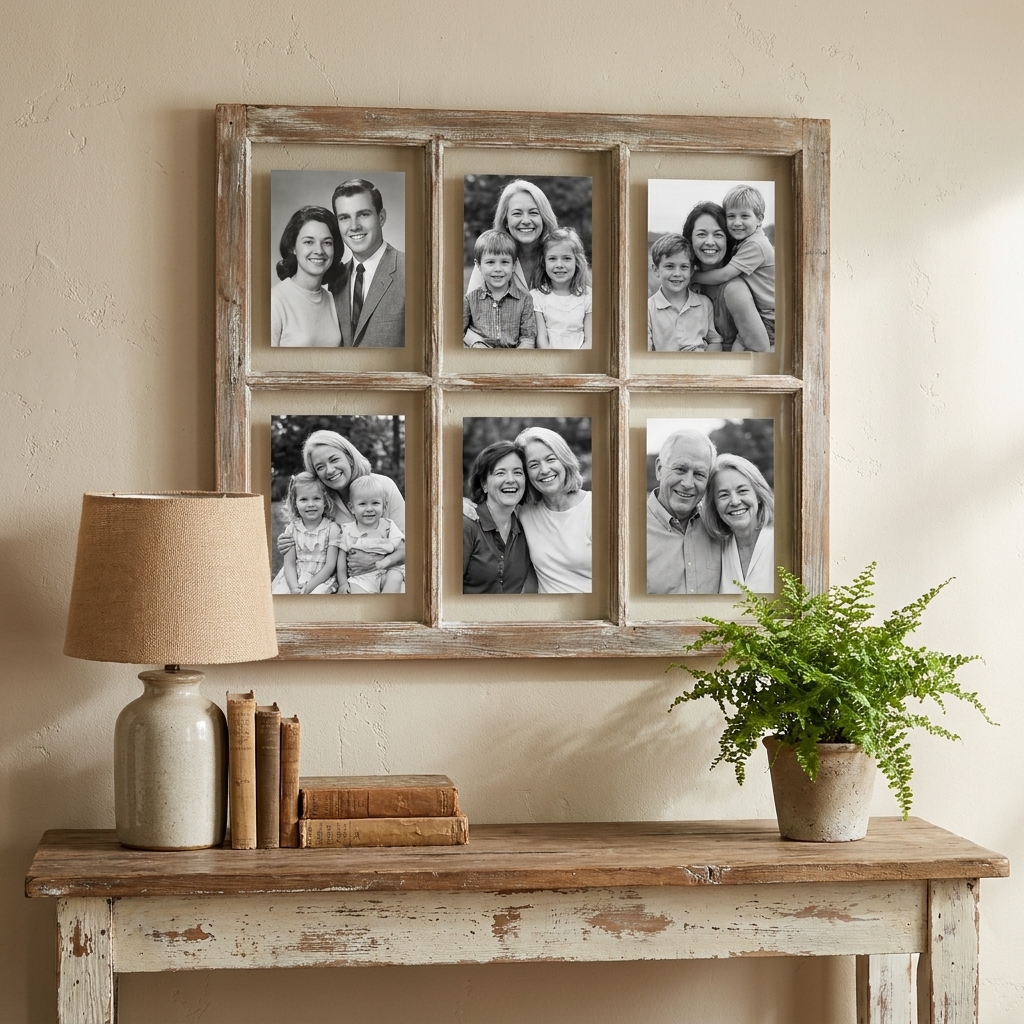
Two easy ways to mount photos
- Clip method: Stretch chicken wire across the back and fasten it down. If the wood is brittle, pre-drill tiny pilot holes and use upholstery tacks or small screws and washers (staples can split old wood). Use mini clothespins to clip photos. This is perfect if you like swapping pictures seasonally.
- Pane insert method: Cut thin hardboard or foam board to fit behind each opening and tape photos in place. For a cleaner look, use mat board cut to size.
Styling tip
Keep the photos consistent, either all black-and-white or all warm toned. When the images share a vibe, the mix still feels calm and collected.
3) Wreath in the center
When you want rustic wall art that is not fussy, a wreath on a window frame is about as welcoming as it gets. It is also one of the quickest ways to make a large wall feel finished without spending a lot.
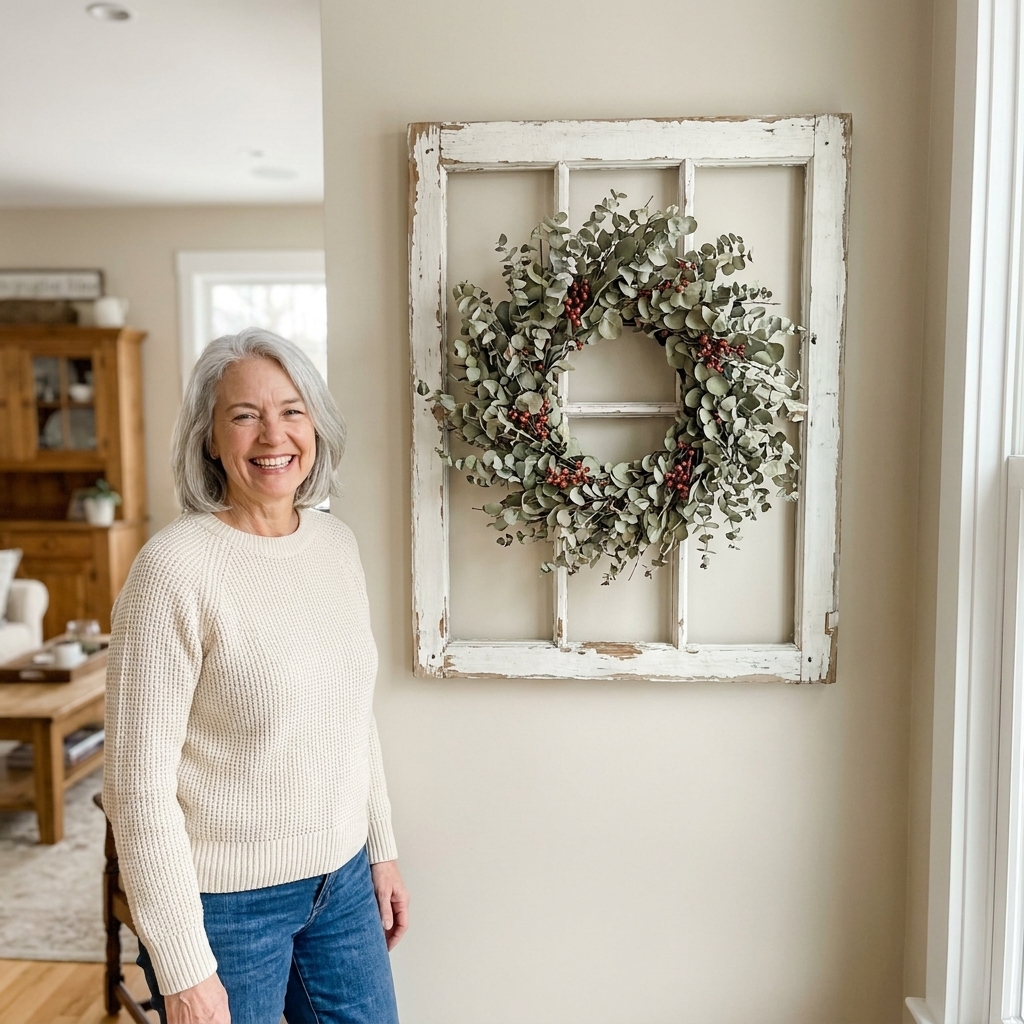
How to attach it
- Screw a small cup hook into the back top rail of the window frame and hang the wreath from ribbon.
- For a flatter profile, use floral wire and twist it around the muntins, then tuck the twist behind the frame.
- If you change wreaths often, add a small screw eye and use removable hooks on the wreath itself.
Seasonal swaps
- Spring: faux olive, dried lavender bundles
- Summer: eucalyptus, simple greenery
- Fall: wheat stems, muted berries, bittersweet
- Winter: cedar, pine, cotton stems
4) Chalkboard window
A chalkboard window is both useful and decorative, which is my favorite kind of DIY. It is great in a family living space for quick notes, cozy quotes, or a rotating seasonal doodle.

How to build it
- Remove the glass and clean out the opening.
- Cut 1/4-inch plywood to fit the back of the frame.
- Paint the front with chalkboard paint (2 to 3 thin coats). Let it cure per the can instructions.
- Attach the plywood from the back with small screws.
- Condition the board by rubbing the side of chalk over the whole surface, then erase.
Easy upgrade
Add a slim picture light above it. Battery-operated lights work beautifully if you do not want to deal with wiring.
5) Botanical pane art
If you love the look of pressed botanicals but you have kids, pets, or just a busy life, you can still get that airy, nature-inspired feel without babying real pressed flowers.
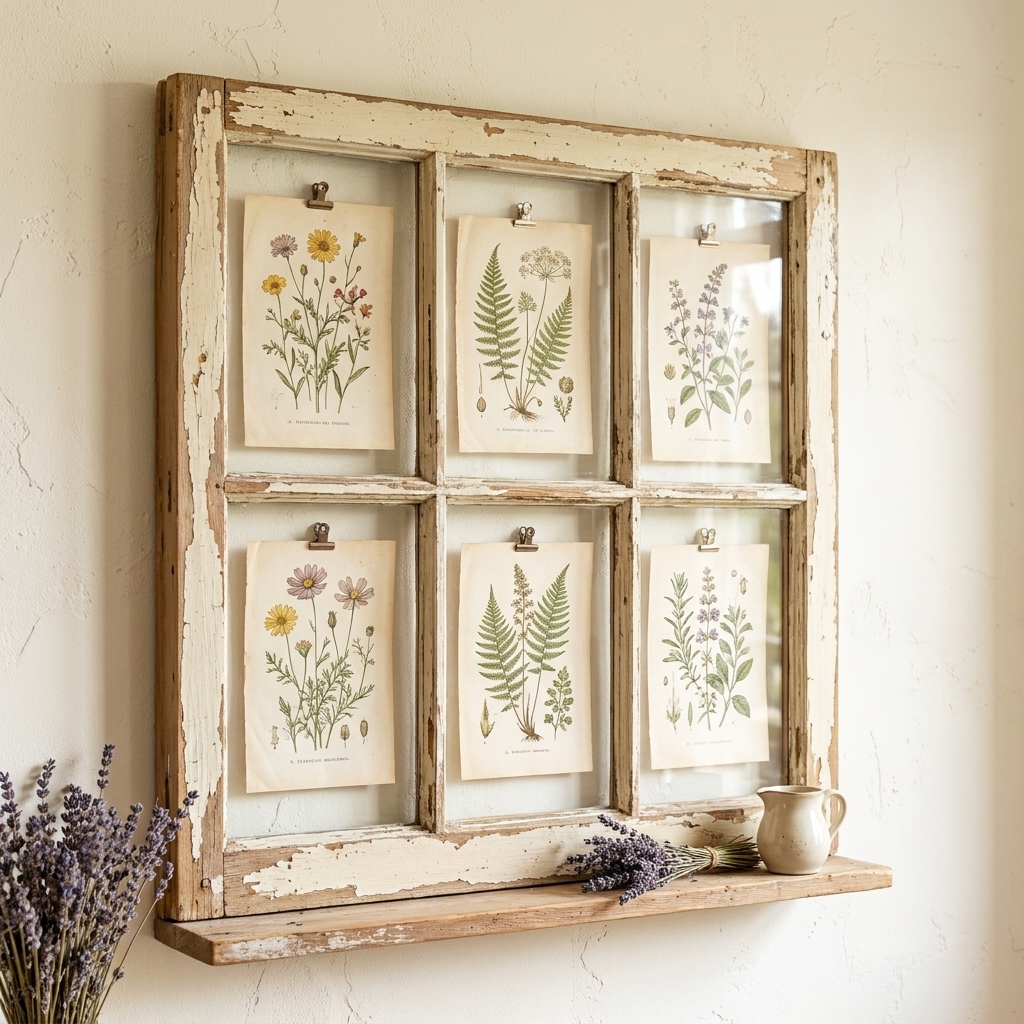
Two approaches
- Printable botanicals: Use vintage botanical prints (public domain prints are easy to find) and mount them behind each pane opening.
- Faux pressed stems: Arrange flat faux greenery between two clear acrylic sheets cut to size, then mount behind the window grid.
Keep the palette simple
Stick with soft greens, warm creams, and tan paper. The window frame should still be the star.
6) Shelves behind the frame
This makes such a good focal point for a living room, especially over a sofa or above a sideboard. Think of it like a shallow shadow box, but with farmhouse character.
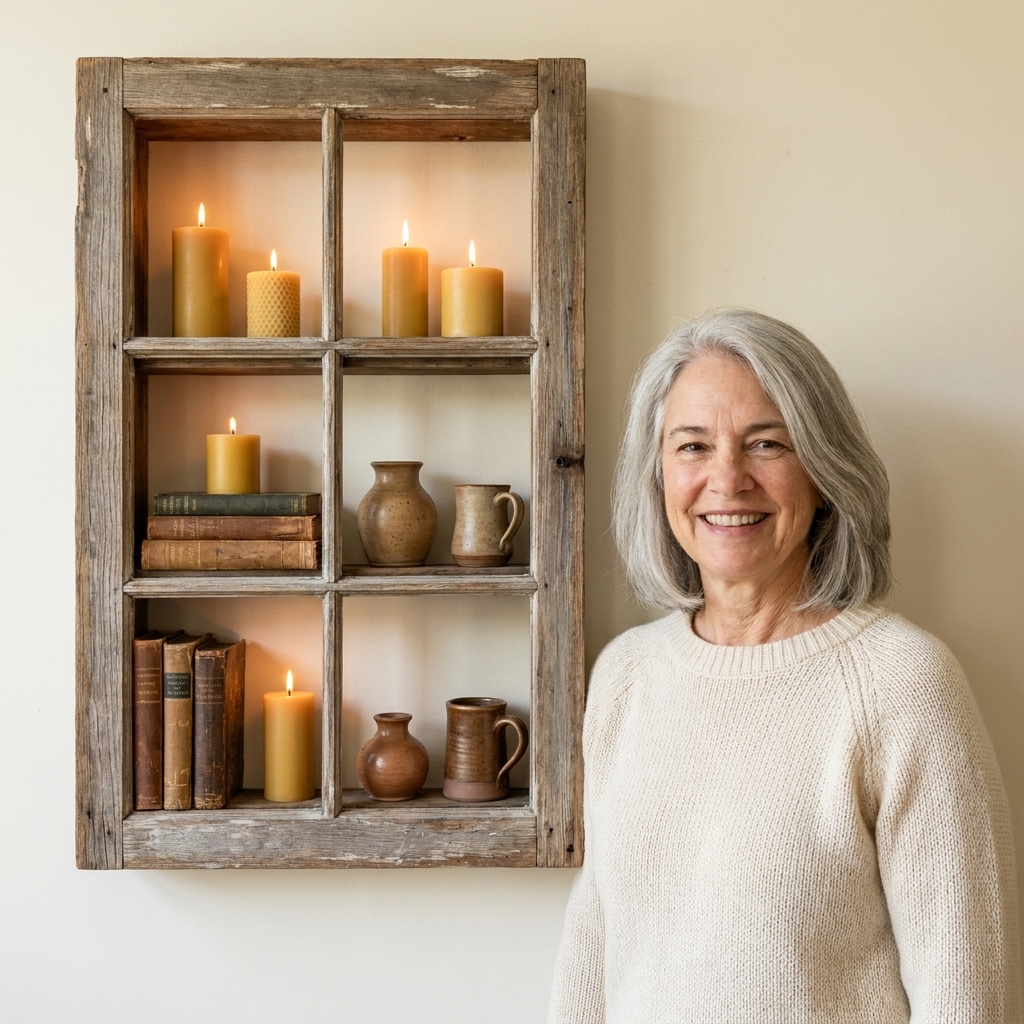
How to build it
- Measure the window frame width and height.
- Build a shallow box from 1x3 lumber (about 3 inches deep) the same size as the window.
- Add 1 or 2 shelves inside the box using 1x2 cleats.
- Attach the window frame to the front of the box with screws from the inside, so hardware stays hidden.
- Mount it like you mean it. Anchor into studs when possible. For heavier builds, a French cleat is a great option.
- Watch your clearance. If this is going above a sofa, keep the depth modest so it does not feel like it is hovering over people’s heads.
What to style
- Small stacks of old books
- Cream pottery or ironstone
- Little framed photos
- A tiny vase with real greenery
7) Soft backlighting
If your living room needs warmth at night, add soft backlighting behind the panes. It reads like cozy ambiance, not holiday decor, if you keep it gentle.
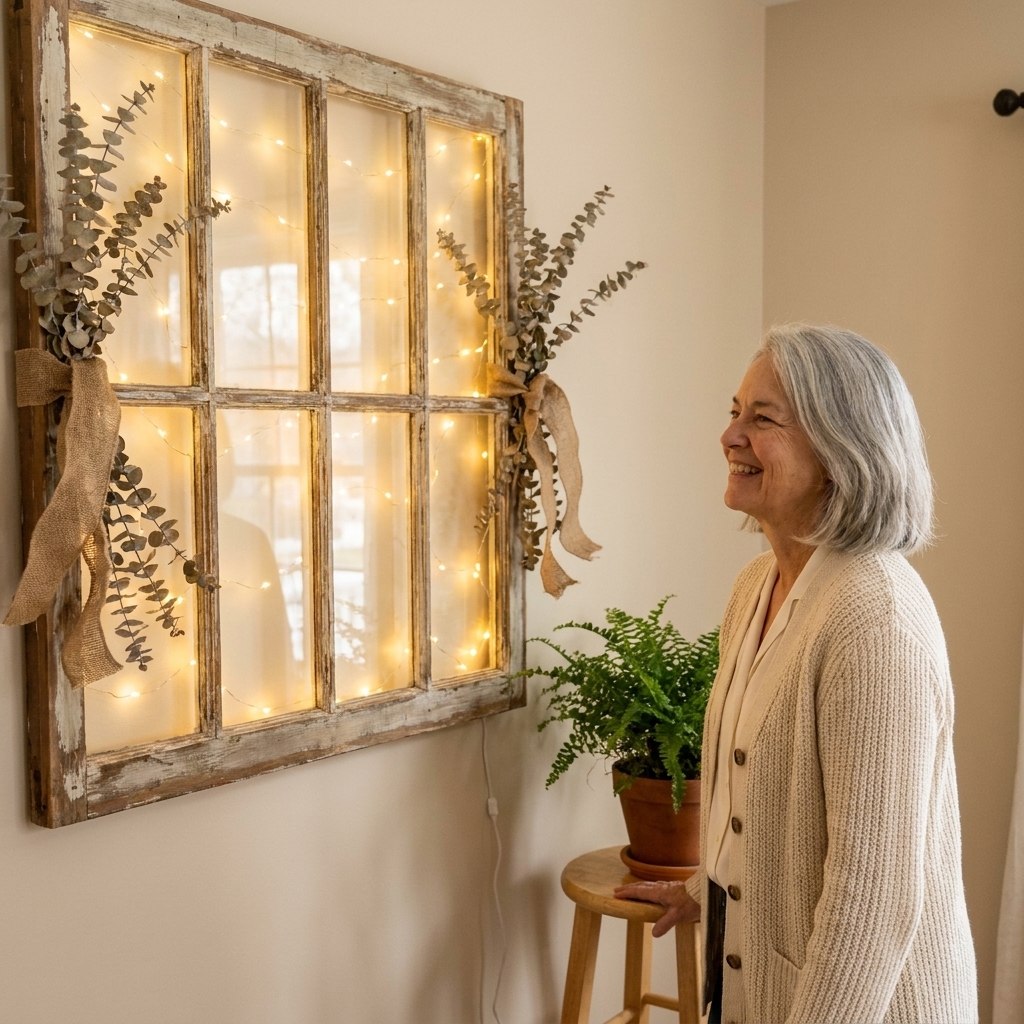
How to do it safely
- Use warm white LED lights and choose UL-listed or ETL-listed sets when possible.
- Even LEDs can vary, so test the lights for heat before mounting and keep them away from anything that could melt or scorch.
- Staple or clip the light strand to the back perimeter of the frame. Do not pierce the wire, pinch it, or crush it under hardware.
- Hide the battery pack behind the frame or inside a small box mounted on the back.
- If you prefer plug-in, route the cord down the side and secure it neatly with cord clips.
- Do not leave lights on unattended for long stretches.
Make it feel polished
Pair the lit window with one or two matte pottery pieces and a stack of books below. That mix keeps the glow feeling warm and intentional.
8) Layer it in a wall group
Sometimes the best project is simply styling. A window frame is a beautiful layer in a wall grouping, especially if you have a big blank stretch in the living room that feels flat.
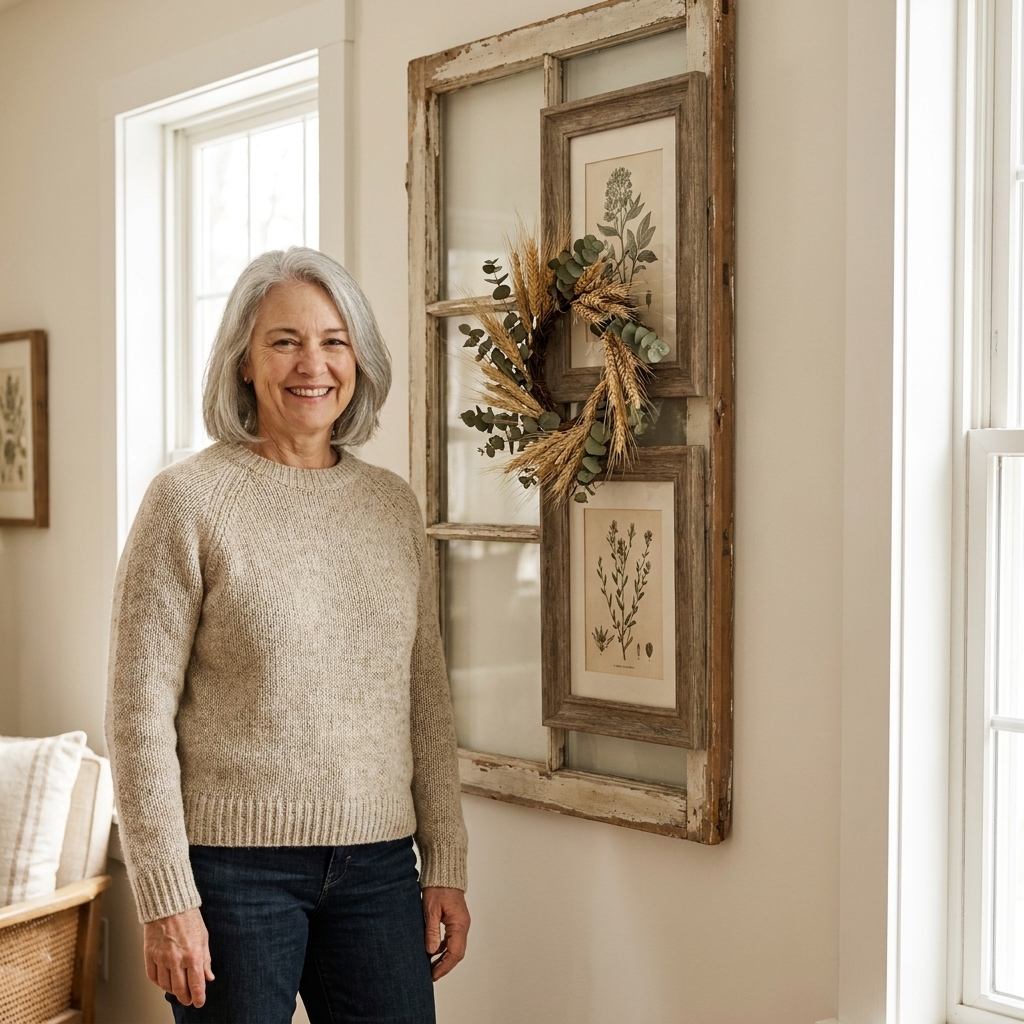
How to style it
- Go oversized. If you are making a focal point, bigger reads more confident.
- Layer, do not scatter. Put the window behind smaller art, a round mirror, or a simple piece of framed text.
- Repeat materials. If the window is weathered wood, echo that with a wood frame or a woven basket nearby.
- Keep the palette calm. Neutrals, blacks, and muted greens are easy wins in farmhouse rooms.
Hang it securely
These pieces can be heavier than they look, and old wood is not always predictable. Here is how to hang them without worry.
Hardware I trust
- D-rings screwed into solid wood (not just the thin trim edge)
- Two wall screws into studs when possible
- Heavy-duty drywall anchors if studs are not an option (choose anchors rated well above the piece weight)
Quick hanging checklist
- Use a stud finder when you can, and a level every time.
- For heavier pieces, skip wire. Picture wire is fine for lighter frames, but big window frames and mirrors do best with two-point hanging.
- Add bumpers. Put two small rubber bumpers on the lower back corners to prevent wall tilt and scuffs.
Where to find window frames
You can find salvaged windows in more places than you would think. I still love a dusty barn sale, but there are easier options too.
- Architectural salvage shops
- Habitat for Humanity ReStore
- Local antique malls and flea markets
- Facebook Marketplace and estate sales
What to look for
- Sturdy corners. Small gaps are fine, but avoid frames that are visibly twisted.
- Decide if you want glass. Wavy glass is gorgeous, but it adds weight and can rattle. For homes with kids or high-traffic areas, removing glass is often the calmer choice.
- Check size vs. your wall. A living room focal piece usually wants to be at least two-thirds the width of the furniture beneath it.
FAQs
Should I paint an old window frame or leave it chippy?
If you love the chippy patina, keep it and seal it. If the color clashes with your room or the paint is actively flaking, a coat of primer plus a soft matte paint can still look rustic without looking new. Creamy whites, muddy greens, and warm blacks all play nicely with farmhouse decor.
Can I use an old window frame in a home with kids?
Yes, with smart adjustments. Remove loose glass, seal flaky paint, and hang it securely with two anchor points. If you suspect lead paint, do not sand it indoors. Encapsulate it, keep it out of reach, and follow local safety guidance.
How do I make a window frame look less crafty?
Scale and restraint. Use one large window instead of several small ones, keep your color palette simple, and pair it with real textures like linen, woven baskets, pottery, and warm wood tones. Skip overly wordy signs and too many tiny accessories.
A cozy finishing touch
The best rustic wall art does not feel like it came from a catalog. It feels like it has a story. Old window frames are basically built for that. Whether you turn yours into a mirror, a photo display, or a layered wall moment, the goal is the same: bring warmth, texture, and a little history into the room you actually live in.
If you try one of these, start simple. Clean it up, hang it with confidence, and let the imperfections do what they do best: make your home feel real.