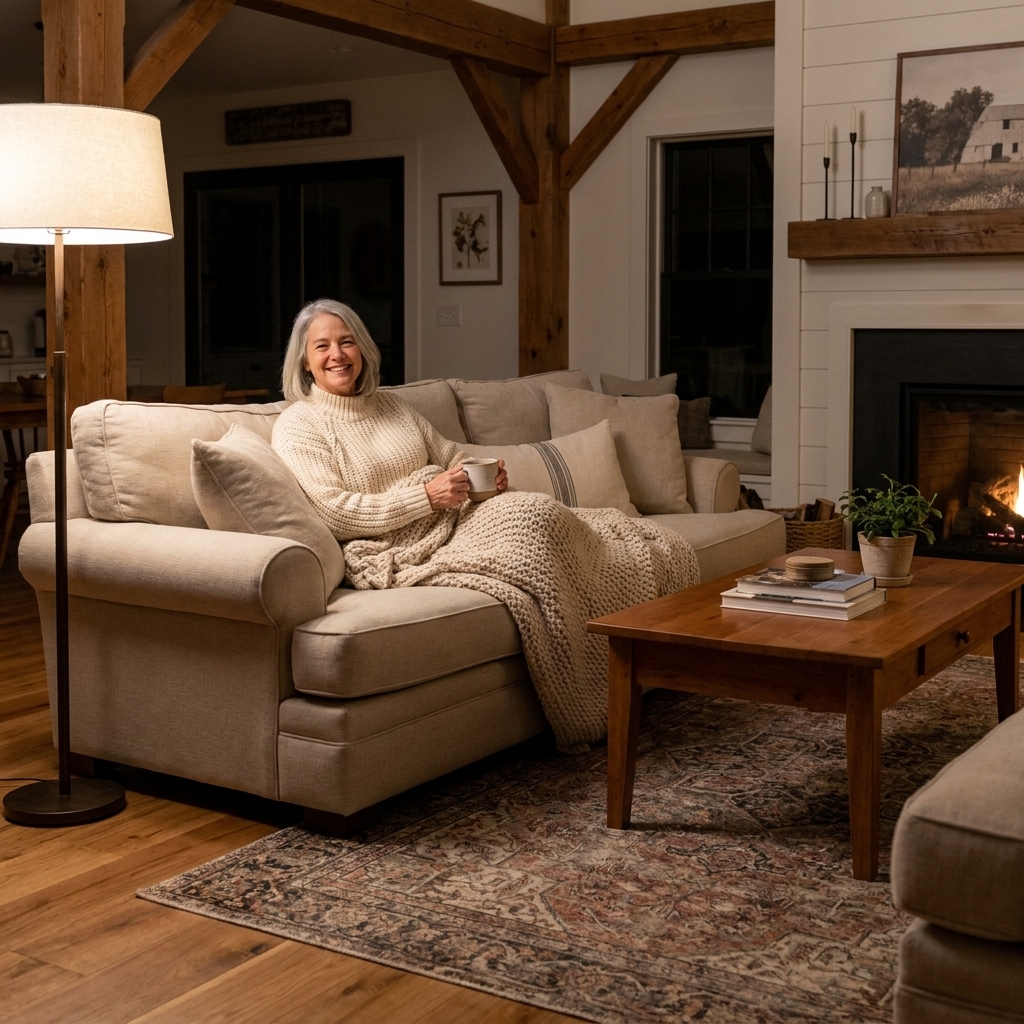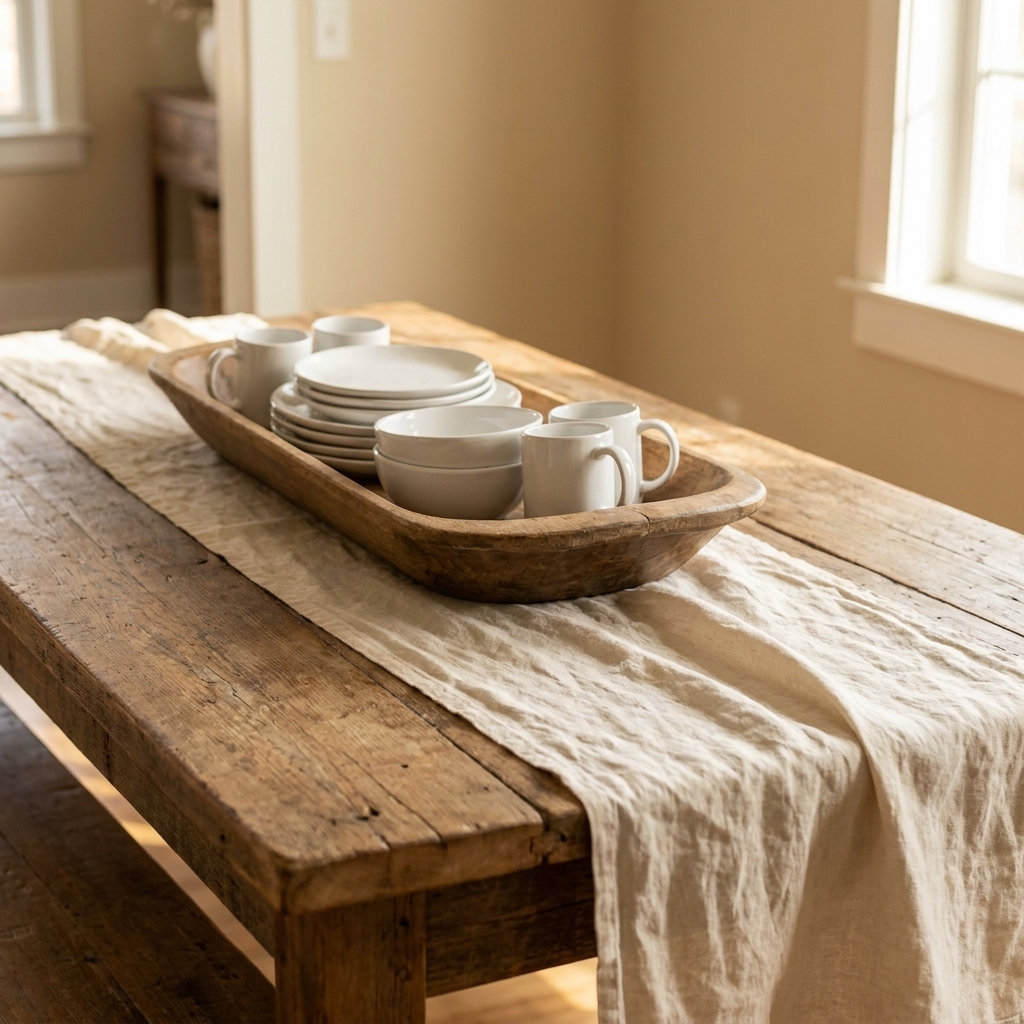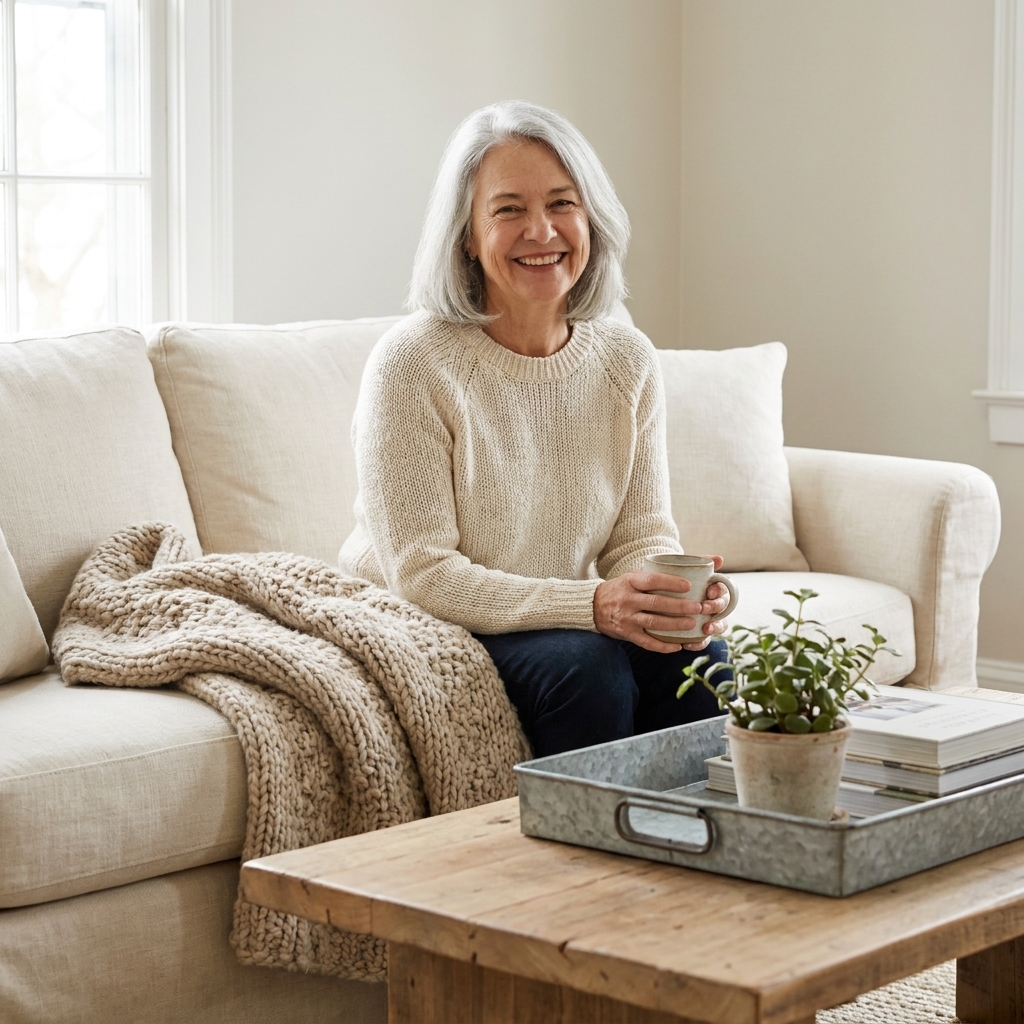
There is something so satisfying about taking an everyday, meant-for-the-pantry item and turning it into the kind of lighting that makes a dining room feel like a warm little gathering spot. Wire basket light fixtures hit that sweet spot between workshop and farmhouse: airy and practical, but still rustic and homey when you finish them with the right metal tone and a soft bulb.
This is one of my favorite “big impact, small budget” DIYs because it is mostly assembly, not advanced wiring. You are essentially building a shade around a basic pendant light kit, then hanging it at the height and finish that works for your space.
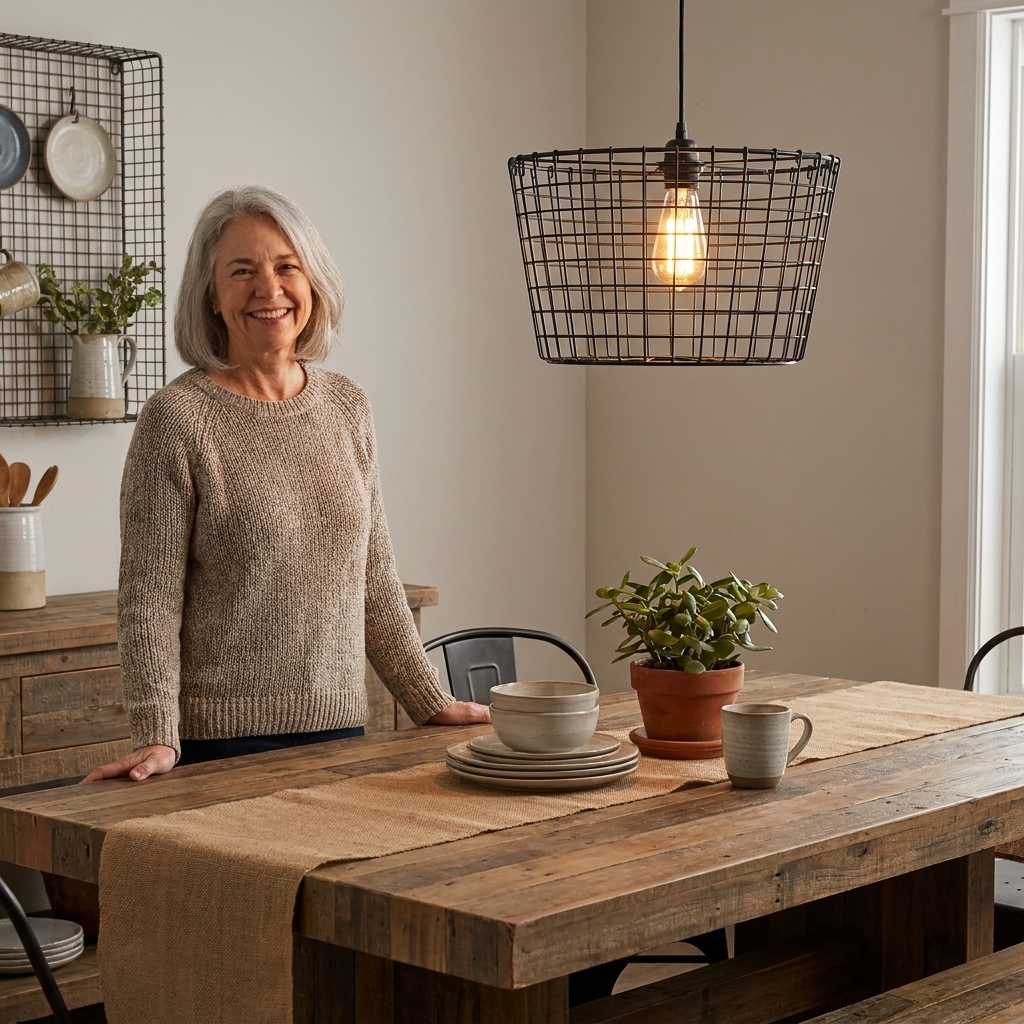
Why wire baskets work as shades
Wire baskets are lightweight, naturally ventilated, and they give you that open, workshop look without feeling heavy. The light pattern they cast can be really pretty too, especially in the evenings when your room is cozy and dim.
- Budget-friendly: baskets are easy to thrift or grab at a hardware store.
- Beginner approachable: minimal tools and no shade-building skills required.
- Customizable: paint them, distress them, add wood beads, or keep them raw.
- Scalable: one basket becomes a pendant, three baskets become a statement chandelier.
Before you start: safety
I am all for fearless DIY, but lighting is one place where we stay smart. This tutorial is designed around a plug-in pendant kit or a hardwired pendant kit where you are only assembling fixture components that are meant to be assembled.
If you are not comfortable with household wiring, use a plug-in pendant and swag it from a ceiling hook, or have an electrician do the final hardwire connection. The “magic” of this project is in the basket conversion, not in touching your junction box.
Quick safety checklist
- Turn off power at the breaker before any hardwiring.
- Use a kit that is safety certified, like UL or ETL listed in the US.
- Use bulbs within the socket’s rated wattage. When in doubt, go lower.
- Choose LED bulbs to reduce heat, but remember LEDs still get warm at the base and heat sink.
- Keep the basket from contacting the bulb. You want clearance on all sides, including around the bulb base.
- If your basket is metal (most are), protect the cord from sharp edges and use the strain relief and insulating parts included with your kit.
- For hardwired installs, metal parts may need proper grounding or bonding depending on the kit and local code. If you are unsure, choose plug-in or have a qualified electrician review your setup.
- Make sure your ceiling hook or electrical box is rated to support the weight of the finished fixture.
Shopping list (with thrift swaps)
Core supplies
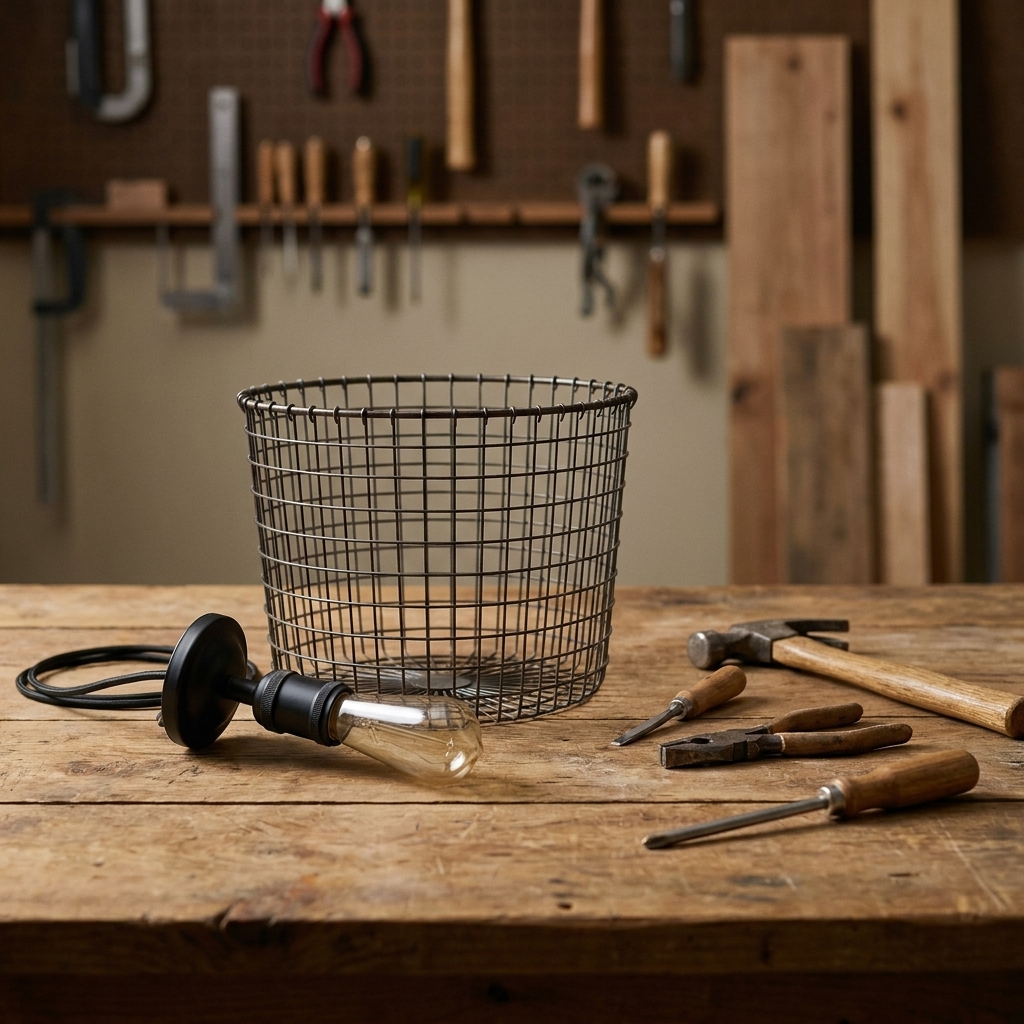
- Wire basket: round, oval, or tapered. Look for sturdy welds and an opening wide enough to work through.
- Pendant light kit: either plug-in (easiest) or hardwired.
- LED bulb: I love a warm 2700K bulb. “Edison” style is pretty, but any warm bulb works.
- Socket ring set (if your kit uses shade rings), or large washers to help secure the basket opening.
- Ceiling hook (for plug-in swag style) or a standard ceiling canopy (usually included in hardwire kits).
Tools
- Measuring tape
- Marker
- Wire cutters or bolt cutters (depending on basket thickness)
- Metal file or sandpaper (to smooth sharp cut ends)
- Screwdriver (for assembling the kit)
- Spray paint (optional) and drop cloth
Optional warm-up extras
- Rub and buff, aging wax, or a soft black glaze for a timeworn look
- Jute or hemp rope, or a fabric cord sleeve designed for pendant cords
- Wood beads (for cottage-farmhouse charm)
- A small reclaimed wood disk or ring (to create a wood accent at the top)
Step-by-step: basket pendant light
1) Pick a good basket size
For dining spaces, I usually like baskets in the 12 to 18 inch range for a single pendant. If you are doing two pendants over a longer table or island, you can go slightly smaller so the room does not feel crowded.
Tip from my own trial and error: Hold the basket upside down and look at it as a shade. Baskets that taper slightly inward toward the top often look more “fixture-like” once installed.
2) Decide how the socket will sit
You have two common options:
- Top-mount: the socket comes down through a small opening you cut in the base (which becomes the top). This looks clean and classic.
- Bottom-mount: less common, but sometimes you want the basket opening at the top for cleaning or bulb changes. In that case, you mount through the other side.
3) Mark and cut the opening
Flip your basket upside down. Mark the center point. You want a hole just big enough for the threaded socket stem to pass through, not a huge gap that will let the basket wobble.
A practical way to size it is to measure the threaded stem on your kit and cut your opening with just a tiny bit of wiggle room, about 1 to 2 mm. Cut slowly. If your basket wire is thin, sturdy wire cutters work. If it is thick, use bolt cutters. Then file the cut ends until they are smooth. This is the part that protects your hands and your cord.
4) Clean and prep thrifted baskets
If your basket is thrifted, give it a little spa moment before paint.
- Wash off dust and grime, and let it dry fully.
- If there is rust, knock off loose flakes. Consider using a rust converter or primer so it does not keep shedding.
- If you are sanding unknown old paint or coatings, go slow and be cautious. When in doubt, skip sanding and just clean and prime, or choose a different basket.
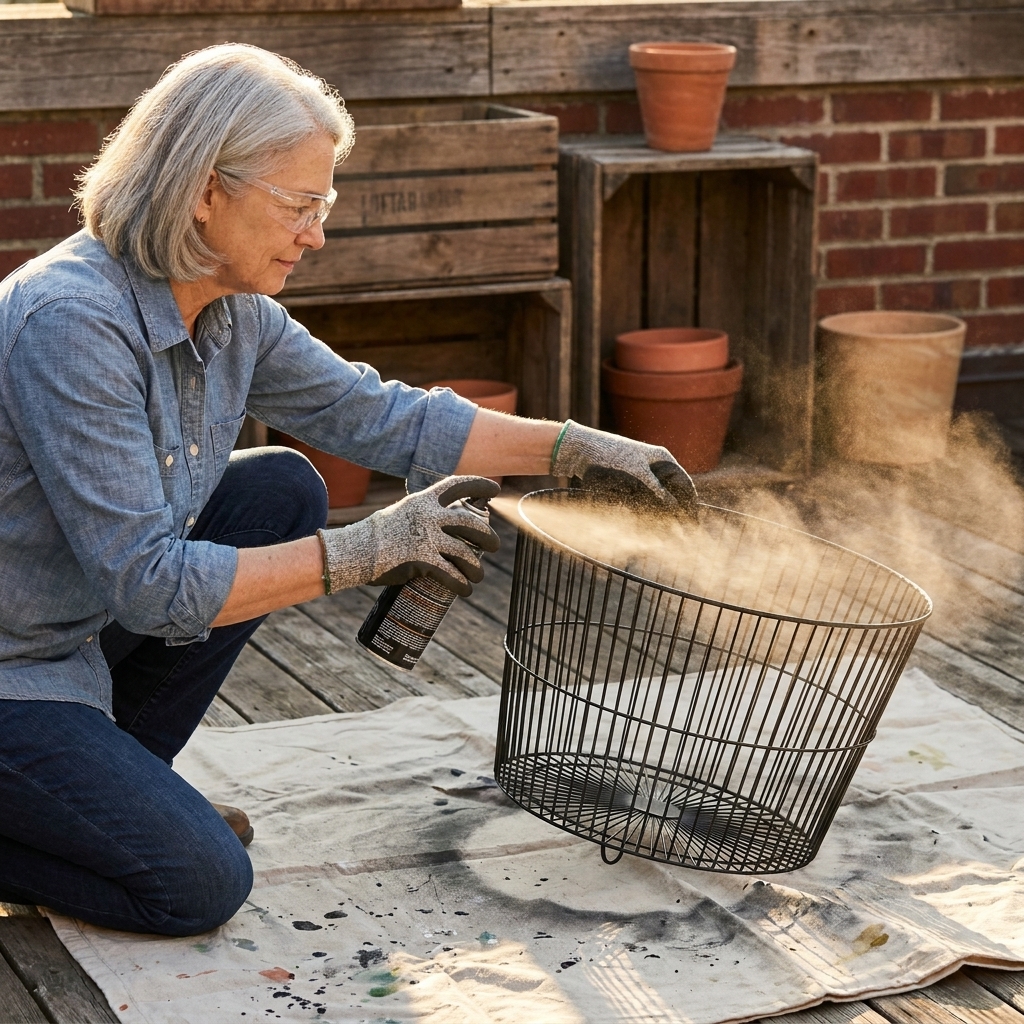
5) Paint (or patina) the basket
If you are painting, do it now. My go-to finishes for a workshop-meets-farmhouse look:
- Matte black: crisp and classic.
- Oil-rubbed bronze: warmer and a little more traditional.
- Aged zinc: a soft, silvery rustic look.
Light coats, let it dry fully, and do not forget to spray from multiple angles so the inner wires get covered too.
6) Assemble the pendant kit through the basket
Thread the cord and socket through your new opening. Most pendant sockets have a threaded section and rings designed to hold a shade. Use those rings if you have them. If not, a wide washer can help distribute pressure so the basket sits steady and does not deform.
Tighten everything so the basket is secure, but do not crank it so hard you warp the metal. The basket should feel snug with no wobble. Make sure the cord is not rubbing on any sharp metal. If it is, file again or add a rubber grommet sized for your opening.
7) Add your bulb and test
Use an LED bulb and make sure it sits centered with clearance, including around the bulb base where LEDs can run warm. Plug it in (or turn the breaker on if hardwired by a professional) and check for:
- Basket not touching the bulb
- Cord not pinched on metal
- No wobble when gently tapped
When you test, support the fixture with your hand or set it on a padded surface. Do not let it dangle by the cord during testing.
8) Hang at the right height
Over a dining table, a common starting point is 30 to 36 inches from tabletop to the bottom of the fixture. In a room with taller ceilings, you can bump that up a bit so it feels balanced.
Multi-basket chandelier
If you want that “wow” moment, make a simple linear chandelier with multiple wire baskets. This is perfect over a long table, especially if you have a runner and a big bowl of seasonal greens as your centerpiece.
The basic approach
- Choose a base: a reclaimed wood beam, a stained 1x6, or a metal bar chandelier frame.
- Plan spacing: three shades usually look best over standard dining tables. Keep them evenly spaced and centered.
- Use matching baskets: or mix shapes if you want a collected, vintage look.
- Respect the electrical line: if you want a single canopy with multiple lights, have the junction box connections, grounding, and canopy wiring handled by a qualified person.
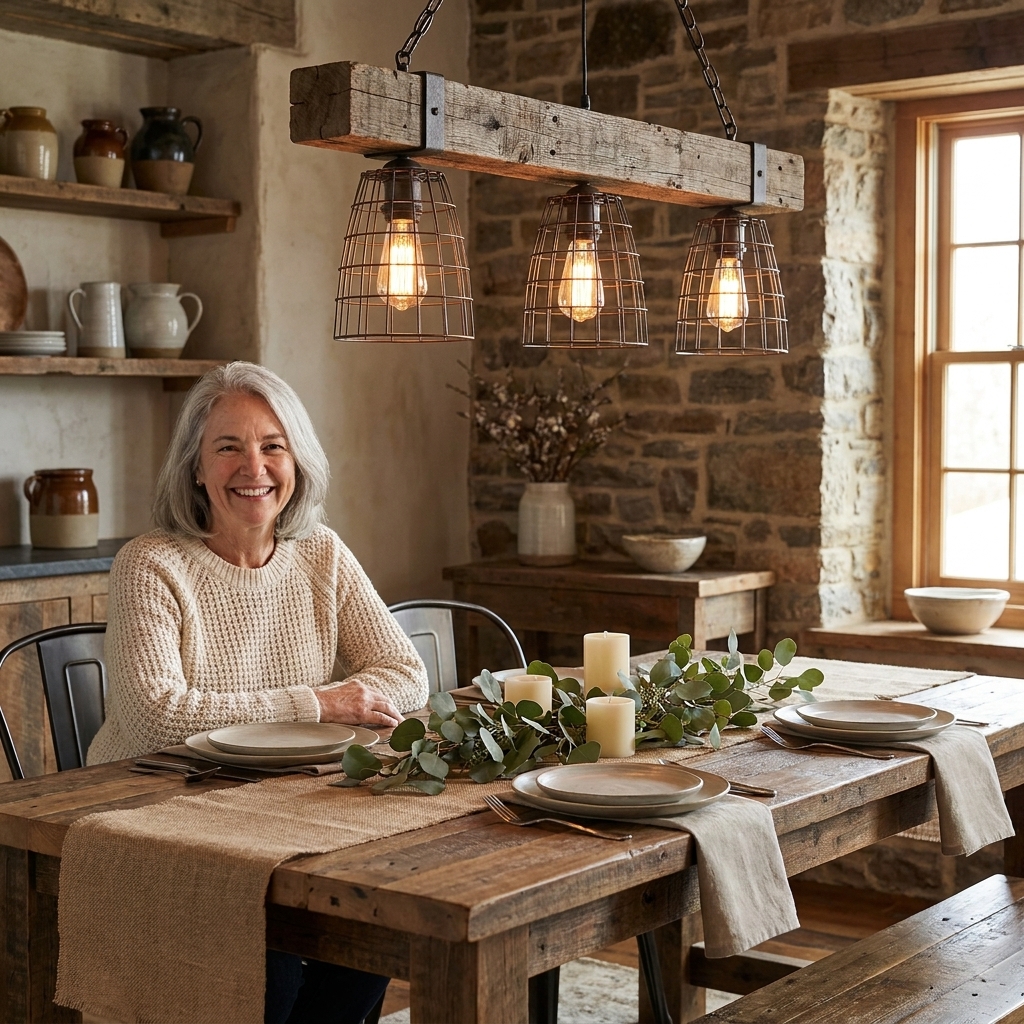
My styling trick
Open metal can lean a little stark if the rest of your home is soft and cottagey. Warm it up with:
- A wood element (beam, canopy, or a small wood collar at the top of each basket)
- Soft white bulbs instead of harsh bright white
- Natural linens, woven placemats, and a muted centerpiece underneath
Choosing the right basket
Look for these details
- Thicker wire: reads more “fixture,” less “closet organizer.”
- A clean rim: a solid rim at the opening looks finished when you look up at it.
- Consistent shape: bent or lopsided baskets can hang crooked.
Great basket types
- Chicken wire egg baskets
- Round produce baskets
- Industrial locker baskets
- Hardware cloth style baskets
If you are thrifting, bring a little measuring tape and a quick mental checklist: sturdy welds, no sharp rust flakes, and enough room for your hand to reach in and change a bulb.
Finishes and upgrades
Add a simple wood collar
Cut a small wood disk or ring that sits between the basket and the socket hardware. Stain it to match your table or floors. That little bit of wood instantly pulls it toward farmhouse.
Cover the cord the safe way
For plug-in pendants, I love the look of a rustic wrap. Just keep safety in mind. Avoid covering the cord right near the socket where heat is highest, and do not glue anything to the electrical parts. If you want the look with less fuss, use a fabric cord sleeve or cord cover made for pendant cords.
Go warm with bulbs
My favorite light for dining spaces is warm and buttery, not blue. Look for 2700K and consider a dimmable bulb if your kit and switch support it.
Best rooms for these lights
- Dining room: one large basket pendant or a three-light linear chandelier.
- Kitchen island: two to three smaller pendants, evenly spaced.
- Mudroom: a single basket pendant adds character and is practical.
- Entryway: great for that first impression, especially with a vintage runner below.
Because baskets are open, they also work beautifully in rooms where you do not want a heavy shade blocking sightlines.
Troubleshooting
The basket hangs crooked
- Check if the hole you cut is centered.
- Make sure the socket rings are tightened evenly.
- If the basket rim is slightly bent, gently reshape it by hand before hanging.
The basket wobbles on the socket
- Add a wider washer to distribute pressure.
- If the wire is too thin at the mounting point, add a small metal plate or a wood collar to create a firmer surface.
The bulb looks too exposed
- Choose a larger basket or a deeper shape.
- Use a smaller bulb profile (like an A15) while keeping it LED and within the socket rating.
Care and cleaning
Open wire shades are easy to live with. Dust with a microfiber cloth or a vacuum brush attachment. For kitchen placements, a quick wipe with a barely damp cloth keeps grease from building up. Always turn the light off and let the bulb cool first.
FAQ
Can I use any wire basket for a light fixture?
Most can work as long as it is sturdy, can be secured firmly to the socket hardware, and allows clearance around the bulb and bulb base. Avoid baskets with flaky rust or sharp broken welds. If you are hardwiring, be extra cautious and consider having an electrician confirm your plan, since modifying shades can change how a fixture behaves in the real world.
Do wire basket lights give enough light for a dining table?
Yes, because they are open. If you want brighter light, choose a bulb with higher lumens and add a dimmer so you can soften it at night.
Will a metal basket get hot?
Metal itself does not create heat, but the bulb can warm the area around it. LEDs run cooler than incandescents, but they still produce heat at the base. Use the right bulb for the socket rating, keep good clearance, and do not crowd the bulb with decorations.
Is plug-in or hardwired better?
Plug-in is easiest and renter-friendly. Hardwired looks the most seamless. You can do the basket conversion either way, then choose the install method that fits your comfort level. If you hardwire, have the junction box connections, grounding or bonding, and canopy wiring done by a qualified person.
A final cozy note
If you have ever stood in the lighting aisle and felt your shoulders drop at the price tags, I hope this project feels like a deep exhale. A wire basket light is not about perfection. It is about character. The slightly imperfect welds, the soft glow through the metal grid, and the fact that you made it with your own two hands.
If you try it over your dining table, pour yourself something warm that evening and just sit for a minute. That glow hits different when you built it.