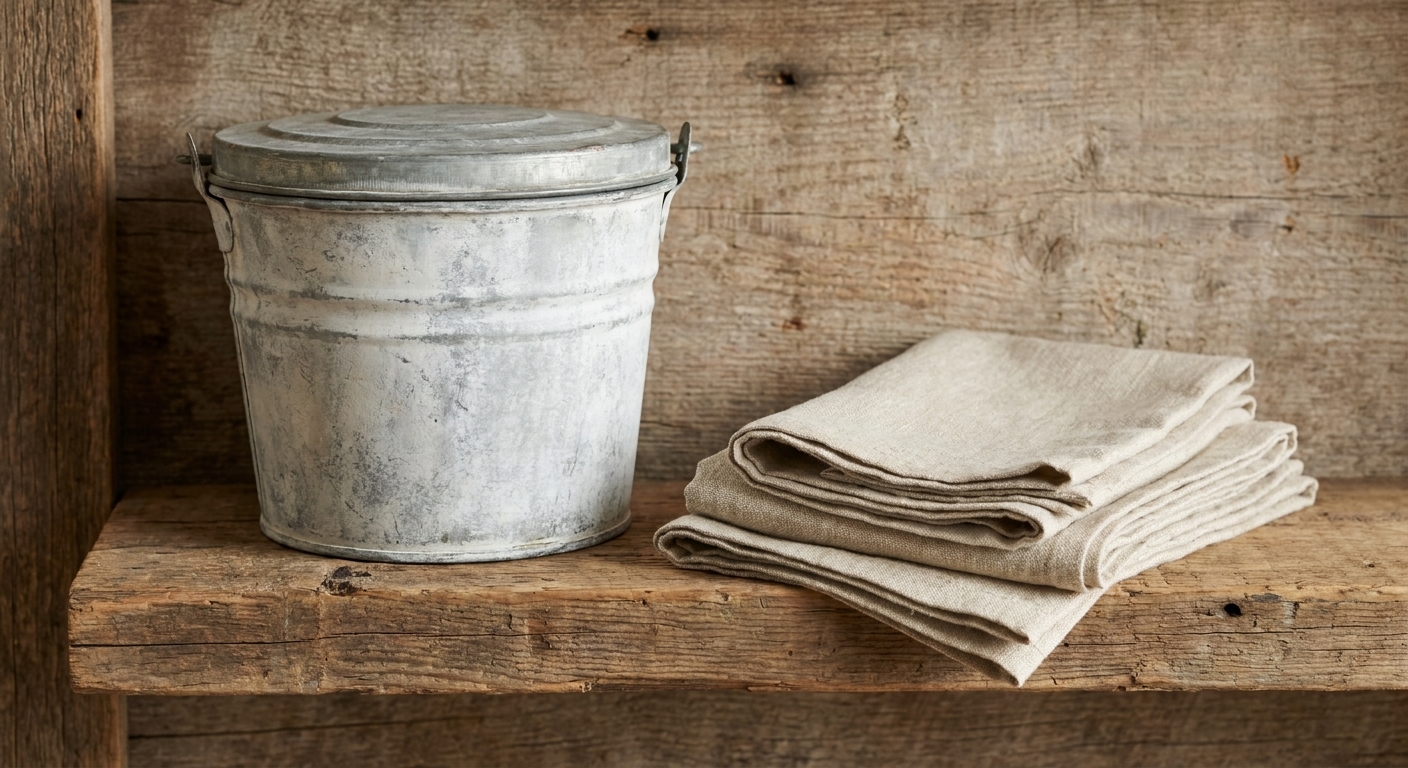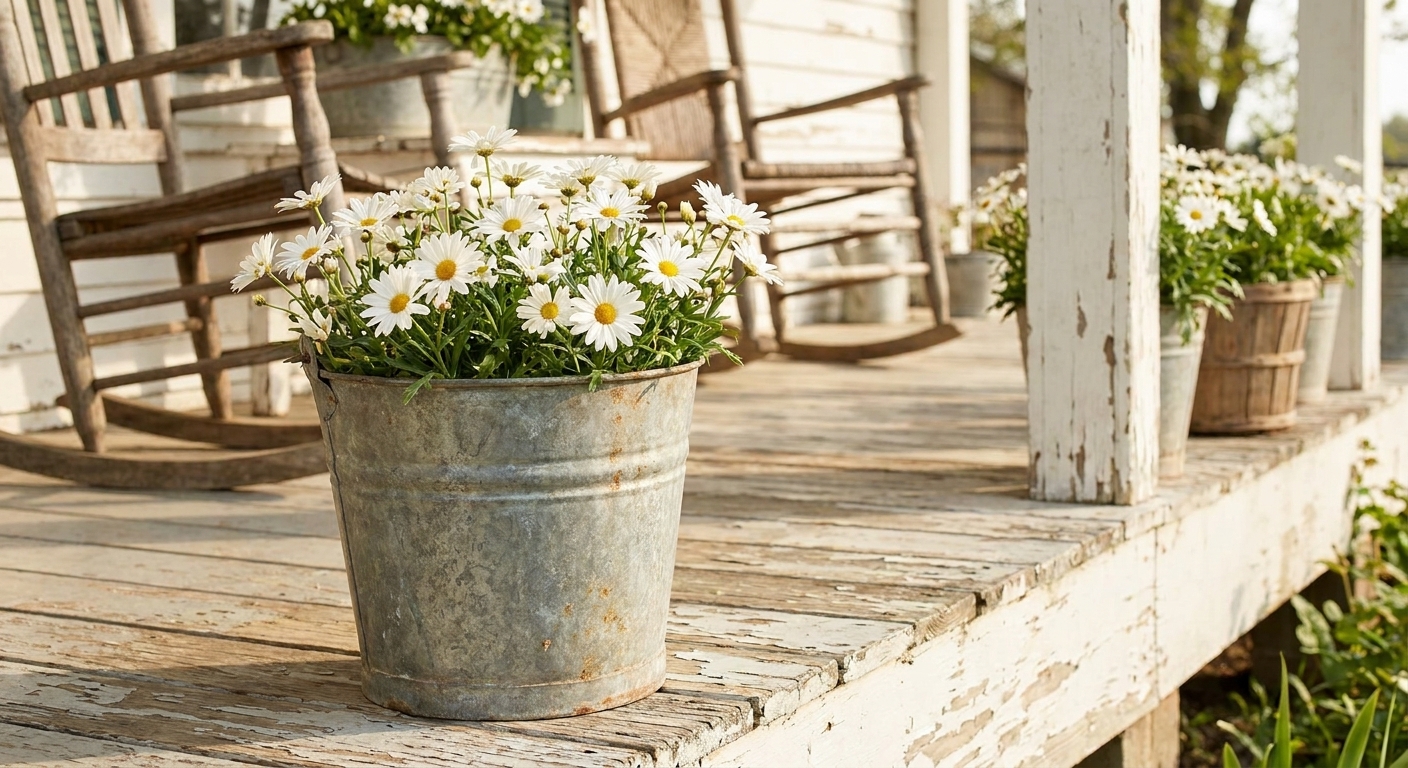
There is a certain magic to old galvanized metal, that soft gray sheen, the speckles, the honest little bruises of age. But when a vintage bucket or watering can starts leaving orange dust on your shelf, that is not “charming.” That is a sign the galvanizing has been compromised and the steel underneath is actively rusting, and it will keep staining and degrading if we do not step in.
The goal here is simple: remove grime, calm down active corrosion, and lock everything in place without stripping away that farmhouse patina you hunted for in the first place.
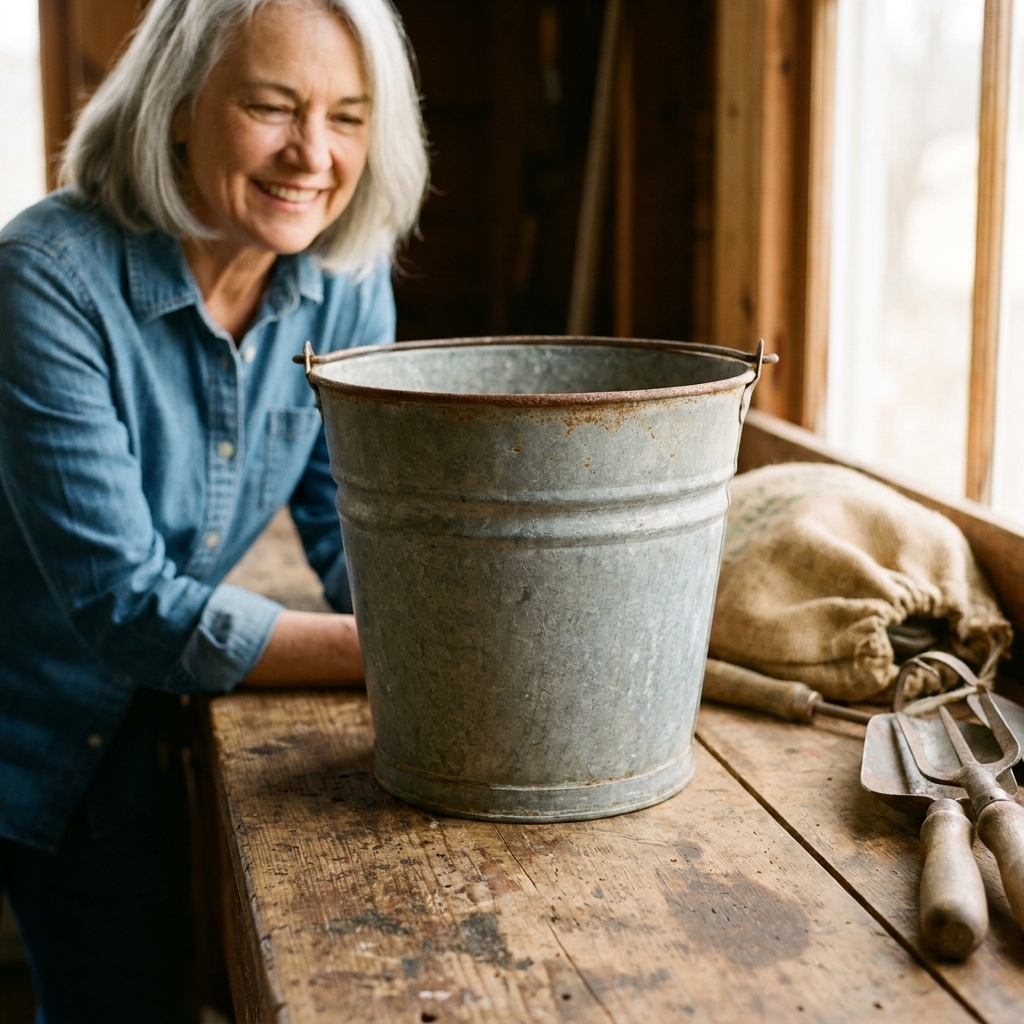
Patina check
Most pieces fall into one of three buckets (pun fully intended):
- Dirty but stable: dusty, maybe a little dull, but no orange rub-off when you wipe it.
- Light active rust: orange haze, powdery spots, or you get rust on your rag or fingertips.
- Flaking rust: crusty areas that lift, crumble, or feel sharp.
One more thing that confuses a lot of people: galvanized metal can also get white corrosion (sometimes called “white rust”). It looks chalky or powdery white, and it is the zinc reacting, not the steel underneath. It is still something to address, but it does not behave exactly like orange rust.
This article focuses on dirty but stable and light to moderate active rust. If your metal is deeply pitted, perforated, or shedding flakes like a croissant, you can still stabilize it, but it may never be “clean” in the pretty Pinterest sense, and that is okay. We are preserving character, not erasing history.
What you will need
Cleaning and corrosion control
- Dish soap (grease-cutting)
- Warm water
- Microfiber cloths or old cotton rags
- Soft nylon scrub brush
- Gray non-scratch scuff pad (my first choice on galvanized)
- Stainless steel wool (fine grade) if you want a wool option
- White vinegar (optional, for very small spot treatments only)
- Baking soda (optional, if you choose to neutralize vinegar)
- Disposable gloves
- Eye protection
Sealing
- Clear matte or satin sealer labeled for bare metal and compatible with galvanized (spray or brush-on)
- Mineral spirits (only if your sealer calls for it, or for a final wipe-down on very oily pieces)
- Painter’s tape (if you want to keep interior unsealed for plants)
A note from my old-cottage workshop: avoid heavy sanding, wire wheels, and harsh acids if your goal is patina. Those methods can quickly remove the very mottling that makes galvanized pieces look authentically vintage.
Step 1: Dry clean
Before water touches anything, do a quick dry pass. Dust plus water makes a gritty slurry, and that is when you accidentally scour off the good stuff.
- Brush out loose dirt and cobwebs with a dry scrub brush.
- Wipe with a dry rag to see what you are working with.
- If orange dust shows up immediately, you have active rust to stabilize in the next steps.
Step 2: Gentle wash
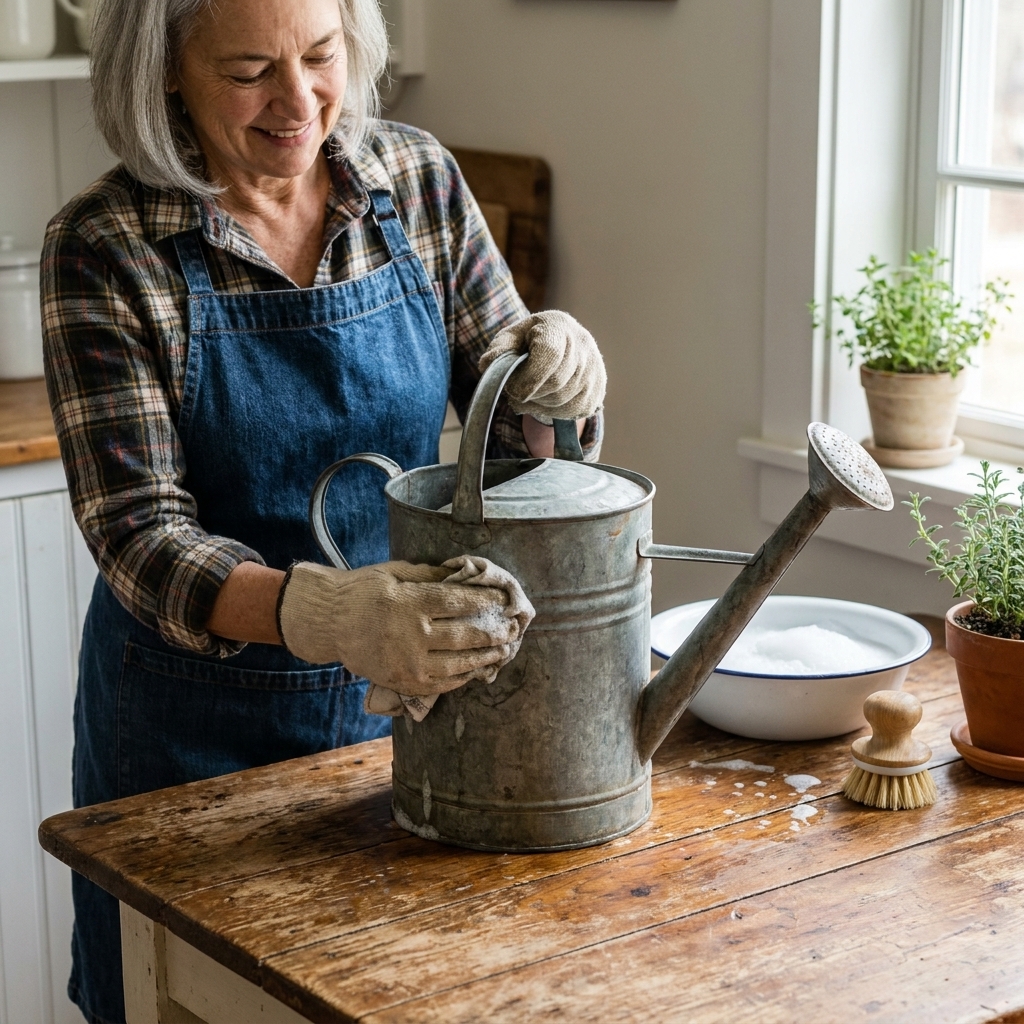
Mix warm water with a few drops of dish soap. Keep it simple. Vintage galvanized metal does not need fancy cleaners.
- Dip a rag in the soapy water, wring well, and wipe the whole piece.
- Use a soft nylon brush for seams, rolled rims, and stamped logos.
- Rinse with a clean damp rag (not a full soak unless you have to).
Dry promptly and thoroughly. Towel dry first, then let it sit in a warm, airy spot. Moisture trapped in seams is where rust loves to restart.
Step 3: Stop orange rust
This is the part that makes people nervous, but it does not have to be aggressive. Your mission is to remove loose rust and stabilize what remains.
Option A: Gray pad buffing
If the rust is light and powdery, start here.
- Use a gray non-scratch pad and a light touch.
- Work only the rusty areas, not the entire piece.
- Wipe often with a dry rag so you can see what is happening.
You are not trying to get back to bright silver. You are just removing the “active” layer that rubs off.
Option B: Stainless steel wool (carefully)
If you love the feel of wool for getting into texture, use stainless steel wool rather than standard carbon steel wool. Regular steel wool can leave tiny fragments behind that later rust and create mysterious new specks.
- Use the finest grade you can find and keep pressure gentle.
- Wipe the area clean frequently.
Option C: Vinegar spot treatment (small and tested)
Vinegar can help on rust blooms around rims and handles, but it can also etch or strip the zinc coating if overused. Treat it like a spot corrector, not a bath, and test on the underside first.
- Dampen a rag or cotton pad with white vinegar and press it on the rusty spot for 30 to 90 seconds.
- Gently rub with a gray pad.
- Rinse very well with clean water and dry.
If you like the extra peace of mind of neutralizing, you can wipe once with water plus a tiny pinch of baking soda, then rinse again so no residue remains. Baking soda left behind can interfere with some clear coats.
Option D: Rust remover gel (only where needed)
If you have a crusty ring of rust that refuses to behave, a gel rust remover gives you control because it stays where you put it.
- Use gloves and eye protection, and follow the label exactly.
- Apply with a cotton swab or small brush only on the rust.
- Rinse carefully, dry promptly, and reassess.
When in doubt, do less, let it dry, and see if the rust has stopped rubbing off. You can always repeat. You cannot un-strip a finish.
What about white corrosion
If what you are seeing is chalky white oxidation rather than orange rust, start with the gentlest approach:
- Wash with dish soap and water and dry well.
- If residue remains, very lightly buff with a gray pad.
- Avoid long vinegar soaks. Acids can accelerate zinc loss.
White oxidation is your cue to keep things dry going forward, especially around seams and folded edges.
Step 4: Prep for sealer
Sealants are picky. They want a clean, dry surface, and galvanized can be especially finicky about adhesion.
- Wipe the piece with a clean, dry cloth.
- Let it sit a few hours (overnight is even better) so hidden moisture can escape seams.
- If the piece feels oily or has old wax residue, do a quick wipe with a rag barely dampened with mineral spirits, then let it fully evaporate.
Safety note: mineral spirits and many spray sealers are flammable. Keep them away from flames, pilot lights, and sparks, and use good ventilation.
Tip for planters: consider leaving the interior unsealed. Soil and trapped moisture can break down some clear coats over time. Use a plastic nursery pot or add a liner, and make sure water is not standing against seams. Drainage is your friend.
Step 5: Pick a sealer
Your choice of sealer matters because it changes the “read” of the metal. Some products deepen color and make rust look darker. Others go cloudy if applied too heavily. For farmhouse decor, I aim for a finish that looks like nothing happened, except the rust stopped shedding.
Good finishes for patina
- Matte clear sealer: most invisible, keeps a dry, chalky vintage look.
- Satin clear sealer: slightly richer, good if your piece looks overly flat after cleaning.
What matters on galvanized
- Check the label: look for “bare metal” and compatibility with galvanized or zinc-coated surfaces.
- Test adhesion: spray or brush a small area on the underside, let it cure, then try a fingernail scratch. If it peels, you need a different product or prep.
What to skip if you love patina
- High-gloss clears: they can make galvanized metal look “crafty” instead of collected.
- Heavy brush-on coats: they can pool in seams and dry with a plastic-looking ridge.
Step 6: Seal it
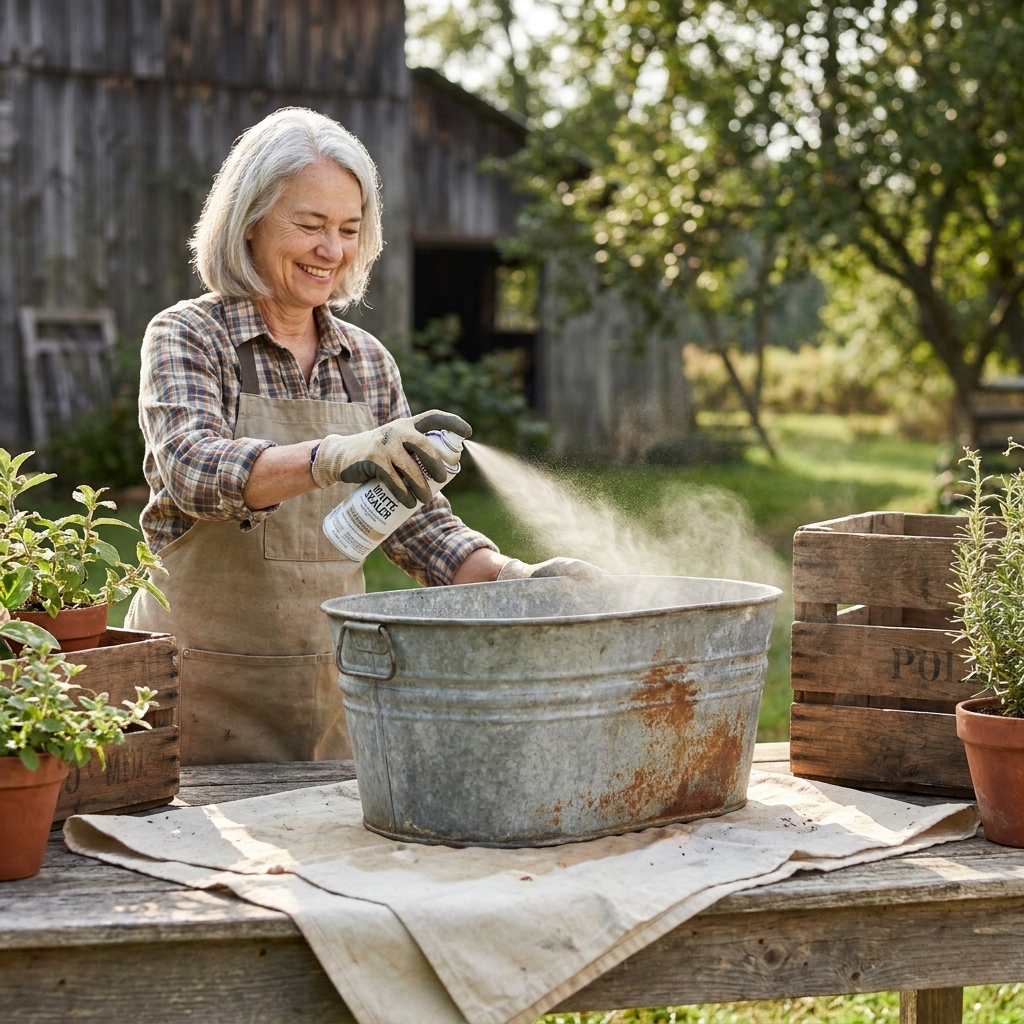
If you are using a spray sealer
- Work outside or in a very well-ventilated space.
- Shake well and test on the underside first.
- Hold the can 8 to 12 inches away and mist on a light coat.
- Let it dry per the label, then repeat for 2 to 3 thin coats.
I would rather do three whisper-thin passes than one “make it done” coat that turns cloudy.
If you are using a brush-on sealer
- Use a high-quality synthetic brush.
- Apply a thin coat and brush out drips along rolled edges and stamped details.
- Let dry fully, then add a second thin coat if needed.
Do not rush cure time. Dry-to-touch is not the same as fully cured. If you style it too soon, you can trap fingerprints right into the finish.
Outdoor reality check: clear coats slow down moisture and oxygen, but most are not perfect vapor barriers forever. Outdoors, water finds seams, scratches, and edges. If your piece will live on a porch, choose an exterior-rated product and expect touch-ups over time.
Keep it looking good
- Dust, do not scrub. Use a microfiber cloth, especially on sealed pieces.
- Skip harsh cleaners. No bleach, no abrasive powders, no heavy degreasers.
- Use felt pads or a coaster if the piece sits on wood. Even stabilized rust can stain if moisture gets involved.
- Bring it in for winter if it is styled outdoors. Freeze-thaw cycles and constant dampness are rough on old metal and clear coats.
Common questions
Will sealing stop rust forever?
It will slow it down dramatically, but no clear coat is a force field. Prep matters, full cure matters, and outdoor exposure shortens the lifespan of any finish. For indoor styling, sealing usually keeps things stable for a long time.
Can I use these pieces for food or drinking water?
I treat vintage galvanized finds as decor only. Old coatings and unknown history make it a gamble, and many sealers are not food-safe. For parties, I use them to hold sealed bottles or canned drinks, or I line them with a food-safe tub.
Why did my sealer turn cloudy?
Usually one of three culprits: the coat was too heavy, humidity was high, or there was moisture trapped in seams. Let it cure fully first. Sometimes it clears as it dries. If it stays cloudy, you may need to remove the sealer (per product instructions) and reapply in thinner coats on a drier day.
Should I use a rust converter?
Rust converters can work, but they often leave a dark, painted-looking patch that screams “repair.” If you adore the soft, powdery orange accents, a gentle buff and a clear matte sealer usually keeps the soul of the piece better.
Final pep talk
When you are working with vintage metal, the prettiest results come from restraint. Clean what is dirty, stabilize what is actively rusting, and then step back. Those little freckles and shadows are what make a bucket look like it came from an old dairy barn instead of a big-box shelf.
If you want, tell me what you are sealing, a watering can, an oval tub, a bucket with a leaky seam, and I can help you choose the best finish and whether to seal inside, outside, or both.